Article by: Johan
Article applies to: most early BMW models (70’s through 90s).
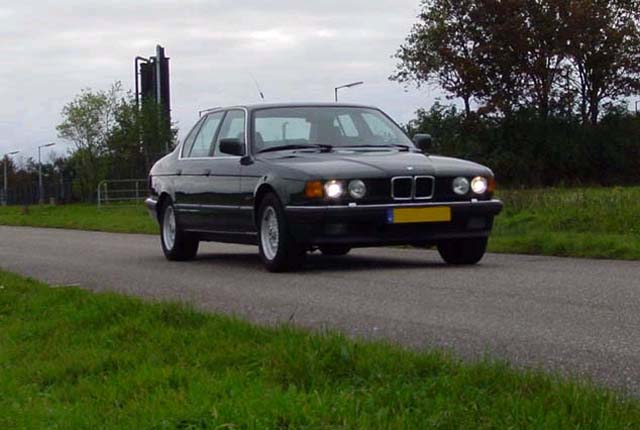
Problem: The lights on the E32 are more comparable to a tea light then a set of proper headlights. I think this car has the worst lighting I ever had on a car.
The main cause of the dim lights is probably old age. The reflectors tend to get filthy after ten years.
You can clean them but the improvement is negligible when compared to a HID upgrade.
Models: This upgrade applies to the e30 3-series, e34 5-series and of course the e32 7-series. But they should all have the ellipsoid headlights.
In some countries, like the US, not all cars got the the ellipsoid headlights.
Legal business and safety: In some countries it’s illegal to retrofit HID into a non HID light housing.
In other countries it’s only allowed in combination with headlight washers and an automatic height adjustment system.
Have a look at your countries regulations for this. Also keep in mind the ballasts send out very high voltages. 10,000v is no exception when the light is fired up.
These voltages are very hazardous to your health! Remember it’s your car and your responsibility.
After this conversion I also recommend having the lights aligned properly at a shop who have the right equipment for it.
With the amount of light send out by the HID system you can easily blind oncoming traffic.
Conversion Options: You have a couple of options when installing HID into your BMW:
Retrofit the original Bosch or Hella Xenon’s. These sets are pretty rare but can be found on eBay from time to time.
It’s probably nice to know that when you get the Bosch system and a bulb does break you can’t get a new one anywhere!
For the Hella system you can still buy a new bulb, but only in combination with the reflector and lens costing around 720 Euro per side.

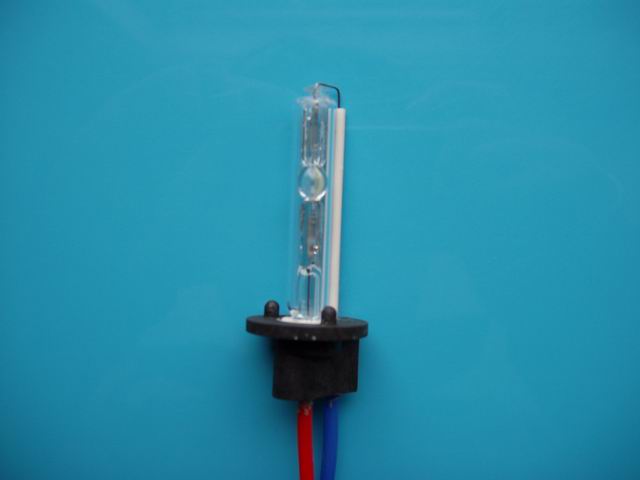
Buying HID bulbs in a H1 housing. This is the easiest way of converting from H1 to Xenon.
The origin of these bulbs are often vague. I think these bulbs are way to expensive and the quality is unknown.
Often the bulbs alone go for over 200 euro/US.
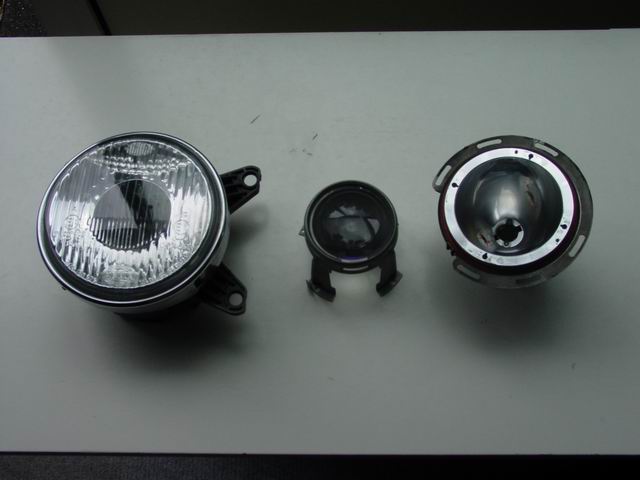
Modifying the ellipsoids to take D2S: There are two ways of doing this.
You can buy an adapter ring (if you can find them)or you can use a Dremel to make the bulb fit into the H1 housing.
The focal point of the H1 and D2S bulb are the same.
So however unprofessional as this might seem it works perfectly!
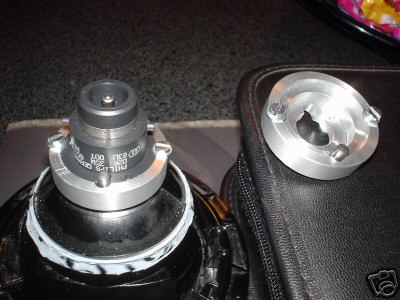
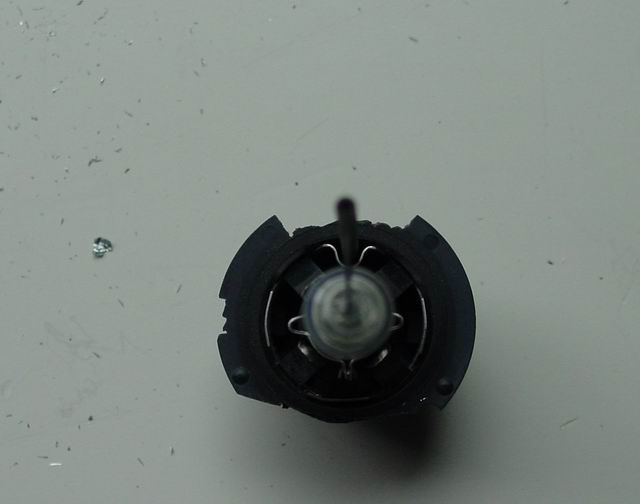
A D2S bulb installed with an adapter.
It doesn’t really matter which ballast you use as long as you can fit them somewhere near the lights.
My D2S conversion:
For my installation I used:
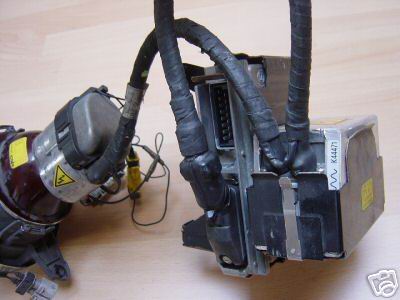
Two Hella/BMW ballasts from a salvaged e39/e38.
Two Philips D2S bulbs from a salvaged e39.
Two standard “orange” relays from a salvaged E32.
One 20A fuse.
Some wiring capable of 30A current draw.
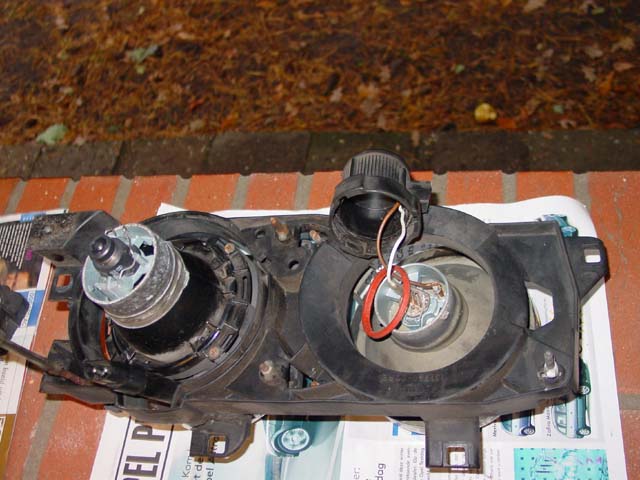
First we will remove the reflectors from the car.
If you undo the three screws at the back you can leave the headlight glass in the car.
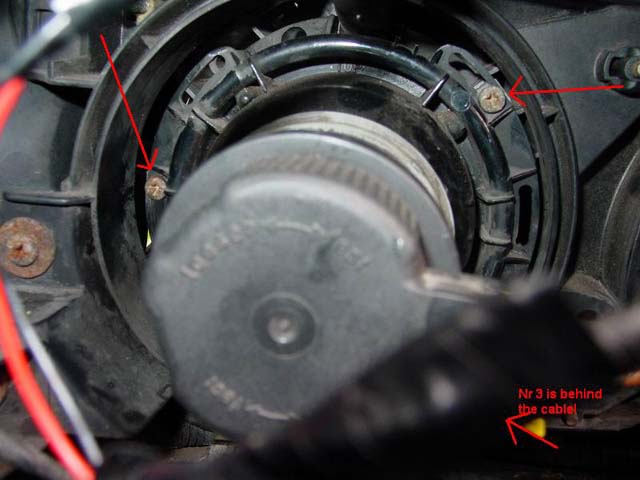
Then take the light apart into pieces. I had an extra headlight from my parts car on which I experimented first.
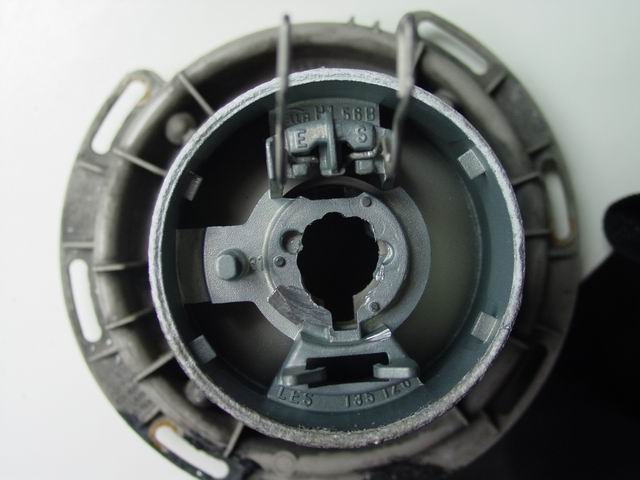
To make the D2S bulb fit into the standard socket you will have to remove the notch that centers the H1 bulb.
For all the cutting and milling I used a Dremel.
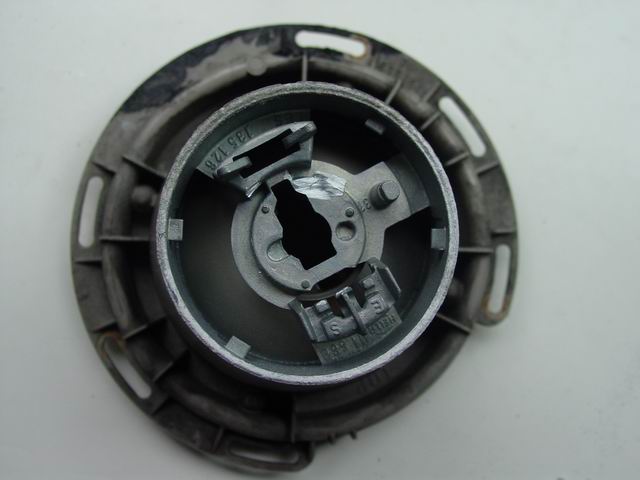
Next make the lamp hole a bit bigger so the D2S bulb will fit.
Now cut a piece of the bulb on the top and bottom.
I used a hacksaw for this as using a Dremel gives a lot of extra dust which will fall into the bulb housing.
I used a small vice to keep the lamp in place while hacking into it.
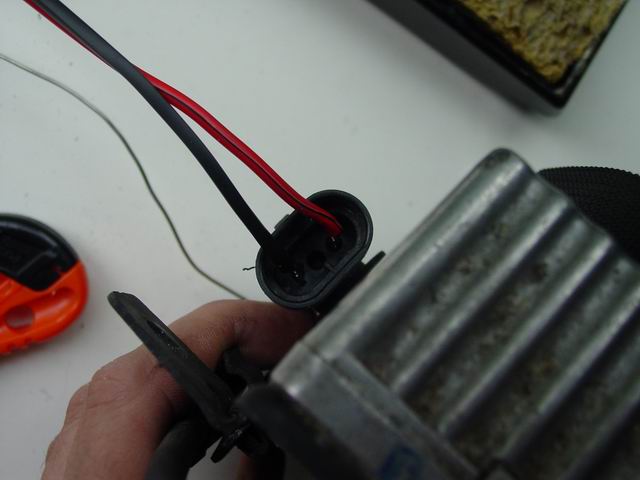
As I didn’t have the original connectors for the ballasts I decided to solder the wiring into the connector and fill it with hot glue.
I bend to original supports to hold down the D2S bulb which seems to work fine.
My only worry is how much moisture will get into the light.
To completely seal the light you could glue the light in place with epoxy resin.
Time to put the lights/lenses back into the car.
Now comes the wiring. You should be able to replace the 7.5A fuses for the main headlights with 15A to 30A versions.
This should work OK as the lights only have a very high start current.
I decided to run separate wires from the + terminal to the ballasts instead of using the standard wiring harness.
The setup is like this:

Now there is only one annoying thing left when the lights are switched on:
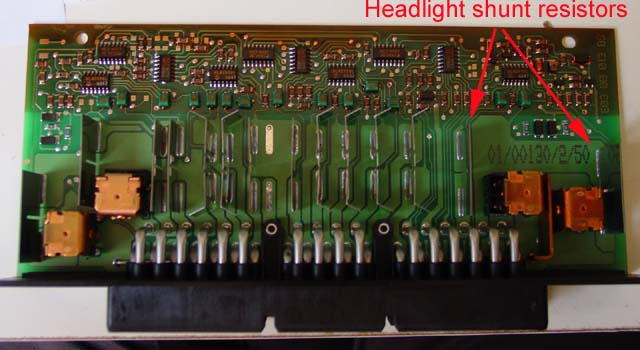
With the H1 55w bulb in place there is a current of 4.5A going through the resistor.
This results in a voltage drop over the resistor of about 36mV. When I power the 136mA consuming relays the current drop is not anywhere in that neighborhood.
So the LKM will trigger the “Abblendlicht” message. To get a proper current I calculated I needed a xxxOhm resistor for the light to work.
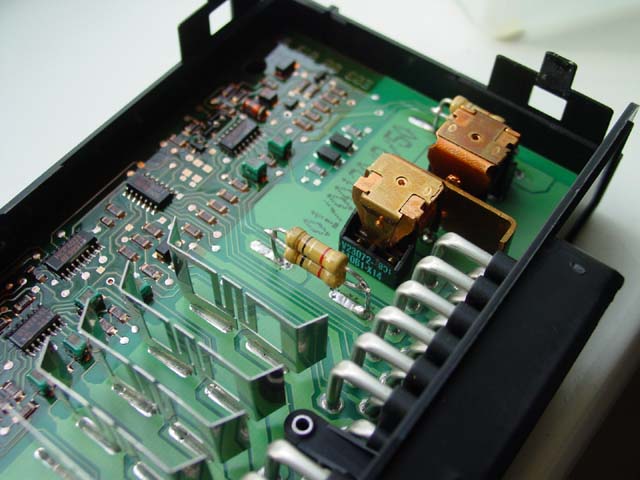
As I didn’t have a resistor with the exact value I used a slightly higher one of 0.5 Ohm (actually two 1 Ohm resistors).
This gave a voltage drop of 56mV and it shut up the check control. At this point you can’t use the standard H1 bulbs with the modified LKM.
You have to reinstall the original resistor plates for them to work again.
Now there are a million different versions of the LKM all with different layouts.
So there is no guarantee this will work on your LKM. So maybe you first want to check the LKM before upgrading to HIDs.
Satisfactory level after the job done:
I can finally see! The difference in lighting is amazing!
One more thing: Thanks Tim and Roland!