Article by: Johan
Article applies to: all e32 and e34 models.
Problem:
You want to remove the dash. Probably because you have some sort of problem with the heating system.
I have divided the removal of the dashboard into three steps:
- Removing the glove box and other lower dash parts.
- Removing the center console.
- Removing the upper cover.
Glove box and lower dash:
Let’s start off by removing the passenger side glove box:
The glove box flashlight wiring can be taken off after removing the clips on the side of the glove box. In my case the wiring was also taped to the glove box shock absorber.
The socket itself is clipped in from both sides:
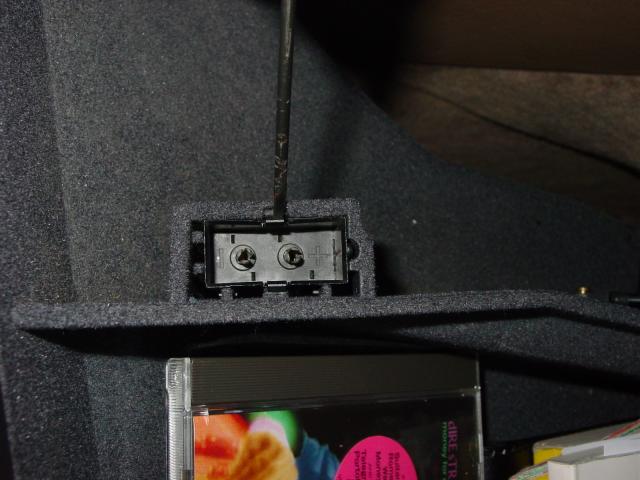
On the back of the glove box there is a cover. This can just be pulled off.
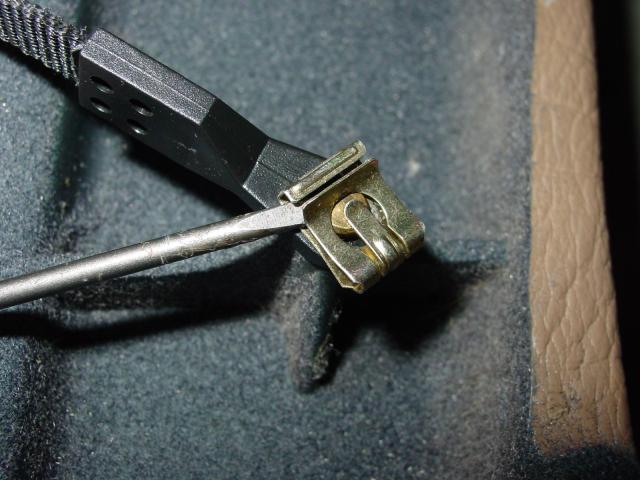
The front side the box is connected to the absorber and a strap. The absorber has a spring clip and the strap has a clip similar to clips used to hold the AFM in place.

The back has two mounting points around a metal rod that can be pried open.
If you look closely at the picture you’ll see that the right side opens from the top and the left side opens from the bottom.
Driver’s side glove box:
Note: Not all e32’s have the driver’s side glove box. Most e32’s in the U.S. have a stationary knee bolster on the driver’s side.
Now we have the first part in the trunk of the car let’s undo the second part: the driver side glove box along with the trim panel between the steering column and the center console that it’s attached to.
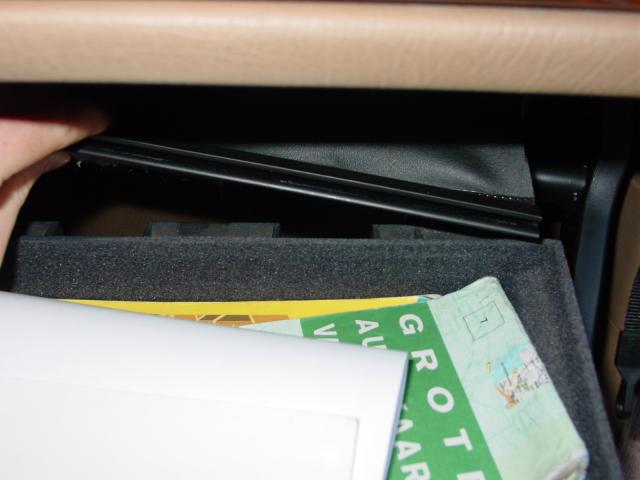
First we’ll remove the strap holding the glove box.
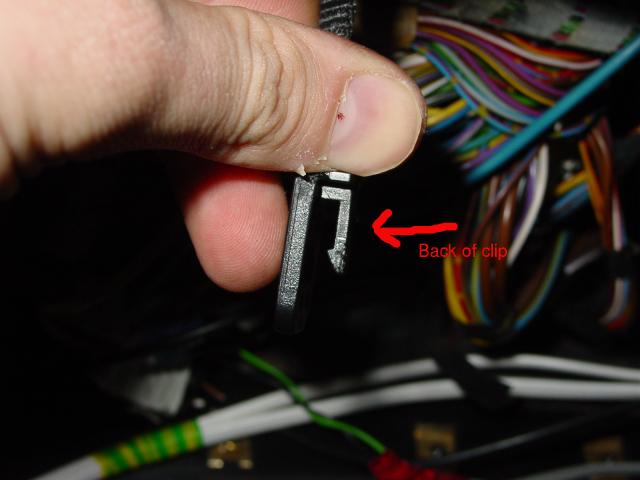
Pry at the back of the strap to get it out:
Of the right side there is a “hidden screw” in the trim panel . . .
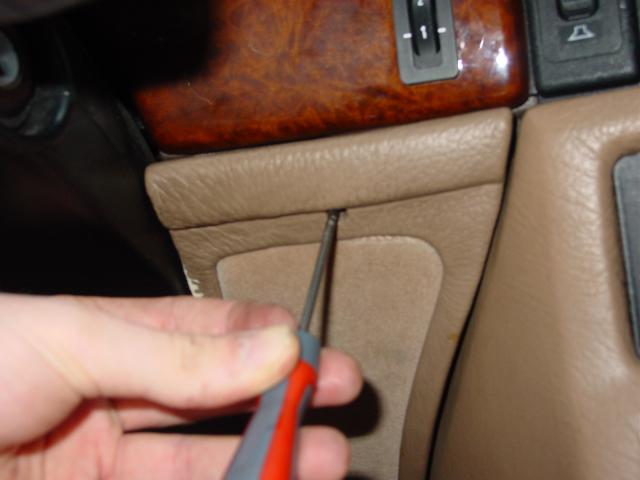
On the bottom there are two plastic nuts . . .

And the right side has a Phillips screw . . .
If you remove all these you should be able to pull the panel with the glove box still attached to it out of the car.
The foot well vents will come along with the panel so if you need more room on the right side remove the plastic insert in the steering column.
And be sure to remove the wiring to the gong.
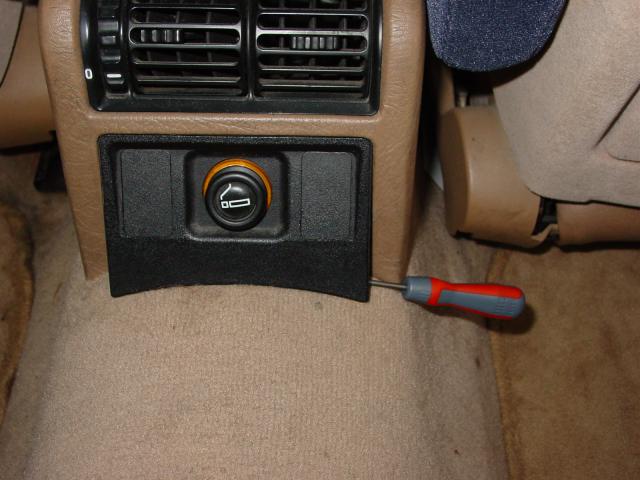
To get the center console out pry the black panel that holds the lighter off. I did this from the bottom.
If you are afraid you’ll break it you can first remove the blind plugs next to the lighter and pull it out through the holes.
After the panel is off remove all the wiring to the lighter.
Remove the two screws at the rear of the console:
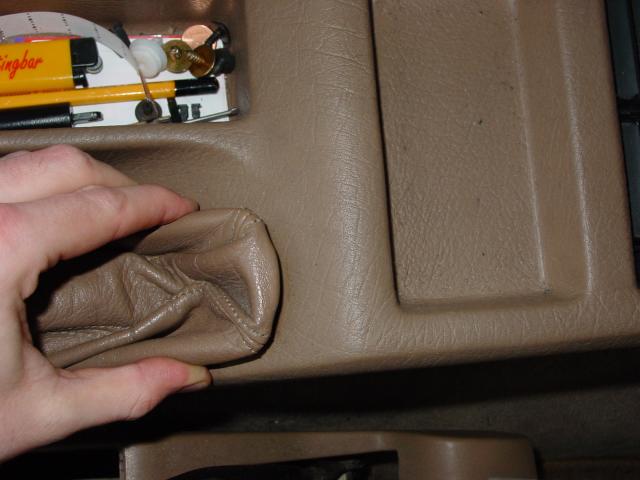
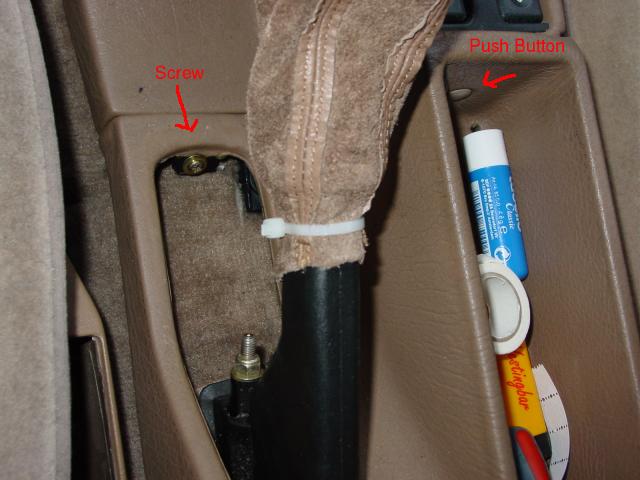
To get to the screw under the handbrake cover pull out the handbrake cover from the rear.
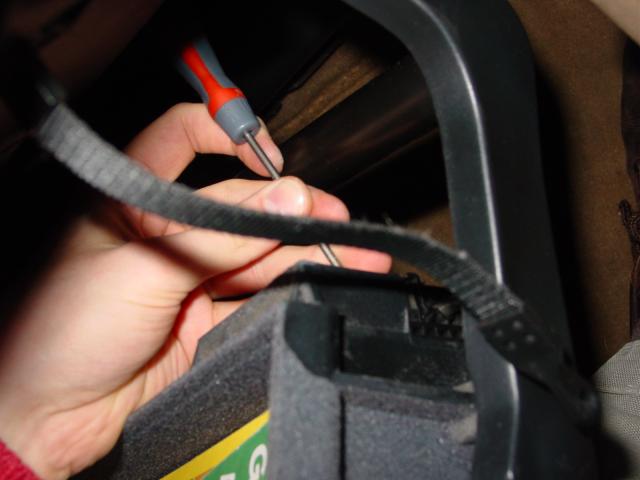
Now you can see the last two mounting points. Also remove the handbrake cover by cutting the zip tie.
If you don’t you won’t be able to take out the rear center console part.
Early models still have a cable running the the vent in the middle.
Be sure to remove it !
Let’s get to the front part. The front part is connected at three points. Undo them.
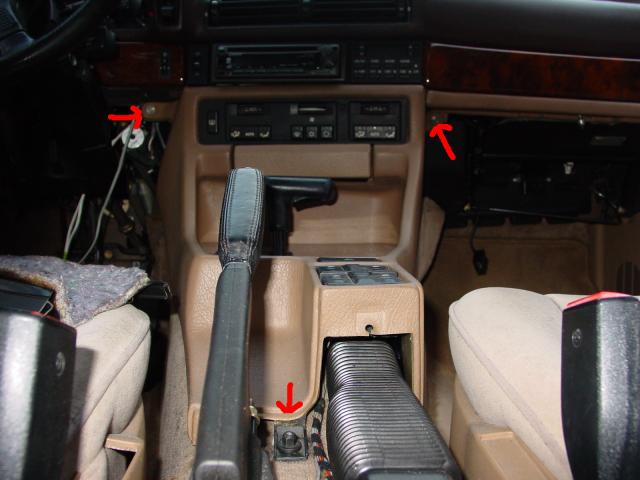
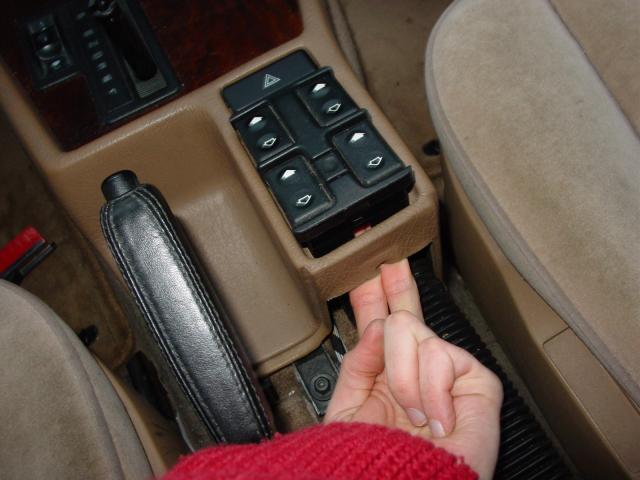
Push out the window and hazard light switches.
To remove the shifter / gear selector, remove the allen set screw.
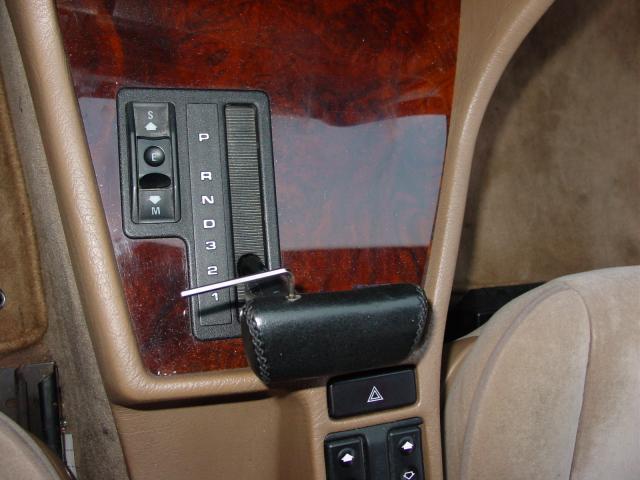
Pry out the S-E-M switch with a small flat head screwdriver.

. . . and pull the panel up through the hole.
The easy way to remove the heater panel in this case is to push it out of the console as shown.
The “proper” BMW way is to remove the cover on the rear window defroster switch and push the clip that holds the panel lose through a tiny hole.
But when removing the entire dash why bother ? It would just take too much time 🙂
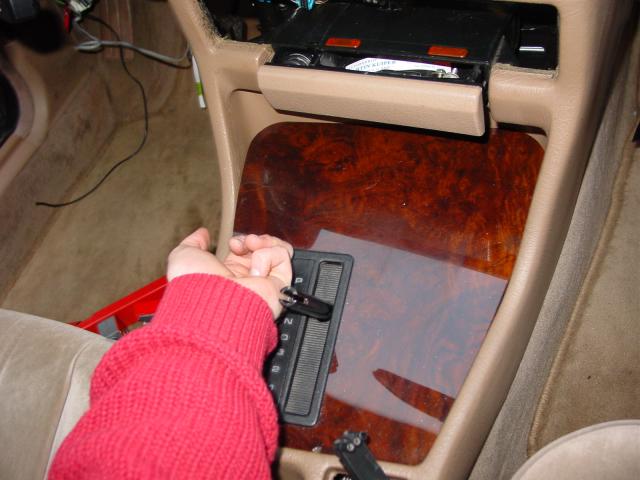
Before pulling the console out of the car you still have to undo the lamp and the connector to the cigarette lighter in the ashtray.
Here’s an opportunity to change out the tiny light bulb.

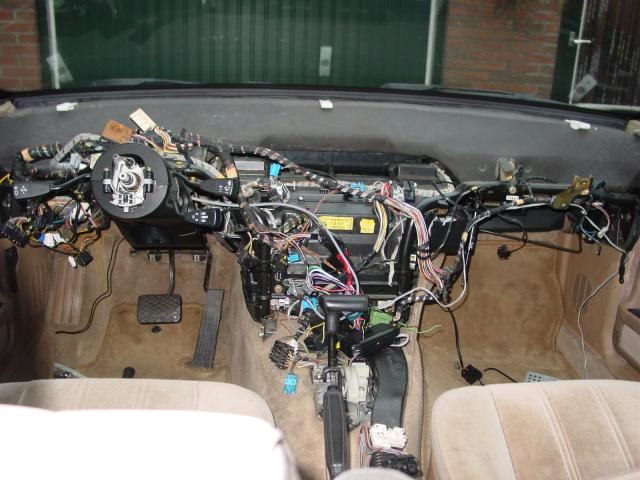
Upper dash cover removal:
Now we are coming to the tricky part: removing the upper dash cover. I have this feeling I removed way more than I had to.
You can probably leave all the wiring, the speakers, the air ducts and the lock pin panel of the glove box, under the dash cover if you undo the right connectors.
This will save you some time and make it a lot easier putting everything back in it’s place. Since I removed it all I will document it that way, but I strongly advice to cut corners where you can while removing stuff.
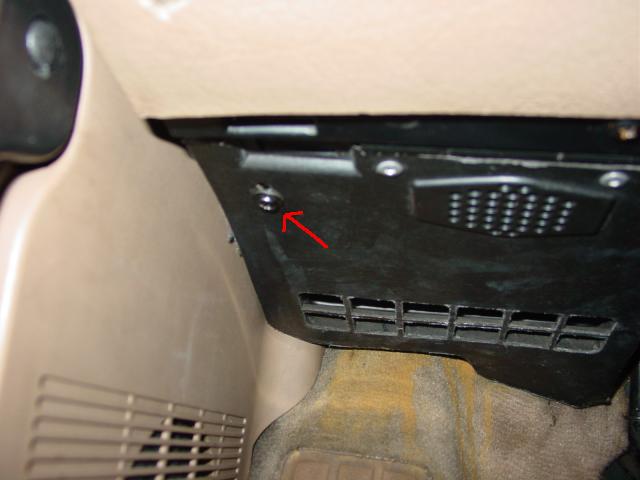
To remove the leftovers from the passenger side glove box first remove the screw holding the upper cover:
Pull it out and remove the wiring to the light.
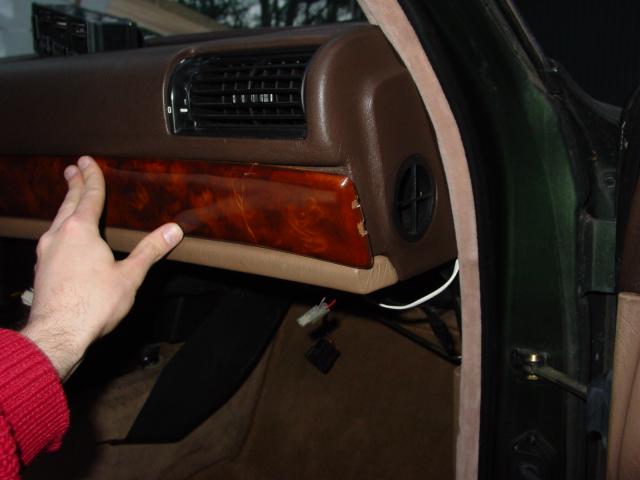
The wooden panel is fit to the dash with a 9mm plastic nut. If you lie on your back under the dash you can just see it.
When the nut is undone slide the panel out.
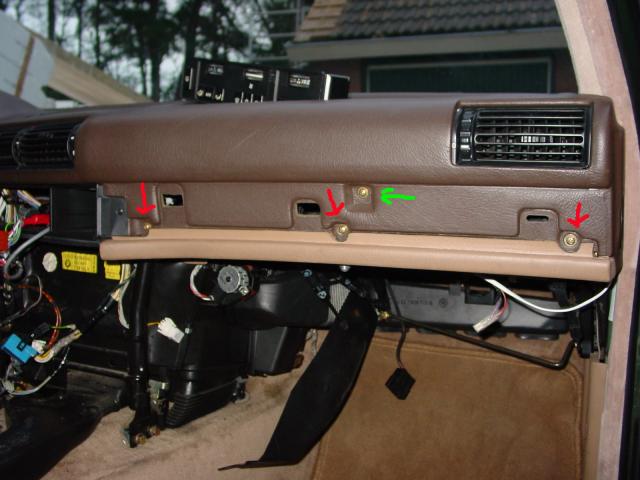
To remove the glove box panel with the lock pin remove the four screws in the picture below.
The ones marked in red are directly for the panel, the one marked in green one is for an extra bracket behind the dash which you might as well remove now.
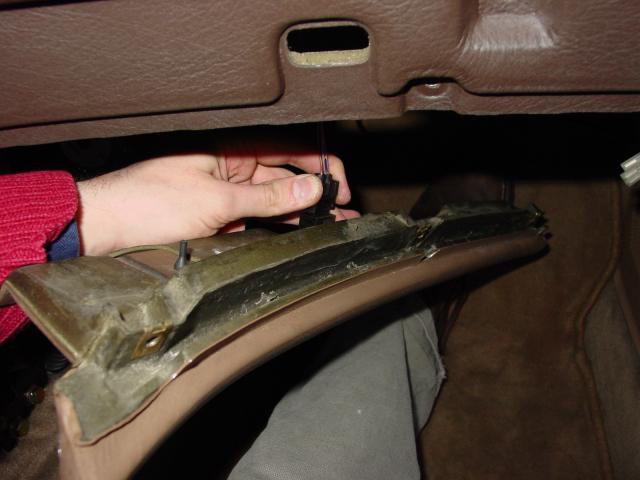
Remove the electrical connector for the glove box light switch.
Now that the left side is almost completely stripped we’ll move over to the driver’s side.
To remove the steering wheel pry out the BMW logo (no airbags here…), undo the 22 nut found under the logo (and with the key in the ignition) pull off the steering wheel.
![]()
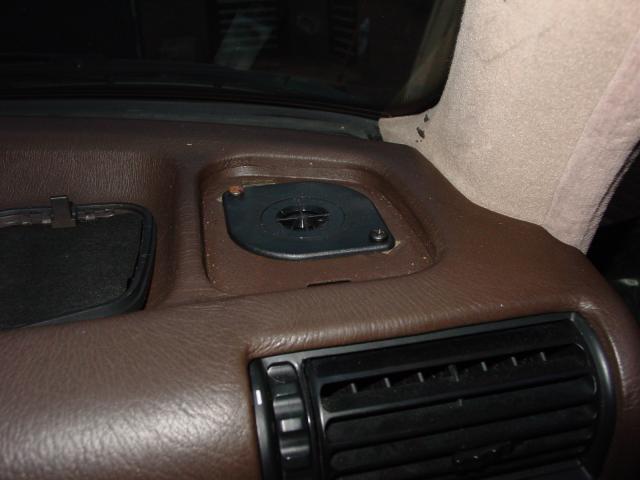
Pry the speaker cover off on both the left and right side of the dash . . .
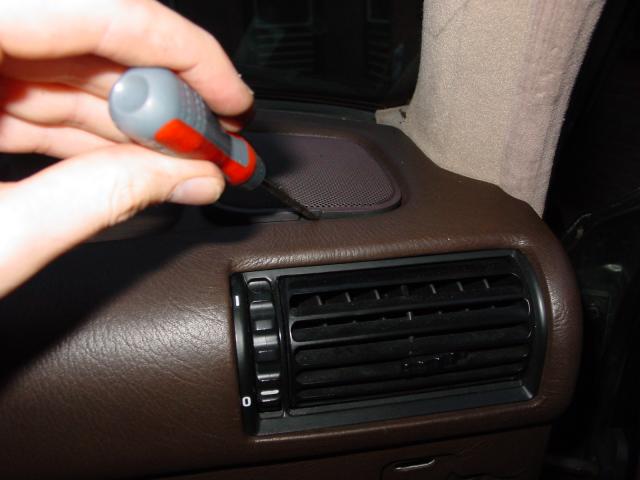
. . . and undo the screws and wiring for the speakers.
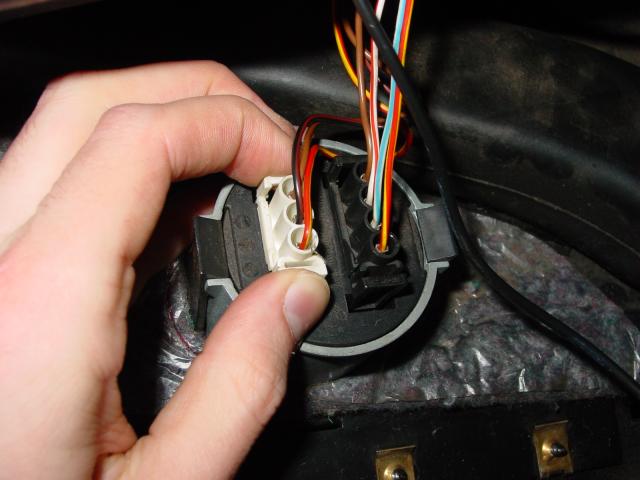
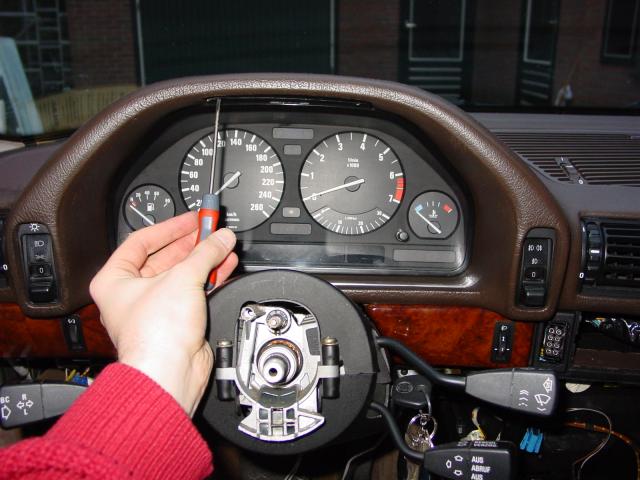
The instrument cluster can be removed by undoing the two screws in the top and removing all plugs in the back of the cluster.
Best put a rag over the steering column otherwise you’ll scratch the plastic…trust me I know 🙁
Push out the two light switches and undo their connectors. The instrument cluster dimmer can stay in the dash cover so just remove it’s connector.
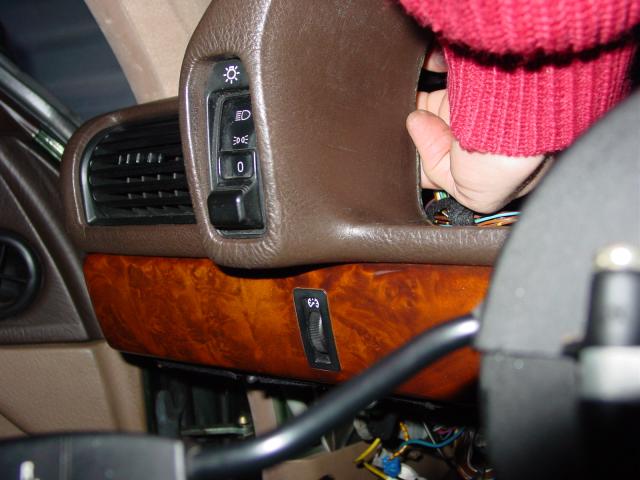
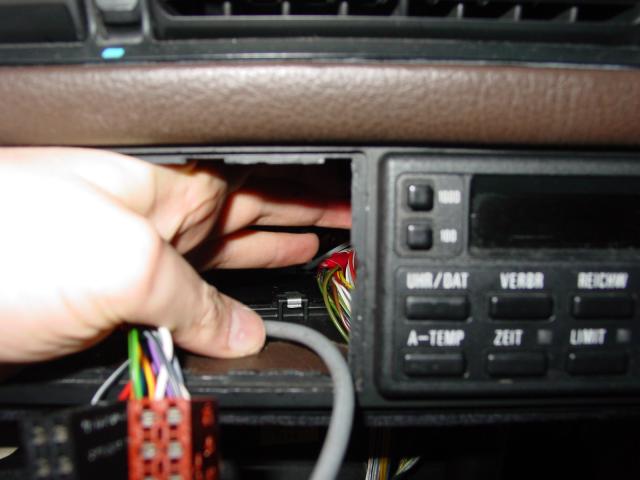
You can now remove the little piece of wood trim between the steering column and the radio. The best way to get to the #9 plastic nut is through the hole the instrument cluster used to be.
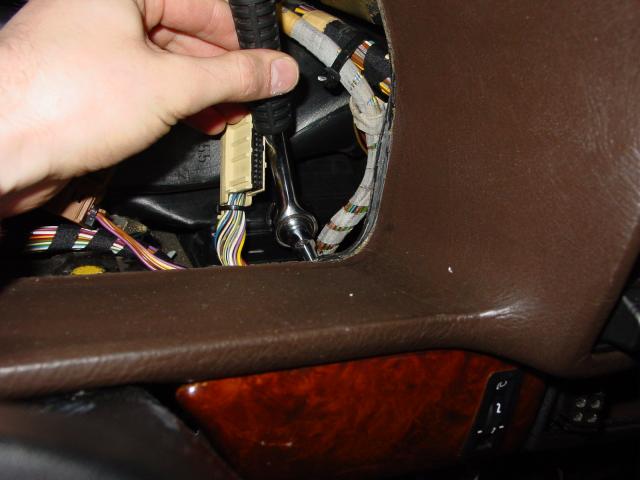
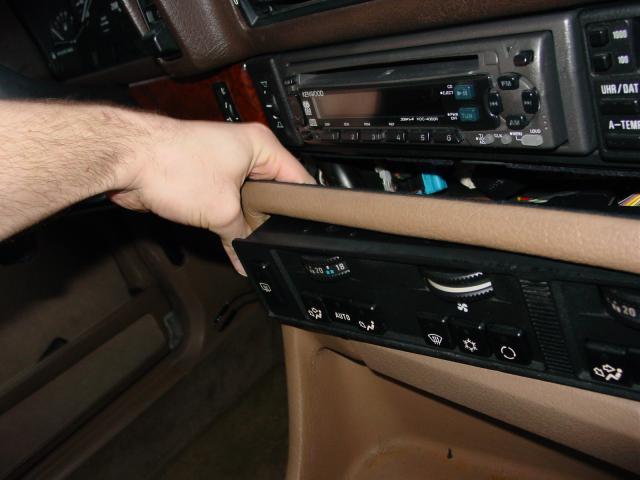
I assume you all know how to remove your radio. To remove the OBC pull the lever on the side of the frame and it will come flying out.
If you have a fade switch push it out from the back.
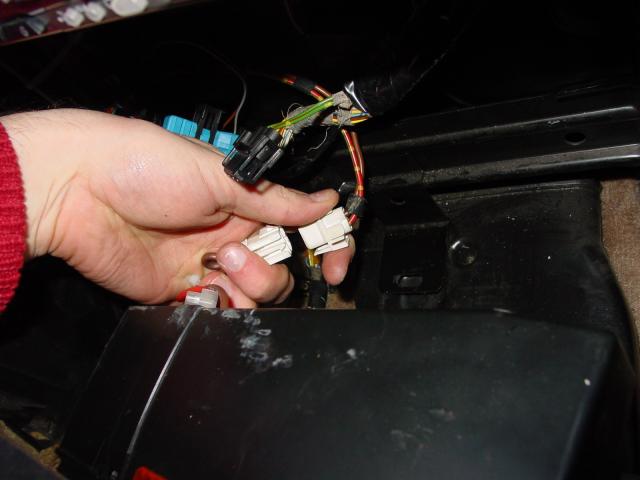
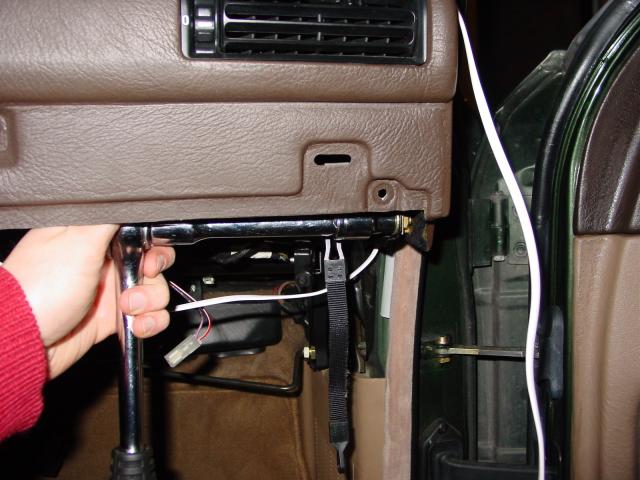
Now we can take out the OBC/radio frame by undoing the three screws shown and by cutting the zip tie to the OBC connector.
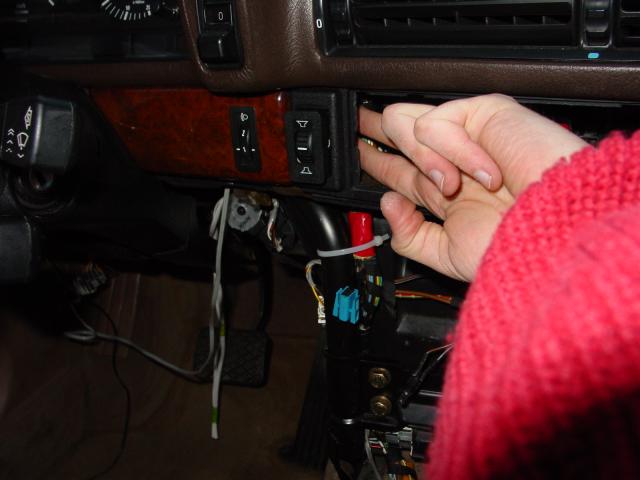
Now the dash cover is clear. Remove the black inlay panel that covers the upper screws of the dashboard cover.
Undo the 3 screws that are connected to the white brackets.
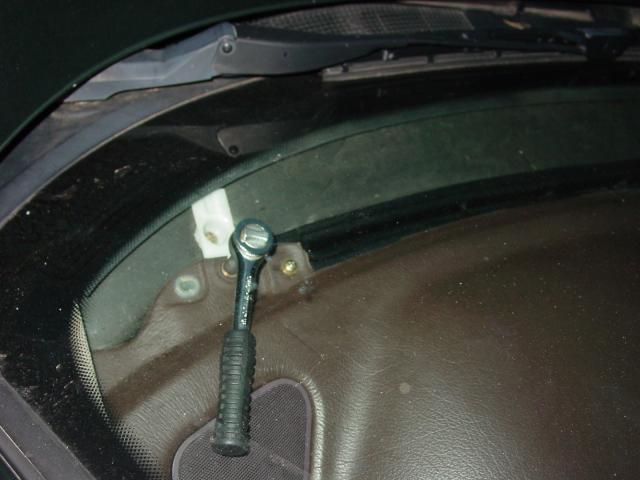
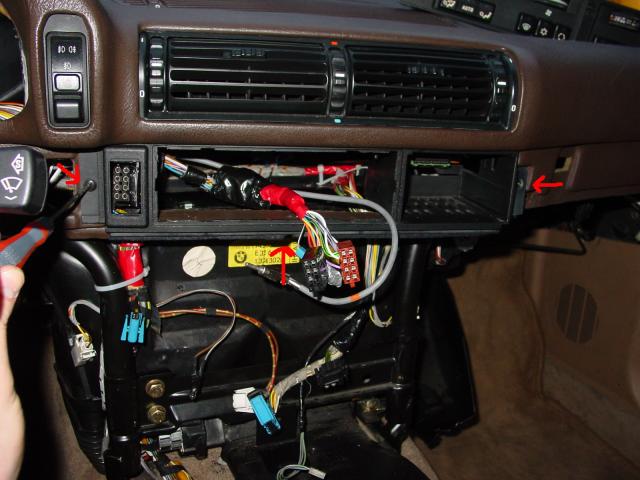
Next undo the air duct screws to give them a little flexibility.
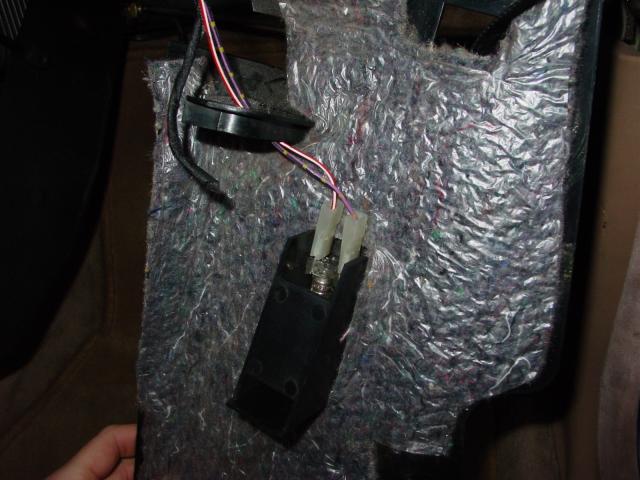
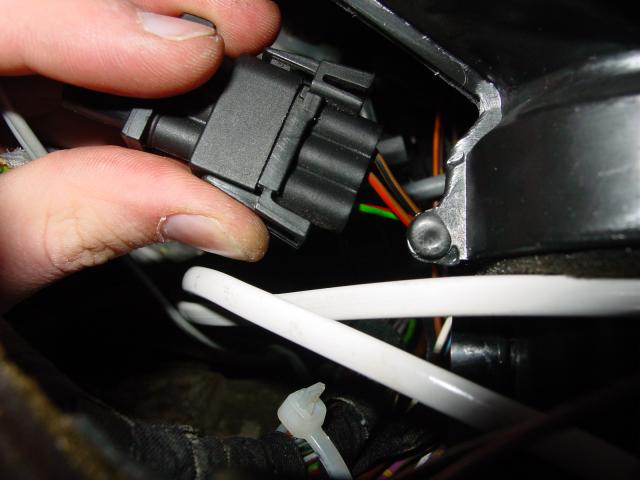
Remove the center air grill. Remove the DWA led connector. And remove the 3 screws on the center air duct.
Now remove the connector to the center vents:
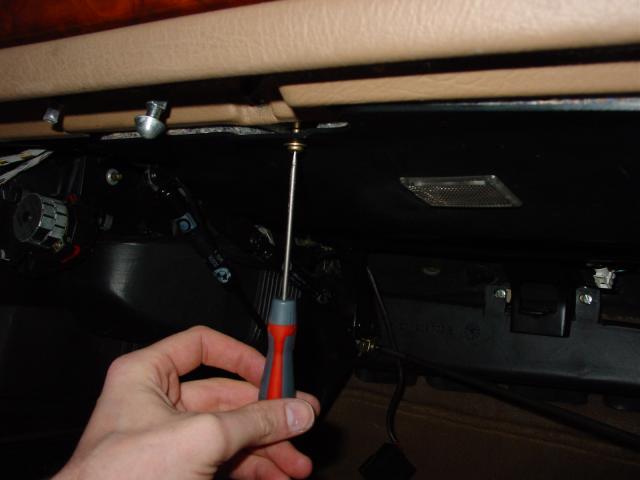
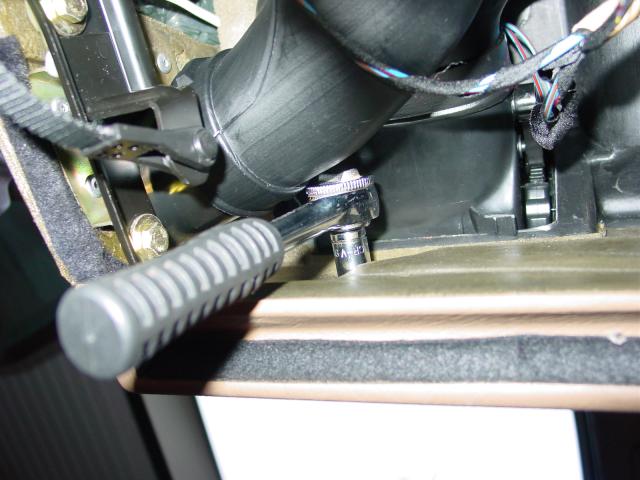
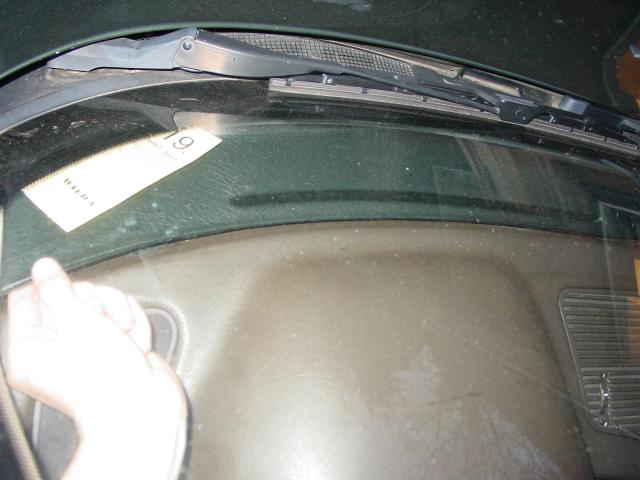
Undo the screws on the underside of the dash cover
Undo the four 10mm bolts under the dash. There are 2 on each side.
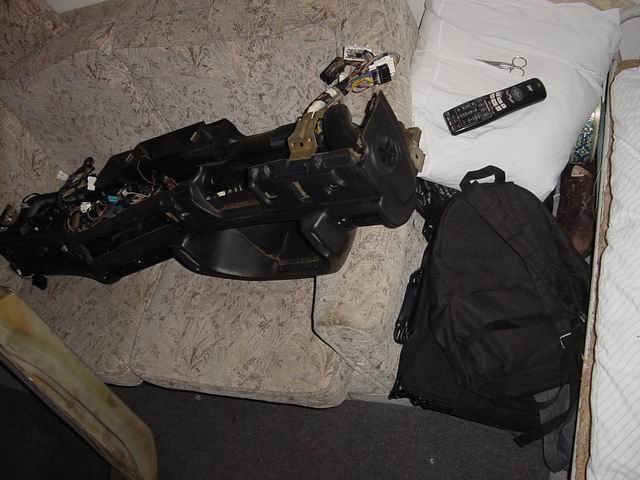
After cutting all zip ties holding the wiring to the cover, get someone to help you remove the cover from the car and keep it in a safe place as you’re probably not putting it back today 🙂
Update – The easy way: I had this idea: I did way too much work the last time when I removed the dash cover. As I have no other hobbies I removed the dashboard cover again.
This time the upper part was off in some 20 minutes.
I removed all the connectors under the driver side glove box, the steering wheel, the instrument cluster, the IHKA wiring loom, the park ventilation wiring to the IHKA control panel and the speaker wiring to the speakers behind the kick panels.
Then I took off the entire center cover (with two people) with the wiring loom, OBC, speakers, air channels, radio and everything still in it.
You will have to free the wiring loom to the hazard warning lights and the automatic transmission.