Articles by: MehMan and Johan (below)
Article applies to: all E23, E24, E28, E32 and E34 models.
This is a pretty straight forward replacement, an easy DIY. It shouldn’t take more than an hour, two at most, depending on how much you want to clean and how slowly you’re taking things.
Tools needed:
Breaker bar or good impact gun. The nuts and bolts are pretty tight on there. A breaker bar is nearly essential.
22mm socket.
22mm wrench.
Jack stands and some blocks of wood.
A jack of course. A small bottle jack or small floor jack is great, along with a big one to jack the back of the car.
Gear needed:
Set of dog bones (BMW p/n: 33 32 1 126 476)
If the mood takes you, you can get a set of new bolts, nuts and washers.
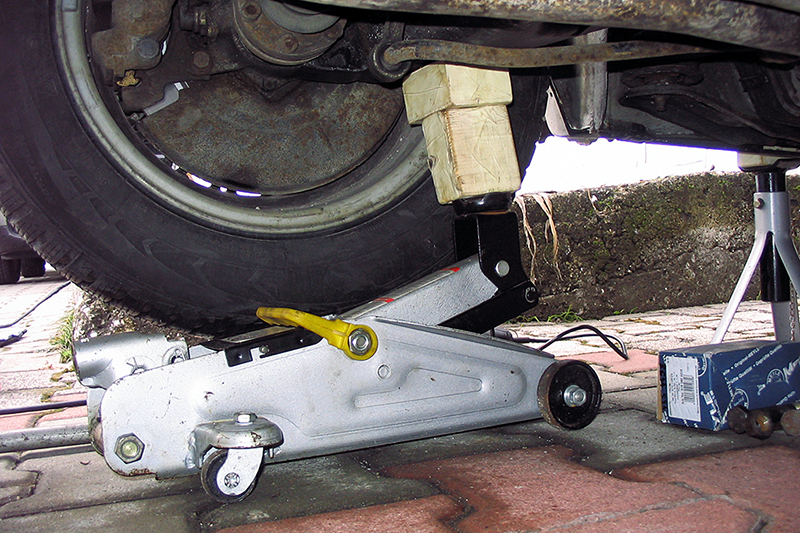
To start things off, lock the front with something and then jack up the rear of the car. On flat and solid ground of course. I choose to jack the rear up on the diff casing, as it’s all pretty sturdy there. You will need to place the jack stands under the factory jack points, so you have enough room to swing your breaker bar around if you’re not taking the wheels off. You can take the wheels off if you want, but it’s not needed. But do one thing before you jack the car up:
Measure the height from the center of the wheel to the top part of the arch.
That’ll give you a reference point when it comes to tighten the bolts, as it’s a bit of a pain to do it when it’s all on the ground. It can be done, but it’s much easier if the car is in the air and you just jack the arm to the proper height.
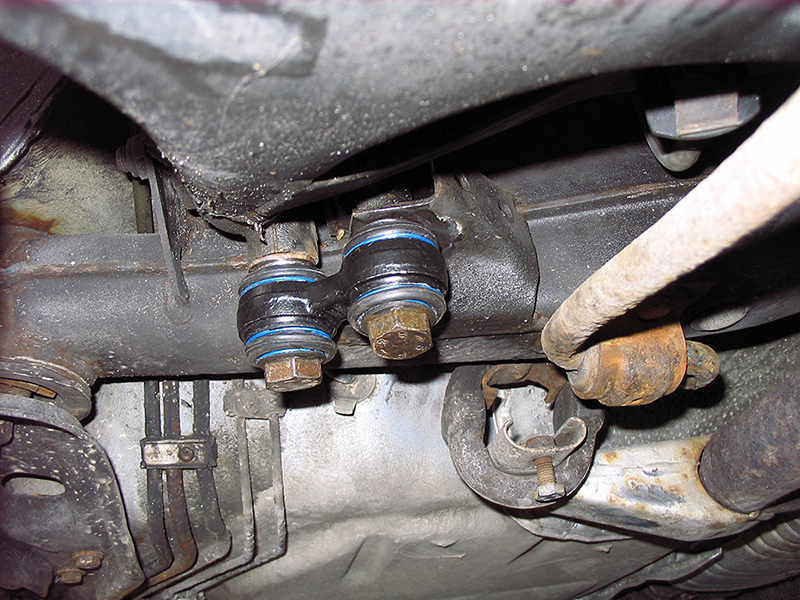
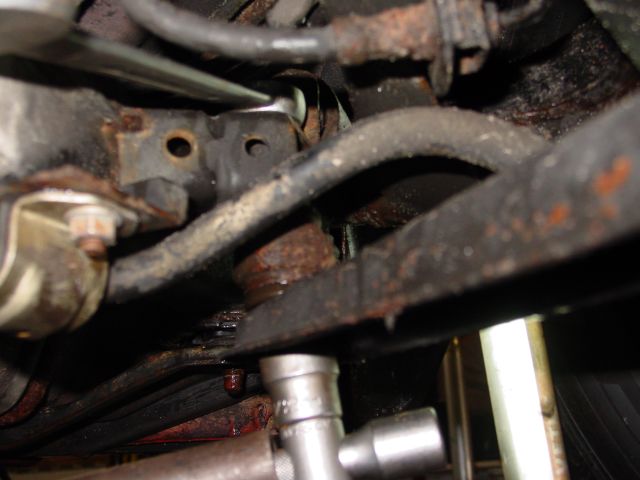
After you’ve done all that, locate the rear dog bones:
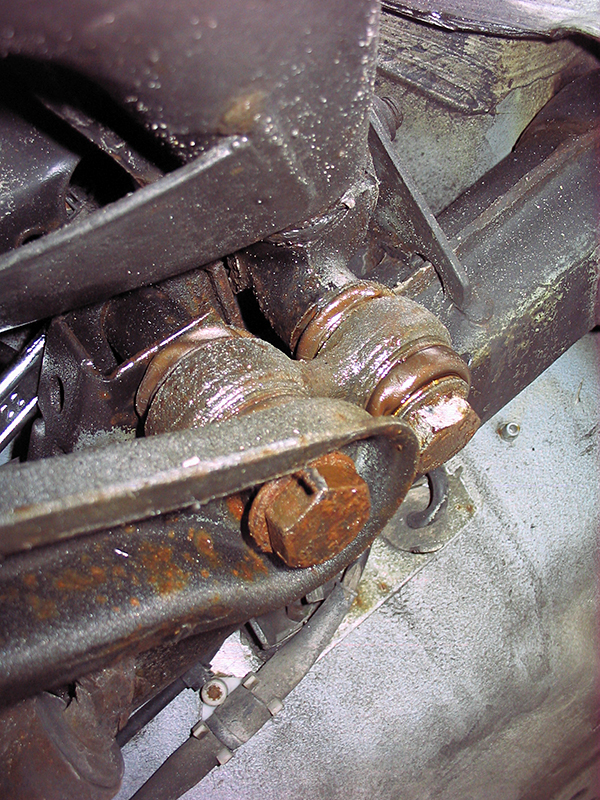
Pretty easy to find them. I’ve already started to undo the bolts in this picture.
One of the bolts has a nut on the top that needs to be held still in order for you to undo the bolt. No. 1 in this picture:
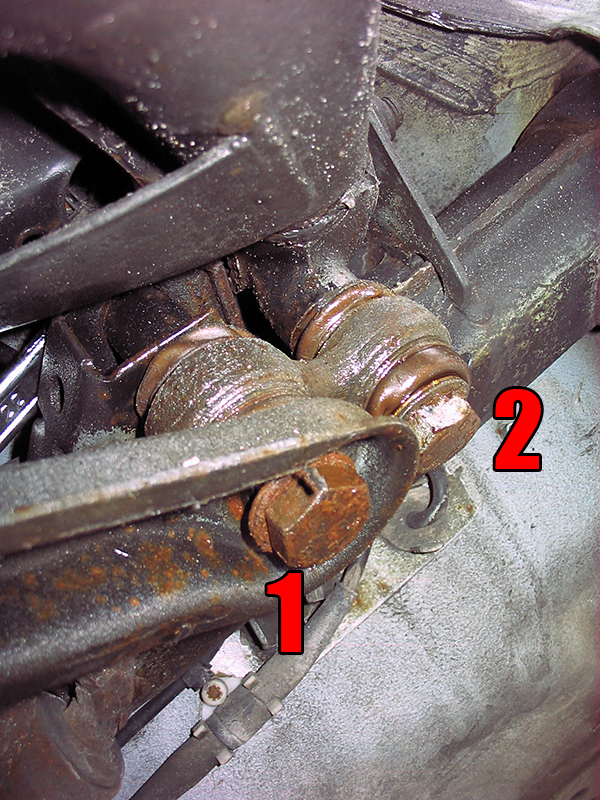
There’s just enough room to get a wrench in there. I prefer the method of putting it on and turning the bolt until the wrench gets stuck on something that won’t break but keeps itself attached to the nut.
That way you don’t have to hold the wrench with your hands in a tight spot.
When undoing the bolts take care to note where which washer goes. There are a couple of them and you just need to place them back where they belong.
After you’ve undone all the bolts the dog bone comes off easy.
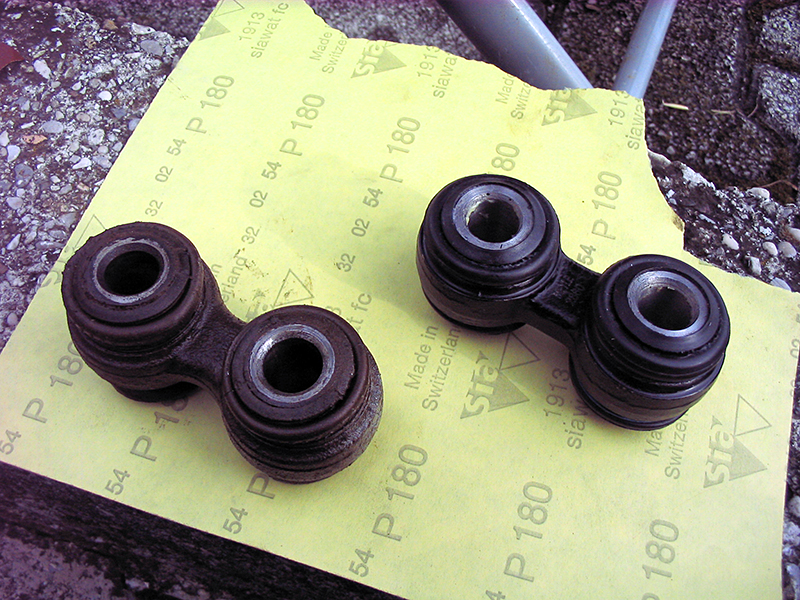
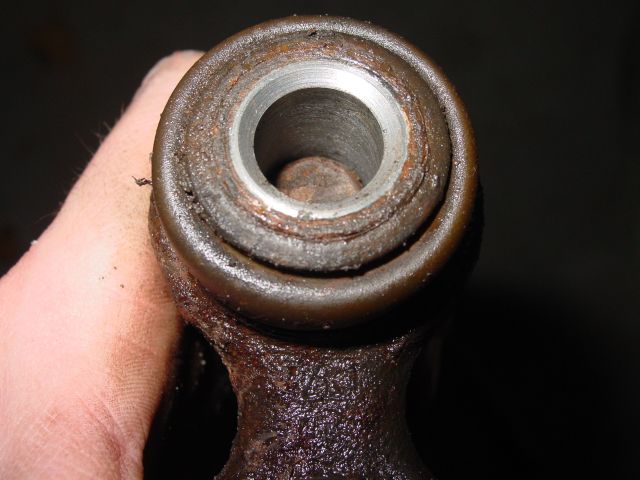
Here’s a comparison of old versus new. The old one doesn’t look too bad at first glance, but dig a bit deeper.
I found my old ones were really floppy and the boots were torn so the inside was full of rust and gunk.
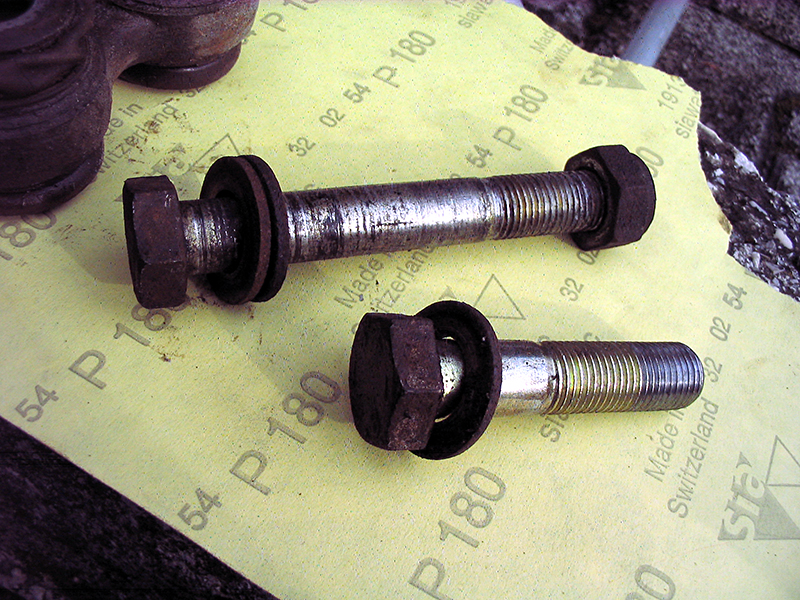
If you’re reusing your nuts, bolts and washer, give them a quick clean with a wire brush and some sand paper just to take the worst of the dirt and rust off.
I did just that, to get from this:
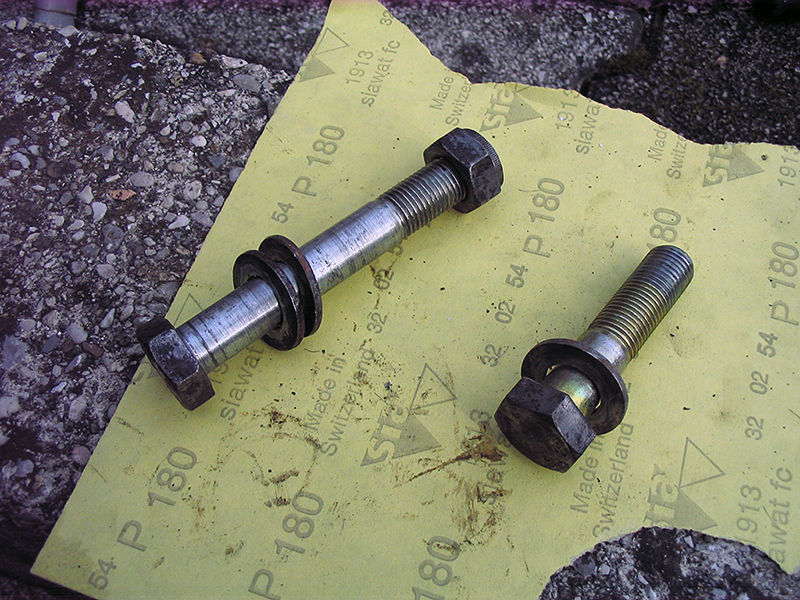
To this:
Install is reverse of removal. It helps to jack up the arm to a better height so you spend less time trying to get the bolts aligned:
After all that, put the nuts in semi tight and drop the car, or jack the arm up to the loaded height, and then tighten to 127 Nm or 94 ft. lbs.
Remember to keep the wrench on the top nut so you can tighten it. And they have to be tightened with the load bearing on them or proper height, otherwise you’ll accelerate the wear of the new items.
And here are the new ones installed:
Easy job!
A second perspective provided by Johan:
Problem: The rear of the car seems to “self steer”. This is especially noticeable going over speed bumps at “speed”.
It’s sort of like the wobbly feeling you get from the steering with worn beer can bushings, just a bit less.
After replacing the beer can bushings, rear stabilizer links+mounting rubbers, LAD accumulators, and the rear LAD shocks I was getting desperate.
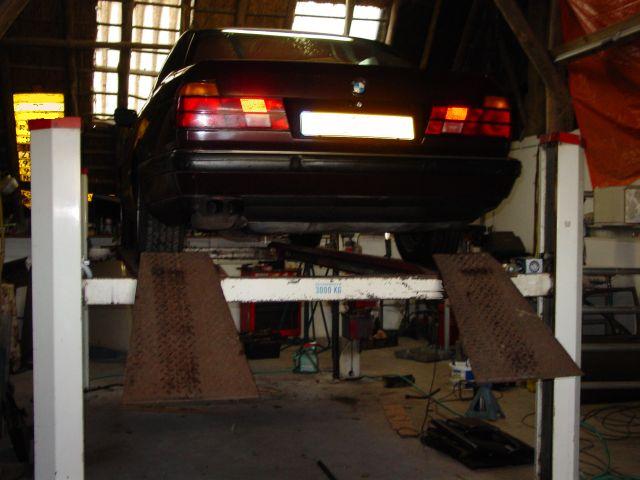
Let’s get to work: Let’s start by raising the car. As far as I know you can replace the arms with the wheels on or off the car.
Since my cousin just got a new toy (also known as a lift) I was fortunate enough the raise the car with four wheels “on the ground”.
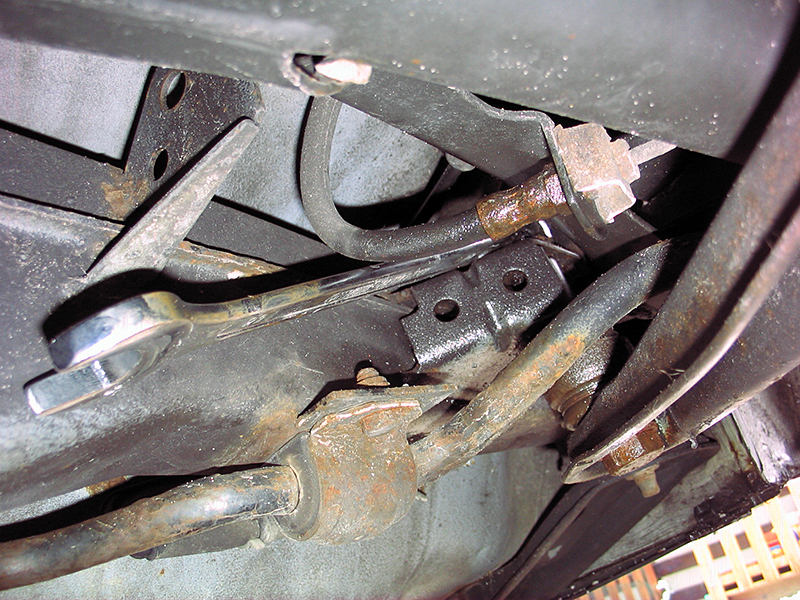
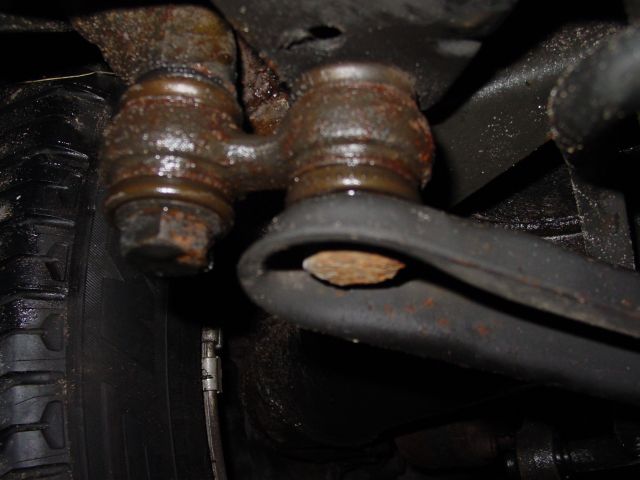
Here is the assumed to be defective part. It looks like the original that was on when the car left the factory.
Knowing the cheap-ass previous owners of my car (coincidentally I’m owner 7 of this 7-series) it probably is:
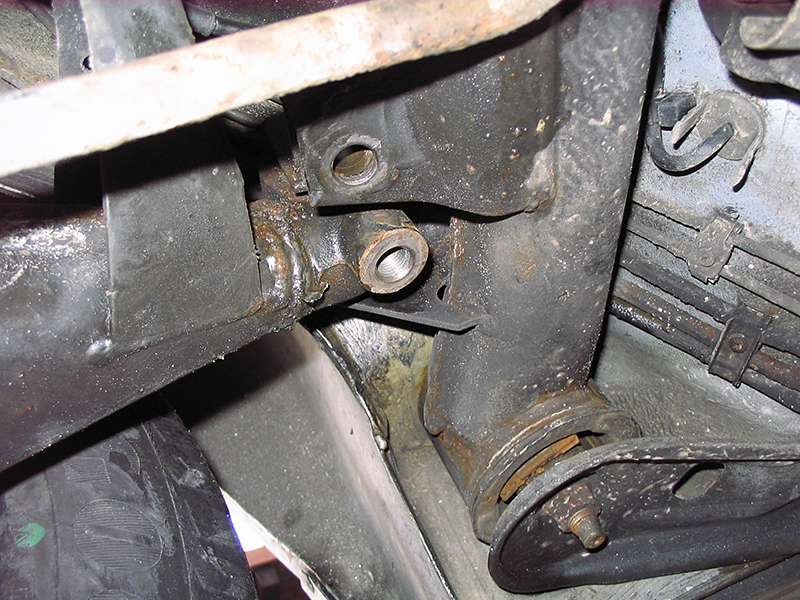
The arms are held in place with two big bolts. The ones on the inside have a nut on the top, the ones on the outside are screwed into the sub-frame. And they are screwed TIGHT.
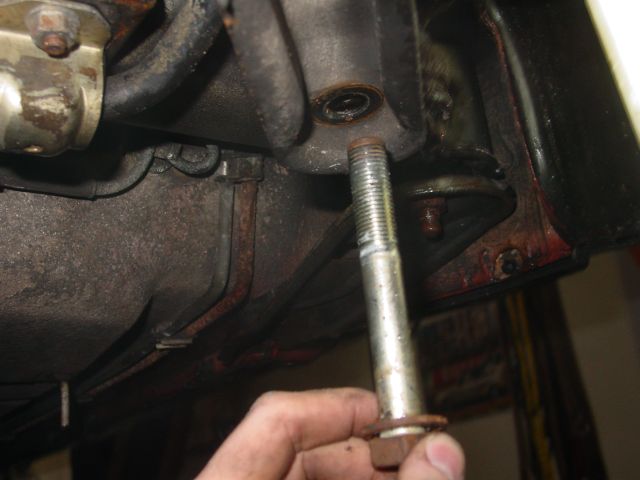
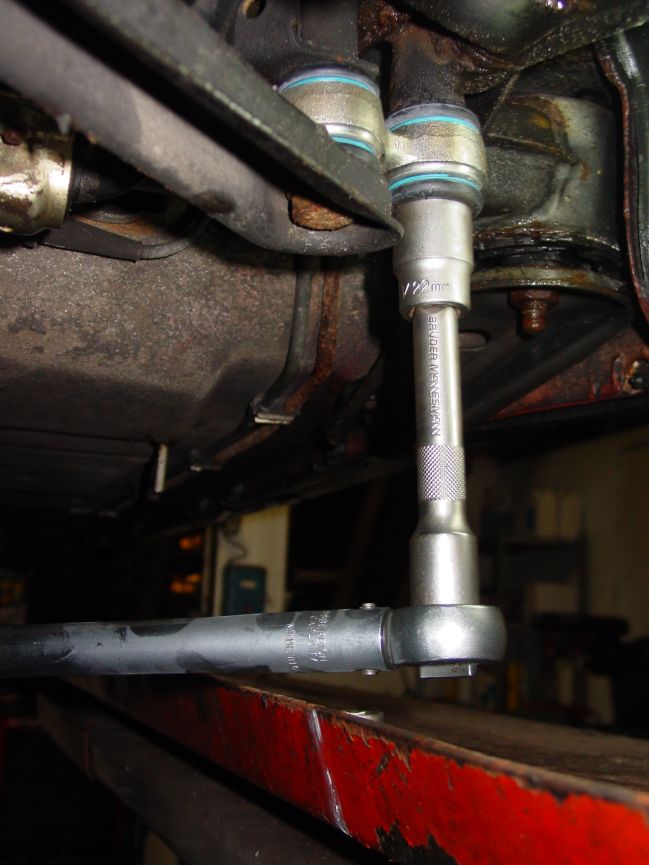
So I used an extension pipe on my 22 socket and breaker bar to undo the big bolts:
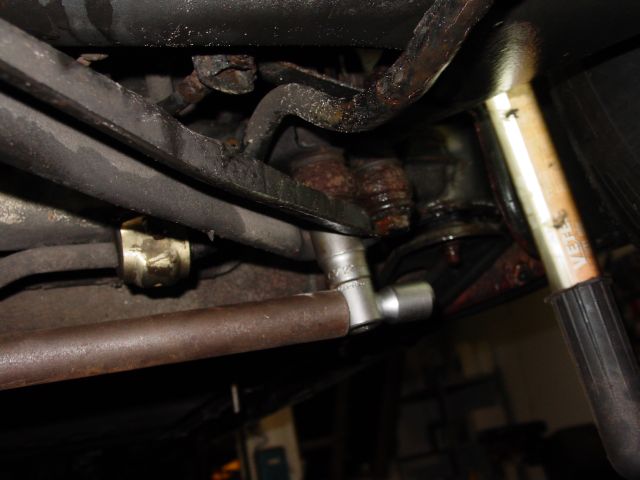
As the inside also has a nut on the top I used a spanner to hold the top part in place while applying lots of force to the bolt:
By using the the big pipe as and extension they actually came out quite easily:
The old arm showed signs of wear, but it wasn’t a part that needed to be replaced for the annual safety check we have in Holland (APK).
Never the less it needed to be replaced in my (humble as ever) opinion:
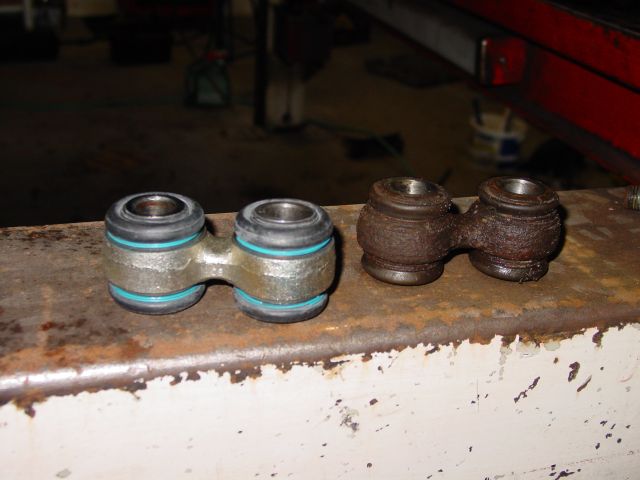
The old part and the new part side by side. I’m sure you can guess which is which:
After loosely putting in the bolts I torqued them to 120Nm. This put them in place quite snugly:
Total amount of time: Thanks to the lift it only took me 10 minutes per side
Skills needed/difficulty level: Novice with an attitude
Total amount of parts and costs: These babies cost about 80 euro/piece from the BMW dealer. I like buying my parts original from the dealer, but sometimes the price difference is just too big without the quality suffering.
As I have some good experience (>10 000km) with the Meyle track rods on my car I decided to get the matching dog-bones at 25% of the dealer price from ebay.
Satisfactory level after the job done: Excellent! The rear finally stopped “self steering” my 750i finally handles the same or better then I’m used from my former 735i