Article by: Johan
Article applies to: all e32, e34 models.
Problem : At some point the fuse box caught fire. Probably due to corroded contacts.
That’s exactly why I always replace the fuses and clean the contacts of the fuse holders in an older car.
I didn’t like the way the previous owner had the repair done so I planned to fix it properly at some point.
This was also one of the things I didn’t check out when I went to buy the car. Doesn’t really matter as I would’ve bought it anyway.
At the moment I’ve reached the aircon repair/R134a rebuild on my 750i and nothing seemed to work.
Even the electrical fan didn’t work. I traced the fan back to the small fuse box and found no power at the relay terminal.
So the “some point” where I planned the repair was NOW!
Let’s get to work :
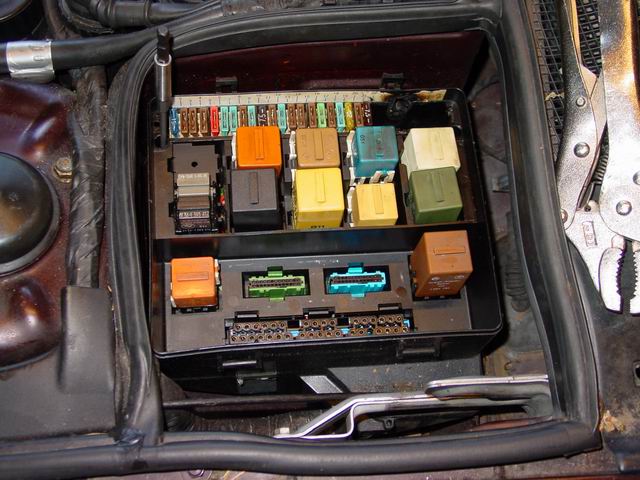
I first removed the four screws in each corner of the upper fuse box part.
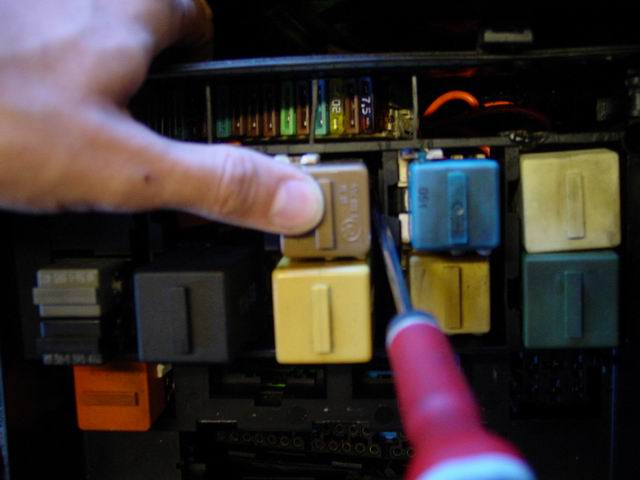
Then I pulled out all the modules and thought about pulling the relays.
Obviously I wrote down where everything goes (okay….so that’s a lie…but I do recommend it!).
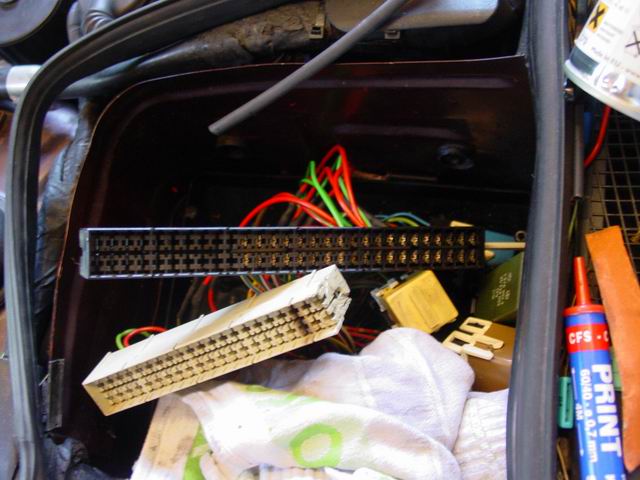
Then I clipped out all the relay sockets, module plugs and what was left of the fuse rail holder:
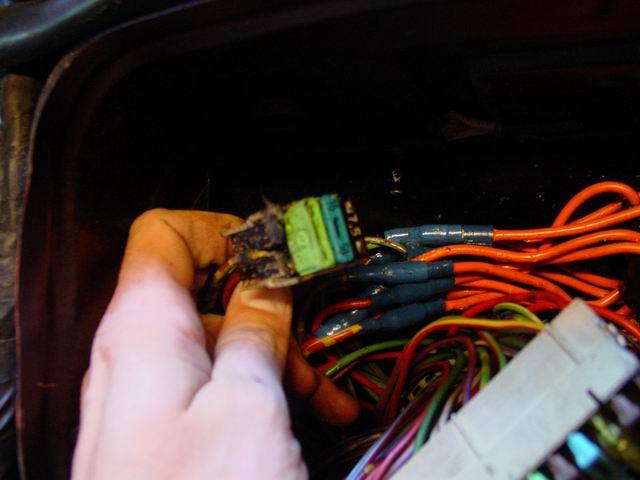
A clear view of the mess underneath the cover:
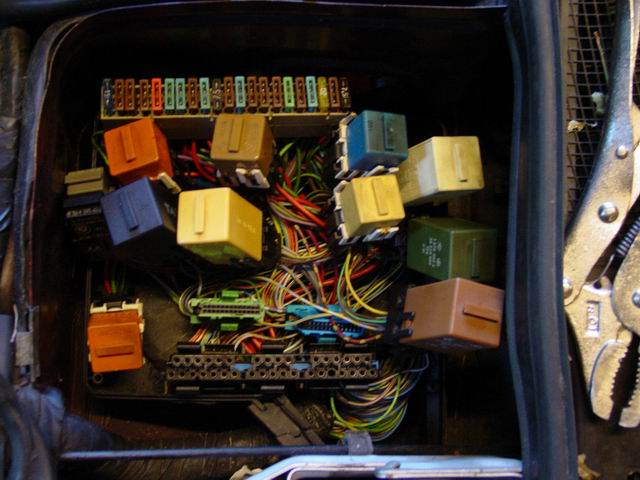
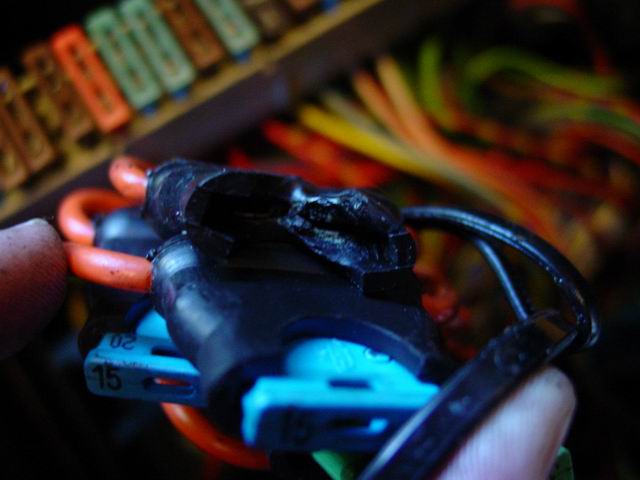
As you can see the repair was done in a cheap and fast way by inserting “floating fuses” into the existing lines:
Not a proper fix if you ask me. This was also back up by the fact that one of the holders was already corroded.
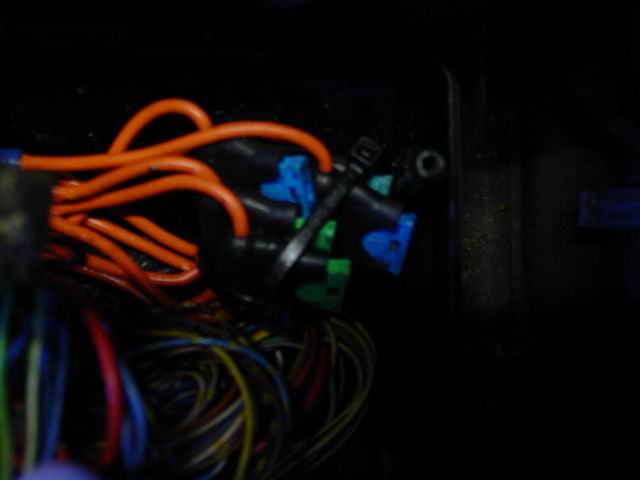
And by looking at the wire coding this is the fuse for the electrical fan.
I’m sure that would’ve been a problem in the future if I hadn’t replaced it:
The rest of the fuse rail didn’t stick to the box anymore so they just threw it in there:
So now what is my idea of a proper fix? Ideally a new wiring loom. But even I am not that crazy!
So I decided to replace the fuse rail and the top cover alone by soldering in the broken connections.
Luckily I still had the fuse box from my donor car I bought years back (my parents still love me for that big pile of parts in their garage 🙂 )
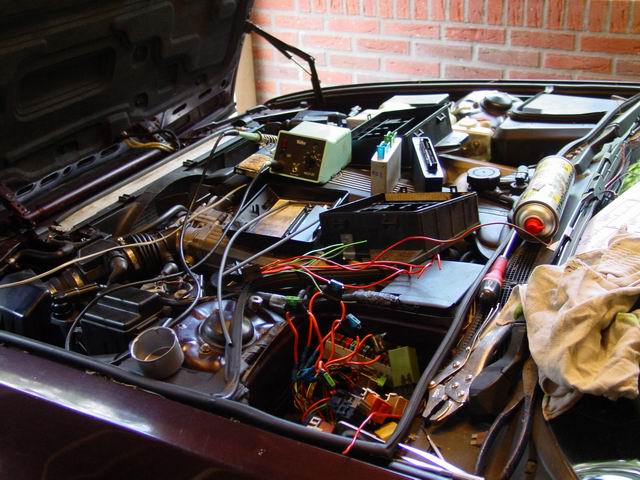
First I got all my tools and parts together. And I must say the v12 makes a better table then the inline 6:
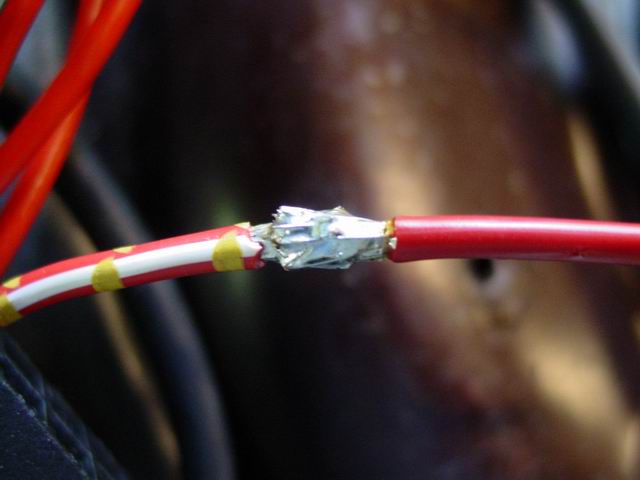
Next I started soldering in the fuses that where removed from the box.
I striped both wires, which where luckily not corroded, pushed them together and applied lots of solder:
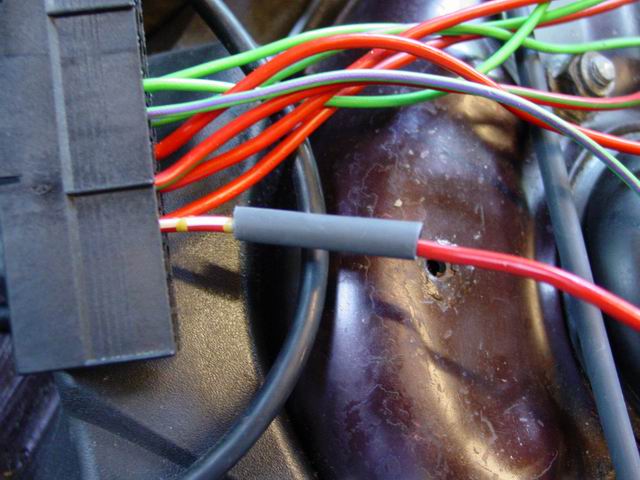
Next I covered the joint with shrink wrap:
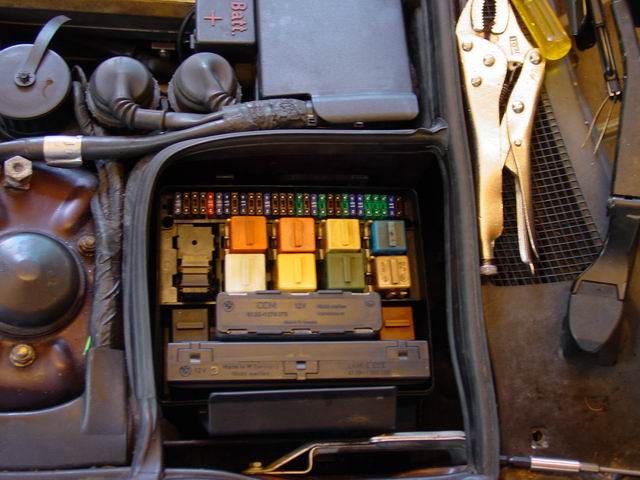
As I still don’t have a bionic third hand mounted on my chest I used a pair of locking pliers to hold (not clamp) the wire while I was soldering:
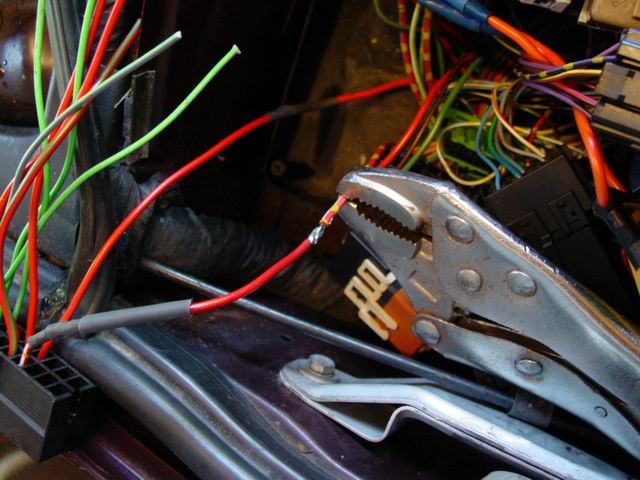
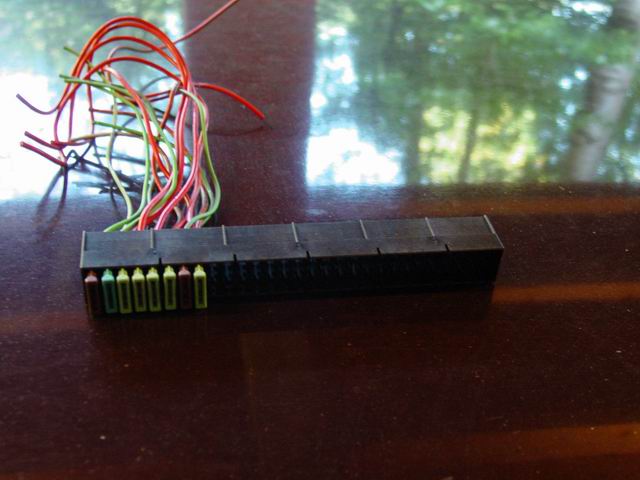
Slow but steady I progressed though all of the five fuses:
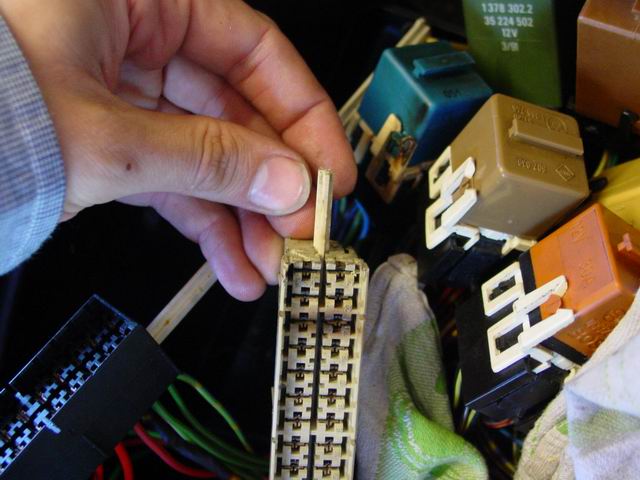
After that it was time to transfer the fuse holders from the old fuse rail to the new one.
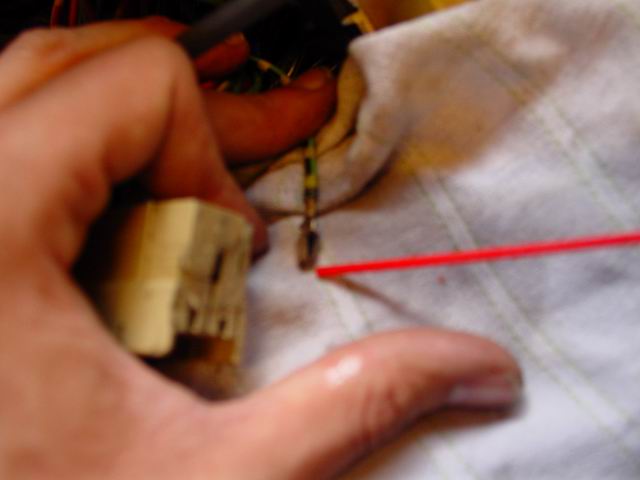
First I removed the locking slider that holds the fuse contacts in firmly:
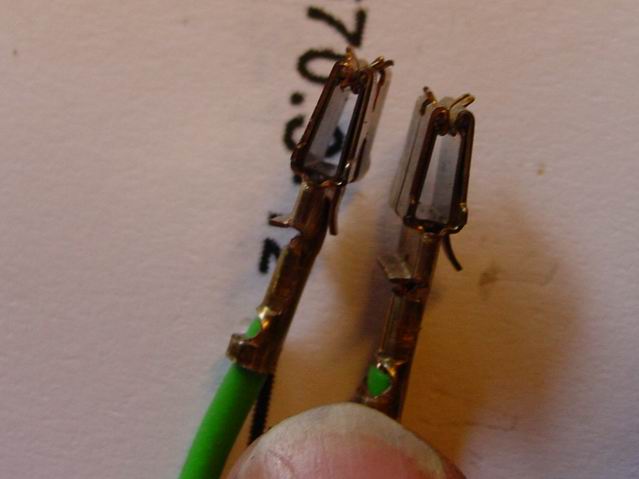
The contact pins clip themselves into place.
On the left you can see the pin pushed in during removal, on the right you can see the re-bend pin before insertion:
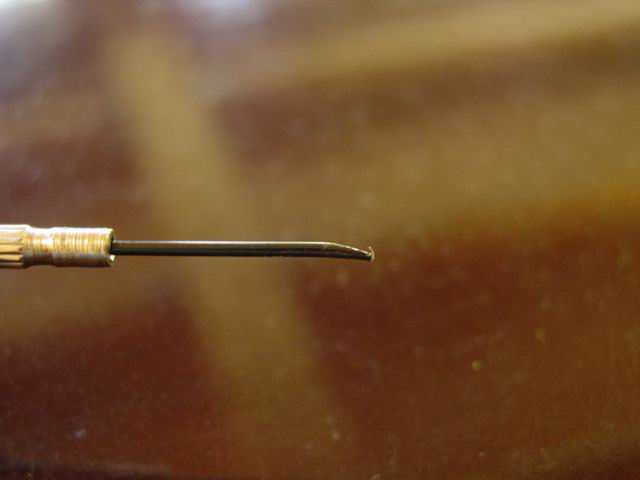
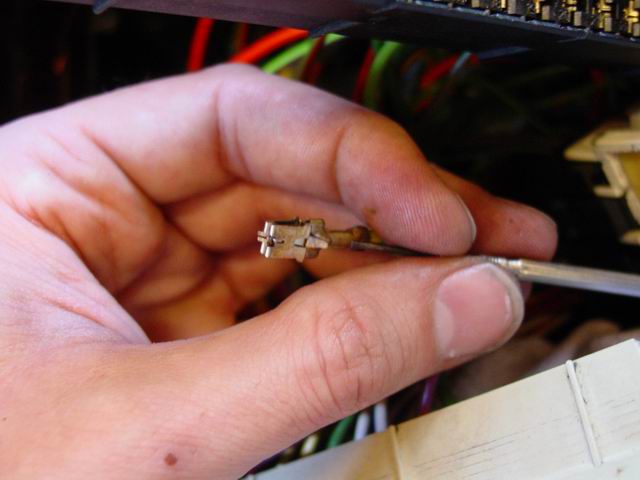
For quick removal I made a tool by bending a cheap jewelers screwdriver:
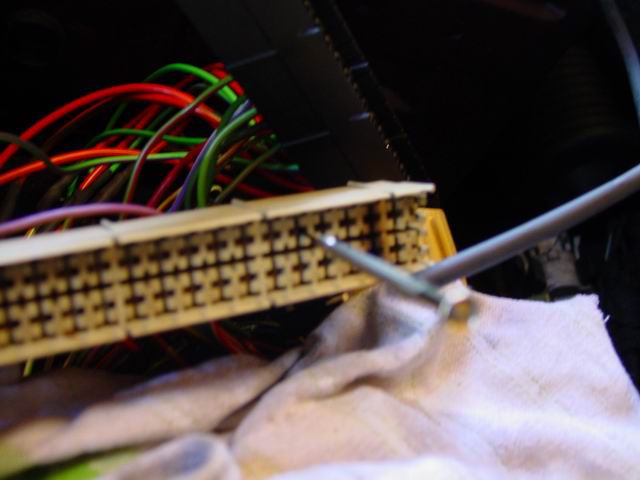
As I progressed though the row of fuses I got better and better at removing them:
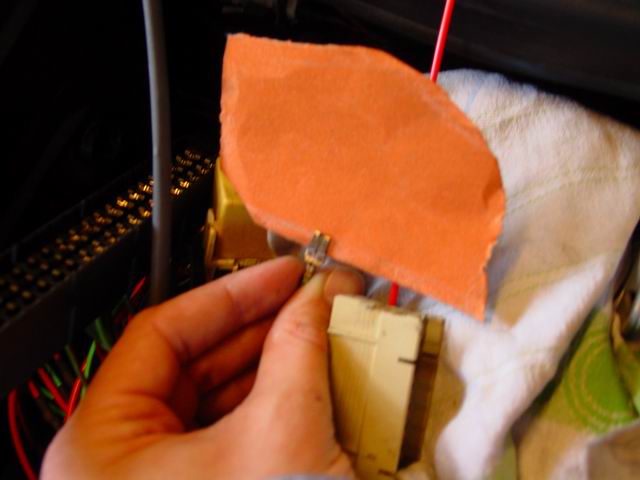
Before reinserting the contacts I first cleaned them with contact cleaner spray:
Then slightly sanded the contact surfaces:
And finally bend back the locking pin:
Now this is a really boring job…but slowly I was getting there:
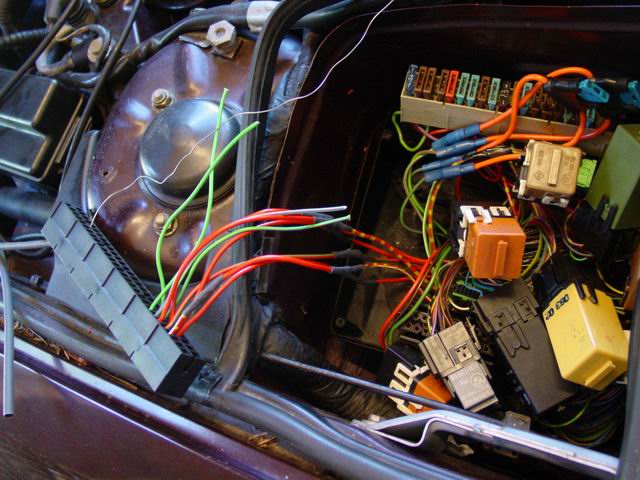
And finally After putting it all back and installing new fuses. The box looked like this:
All and all not bad if you ask me!
Total amount of parts and cost : Nothing as I still had a fuse box. But I guess it’ll cost from 10 to 100 euro/us$ when you have to buy the parts
Total amount of time : It took me all morning, so about 4 hours
Skills needed/difficulty level : If you can solder, read wiring diagrams and have the patience to remove the clips you are capable! It looks worse then it really is.
Satisfactory level after the job done : Excellent! The aircon fan now works as does the passenger side lumbar and the fuel consumption went down.
No idea which fuses cause that but it makes me a happy chappy!