Article by: Johan
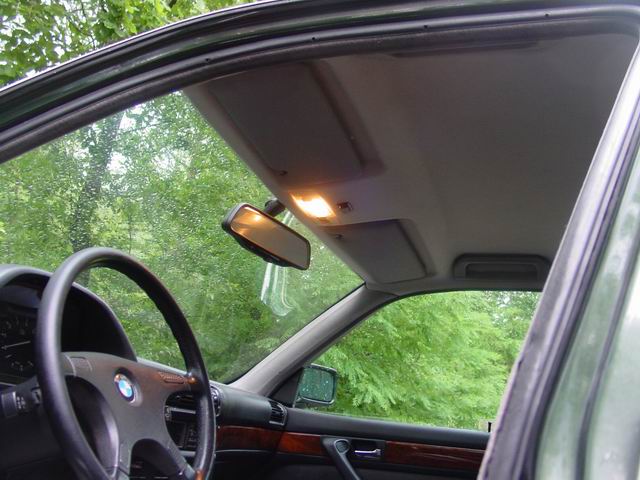
Article applies to: all e32 and e34 models (Short wheelbase e32 without sunroof shown. But it gives you a good idea what to expect on other models . . .)
Problem: The headliner of the e32/e34 tends to come down at some point. Driving fast with all windows open and using air-conditioning a lot will speed up the process.
And in my case the headliner also clashed with the rest of the interior which I completely changed out at some point.
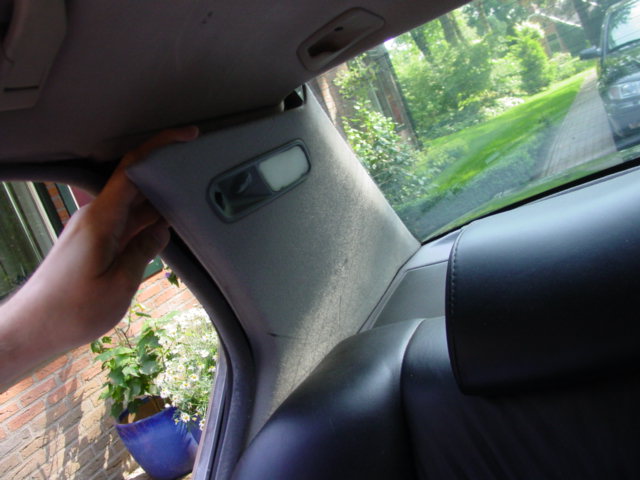
Let’s start removing the interior: First we’ll remove all the pillar covers.
To remove the c pillar cover pull out the inner door molding, pull at the top of the panel and slide it out forwards and up:

Again, be careful, these parts have clips on the back that are easy to break. Trust me.
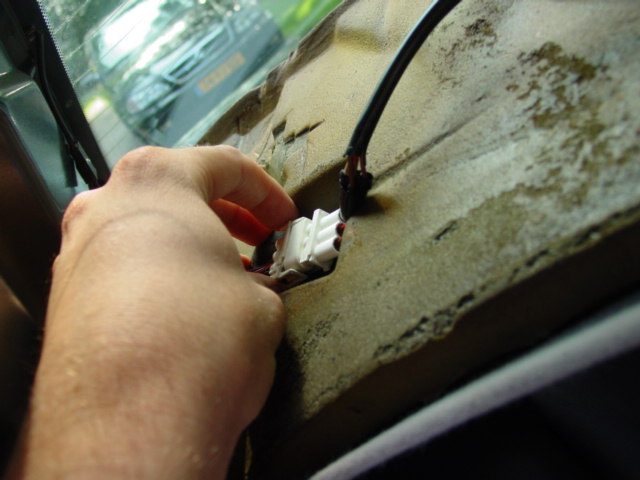
Now you have access to the plug that powers the light inside the cover. Push the tabs and undo the plug:
Before C there is B. To undo the B-pillar cover you will also have to remove the lower part.
For this you can pop the two plugs that hold the under part in and slide it out downwards.

The upper part can be removed by pulling it outwards. There are three clips. One at the top and two at the bottom:

I had the backseat out. But you should be able to leave it in. Just be careful not to scratch the seats.
As I wasn’t planning on reupholstering the pillar covers I left the cover hanging at the seat belt. If you want to remove the cover you should undo the torx bolt that holds the seat belt to the seat.
The last set of covers are on the A pillar. Again pull out the inner door molding and pull the cover out towards the middle of the car.
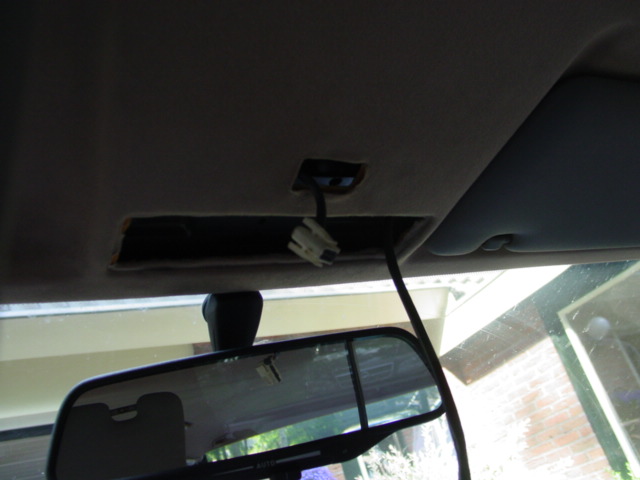
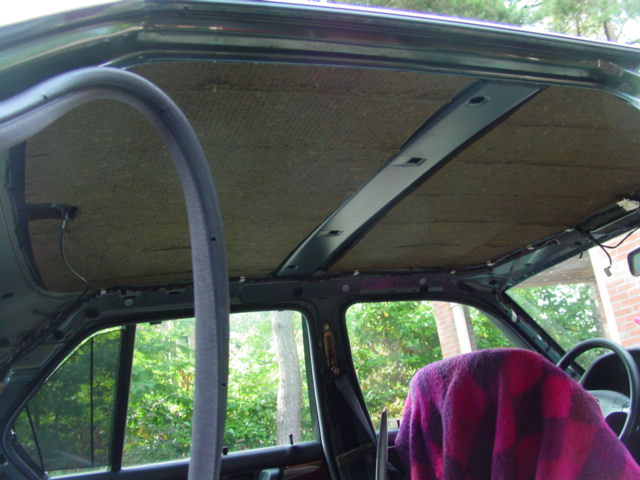
The headliner is now free at the bottom so it’s time to remove the fidgety bits on the headliner.
The light and IR-receiver can be pulled out.
The plug for the IR receiver is easy to reach but the plug for the light is a bit further down. If you leave it dangling it will fit right though the hole it sits in.
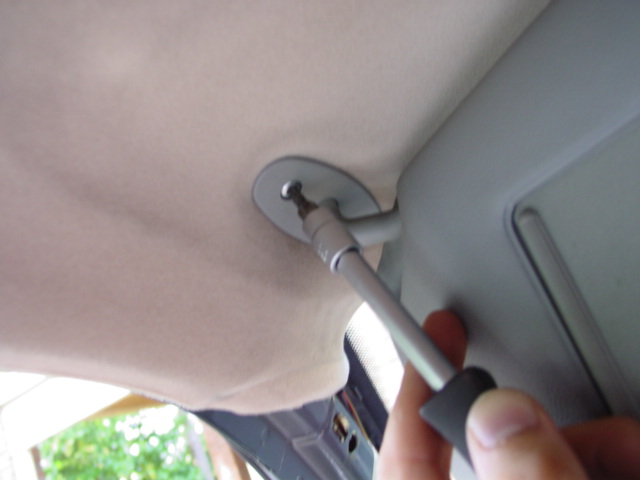
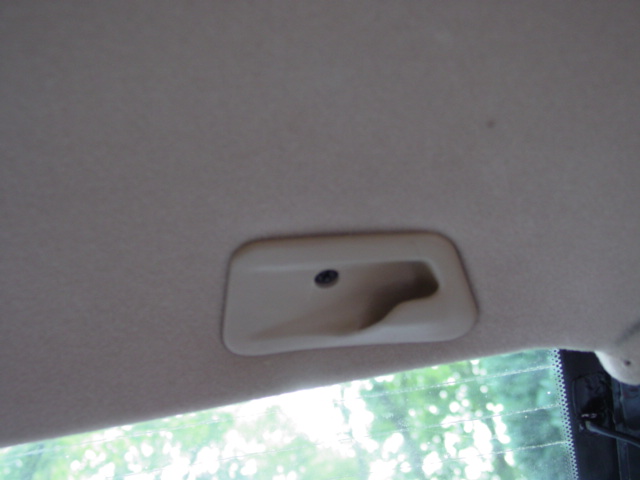
Now for the sun visors remove the two torx screws holding the bracket, pull it out and undo the electrical connector:
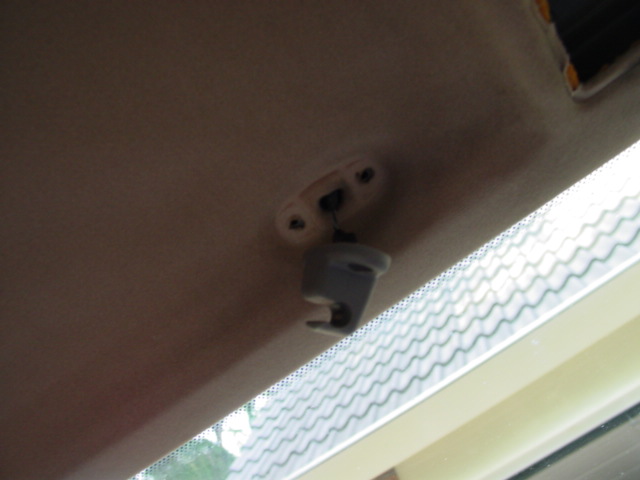
Same thing goes for the other side but you have to turn the visor to reach the torx screws:
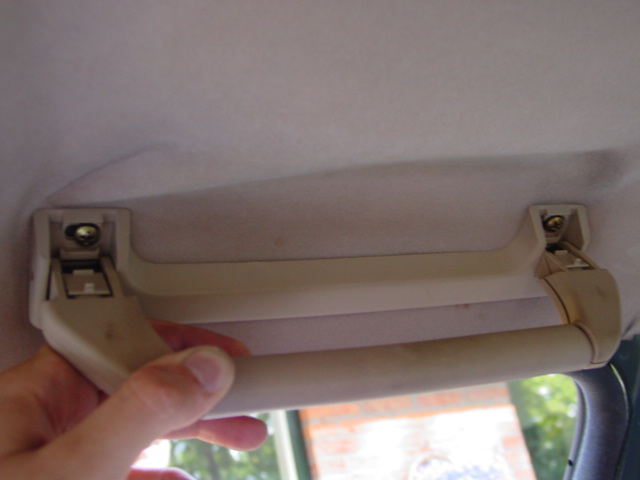
The headliner is now loose at the front. So on the way to the back there are still four handles. To remove these first undo the screw caps then the screws.
The handles will not come off as they are also screwed to the headliner.
![]() Now let’s not worry about the sun blind hooks and just undo the screws that hold them.
Now let’s not worry about the sun blind hooks and just undo the screws that hold them.
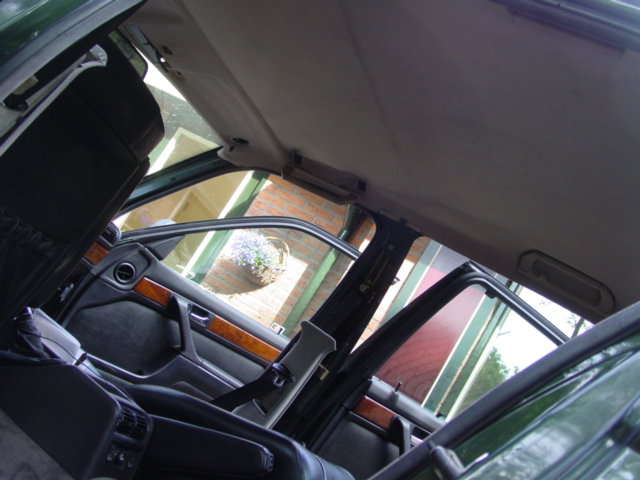
The board is ready to come out now. So get a second person and decide how you want to place your seats.
I put the driver seat all the way to the front and the passenger seat back with the seat back reclined.
It helps to remove the headrests by yanking them out. If your seat are electrical be careful the headrest won’t end up on your nose…
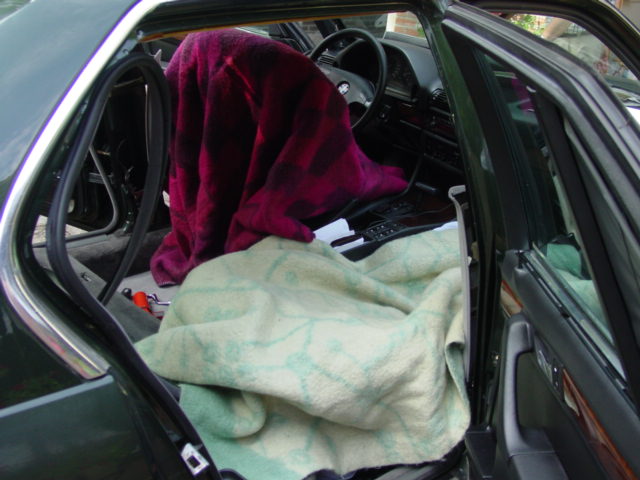
Just in case I covered the front seats with blankets
Now pull lightly at the rear of the board to release the three clips at the left, center and right. Then pull it backwards to release the two hooks in the middle.
Then fiddle with it until it comes out the door. Yes this does sound easier then it is as you have the bend the board a small amount:
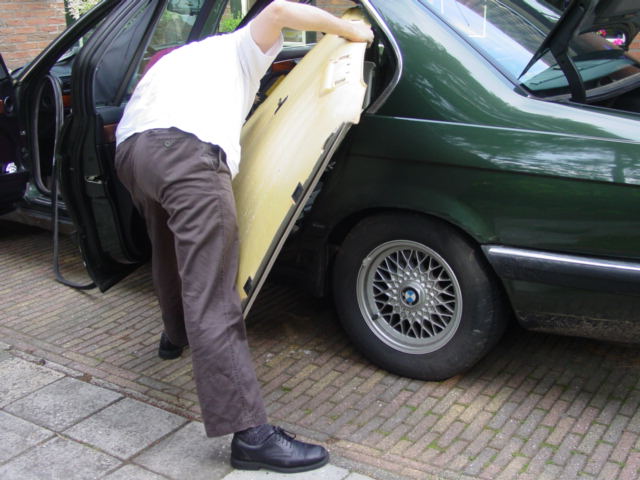
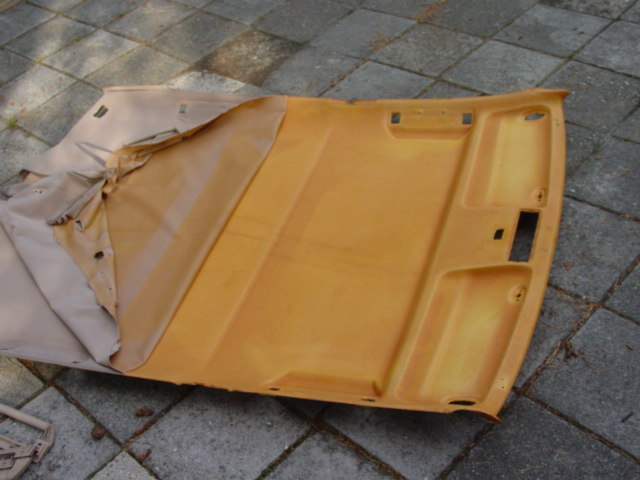
Finally! It’s out of the car!
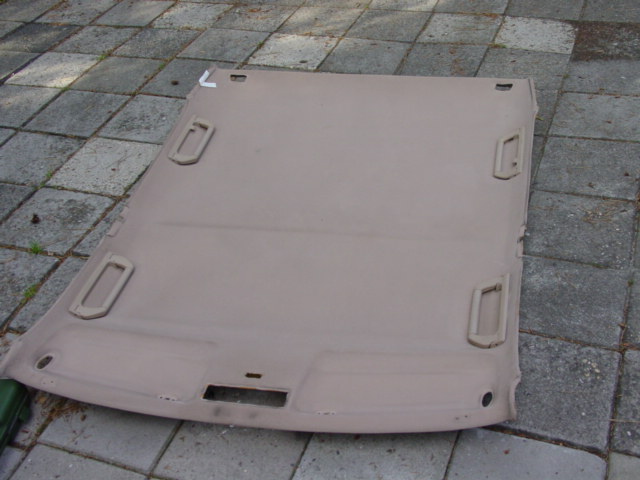
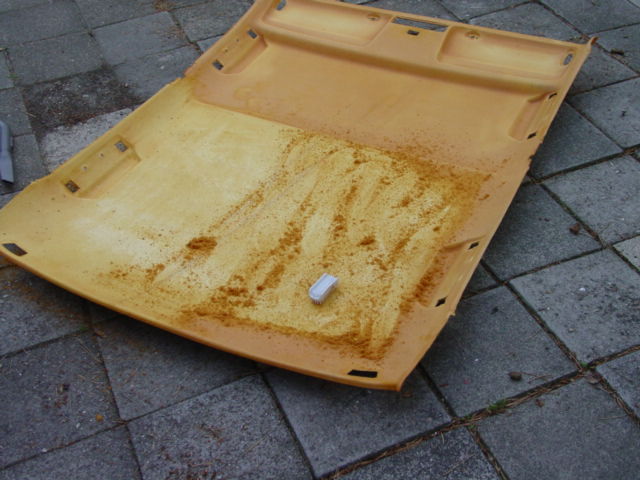
The cloth was so loose it came off without force until this point:
Now comes the boring part: cleaning off the old foam. As per Shogun & Hairywithit’s writeup, I started with a vacuum cleaner with small nozzle.
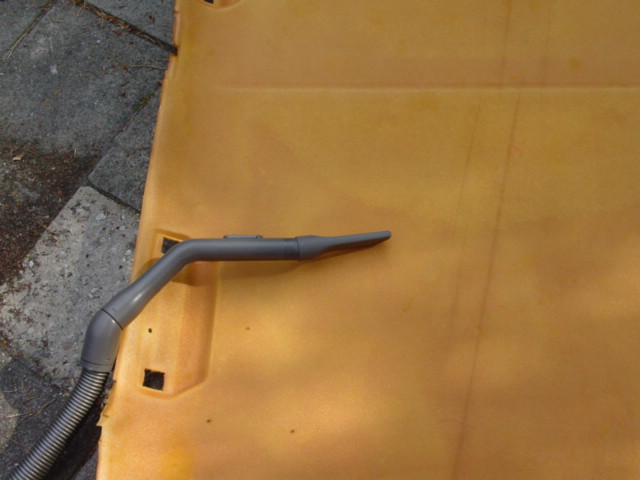
But this didn’t really work for me. Too slow and not clean enough.
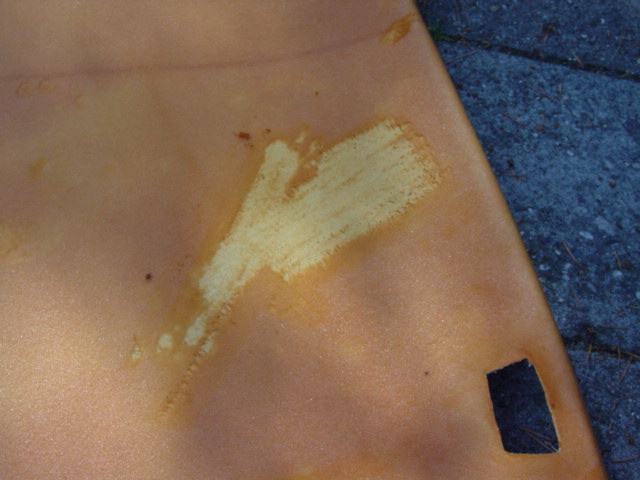
So next I rubbed a piece with my fingers. This worked a bit faster but not doable for the whole board.
There is this thing called friction that makes your hands heat up…fast! So after that I got a nail brush.
Every DIY E32 owner probably has one.
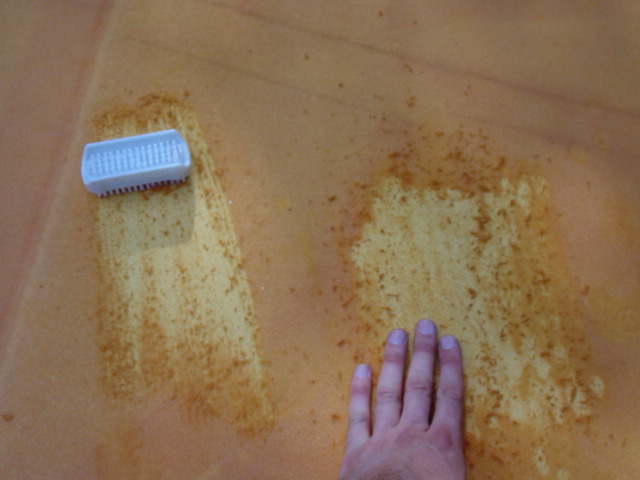
After brushing about 12 minutes:
After 26 minutes:
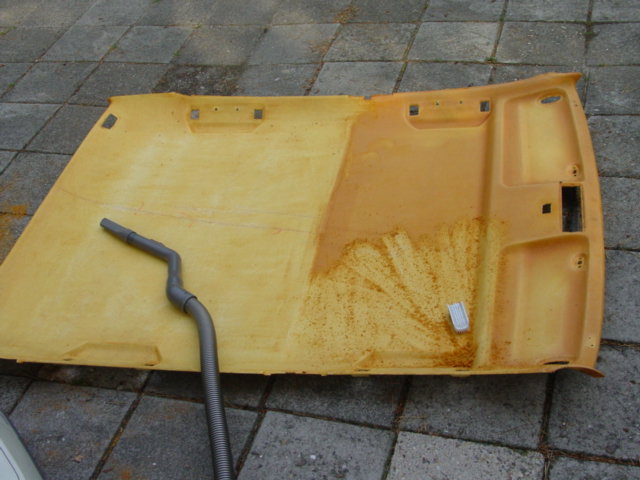
And finally after 60 minutes:

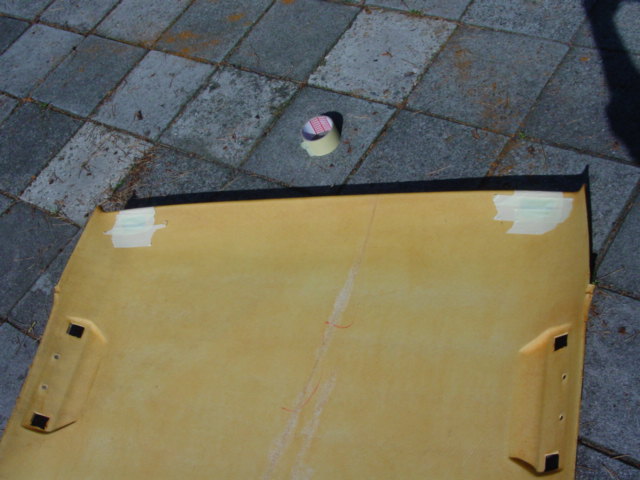
Now it’s almost ready to receive new cloth. As I upgraded the manual sun blind I no longer need the hooks in the headliner so I decided to plug them.
To plug the holes a polyester repair kit with fiber mats was used.
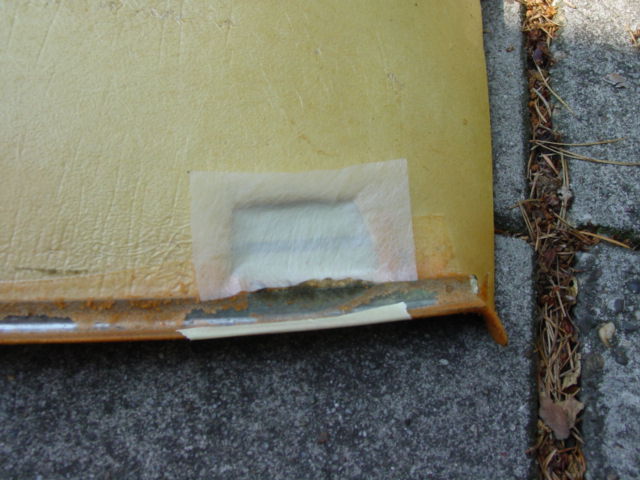
First tape the holes at the underside:
Then cut a piece of fiber mat to fit the hole with a bit of overlap. The mat will Stick to the tape making life a bit easier. Cutting the mat at the the corners ensures a better fit.
Next mix up the polyester and apply it to the mat with a brush.
I used a piece of cardboard to support the tape why the polyester dried. If there was going to be a uneven part I wanted it to be inwards not outwards as an inward uneven part can still be flattened with filler.
To my surprise it came out great. The hole was filled and it was absolutely flat:
And for me the next part was easy. I took the headliner to an upholstery shop with a cleaned pillar cover so the proper color could be selected.
Then I had them reupholster the headliner. The price difference for just the cloth and glue or the full service was not big enough to justify doing this myself.
Having the shop do it resulted in two phone calls. The first was to tell me they didn’t have the proper material as most headliner material was to thick or to rigid to fit in the deep sun visor holes.
The second call was to ask me if it was OK to use a shade lighter. Sure one shade can’t hurt…or can it!?!
Anyway here is the result:

Parts used and costs:
I paid about 125 EUR/US$ to get the headliner reupholstered. Be sure to purchase extra material (1/8″ foam backed headliner) as you’ll need a little more than you think.
Total amount of time: About two to three hours to remove, clean and reinstall the headliner.
Skills needed/difficulty level: It’s not that complicated but you really need two persons to remove the headliner from the car. And be very careful with the headliner as it breaks easily.
Satisfactory level after the job done: Well either somebody is a bit color blind or I have a strage view on “a shade lighter”. Anyway very satisfied with the work, unhappy about the color.
I guess I’ll reupholster the pillar covers myself to make the color difference less obvious or maybe I’ll get a new headliner from BMW for about 200 euro. Now why didn’t I do that in the first place?
Owning an E32 kind of makes you get used to disappointment every now and then. But as a couple of British chaps once said: “always look on the bright side of life…te-de….te-de….te-de..te-de..te-de”.
So hey that sure looks better then the saggy beige headliner that clashed with my black/grey interior!