Changing the OBC language:
The OBC language of the car will sometimes reset itself to German. To change it to whatever you like try this:
1. Turn the ignition to position 1.
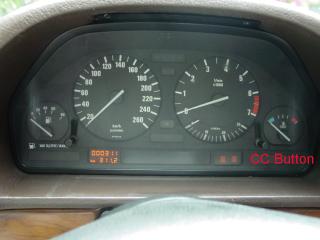
2. Hold the CC button down for 10 seconds. Then the next language will appear.
3. Repeat this procedure untill you have the desired language.
The available languages are: Engish UK, English US, French, German, Italian, Spanish
Resetting the SI:

To reset the service indicator after performing an oil-service or an inspection:
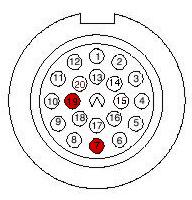
1. With the ignition off connect pin 7 (SI reset) with pin 19 (gnd). Remeber to fuse this wire or to use a resistor just to be safe.
2. Turn the ignition to position 2.
3. Pull the wire out after about 5 seconds to get an oil reset or 10 seconds for an inspection reset.
3. Now replace the cap on the diagnostic connector.
4. Turn off the ignition.
Programming the IR remote:
To reprogram a new IR remote or your old one after replacing the bateries:
1. Turn the ignition to position 2.
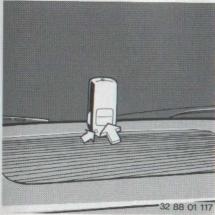
2. Hold the IR transmitter on the DWA led in the center of the fresh air grill.
3. Press button 1 untill the transmitter LED begins to flash (after about 2 seconds). Now your all done.
Within 15 minutes any other remotes to be used with the car must be initialised. There is a max of 4 remotes.
Checking if your IR remote funtions:
If you are doubting wheter your IR remote is working try holding the remote about 10 mm from a reflecting surface. A mirror should do just fine. Push the open button. After the intervall blinking the LED will remain on.
Now try holding the remote close to a non reflecting surface. Press the open button. Now the LED should go off after the intervall blinking.
Send in by Erich
You can also check the function of any IR-Remote controller by watching the led, while activating it, trough a digital camera. You don't have to take a picture, the LED function can be seen as a white light on the camera LCD, normal mobile camera works as well.
Send in by Timo Saarela
Deadlocking with an aftermarket remote:
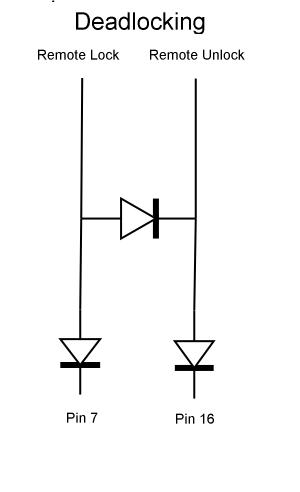
The only drawback I found when using an aftermarket remote locking system is that the antitheft "deadlocking" mode isn't activated. To be able to deadlock the car I used 3 diodes as shown in the circuit diagram below.
You will have to use the lock and unlock wires from either driver or pasenger door since the bootlock doesn't activate the dealocking functions. Deadlocking works by activating both the locking and unlocking pulse in the General Module at the same time.
You will have to use 3 rather heavy diodes (I used 1N5400). The two closest to the GM are used to seperate the key functions from the remote functions so you can still lock the car in the standard way using your key. The second connects the lock function to the unlock function in the GM. Without this diode the doors will deadlock both on open and close thus locking you out of your car. I however managed to lock myself IN the car while experimenting :)
The diagram's Pin 7 (wire colour White/Red/Yellow) and 16 (wire colour Blue/Red/Yellow) are both on the yellow connector of the GM (X255). On the otherside they connect to the pasenger doolock switch.
For further instalation of your remote locking system refer to the instalation manual that came with the unit.
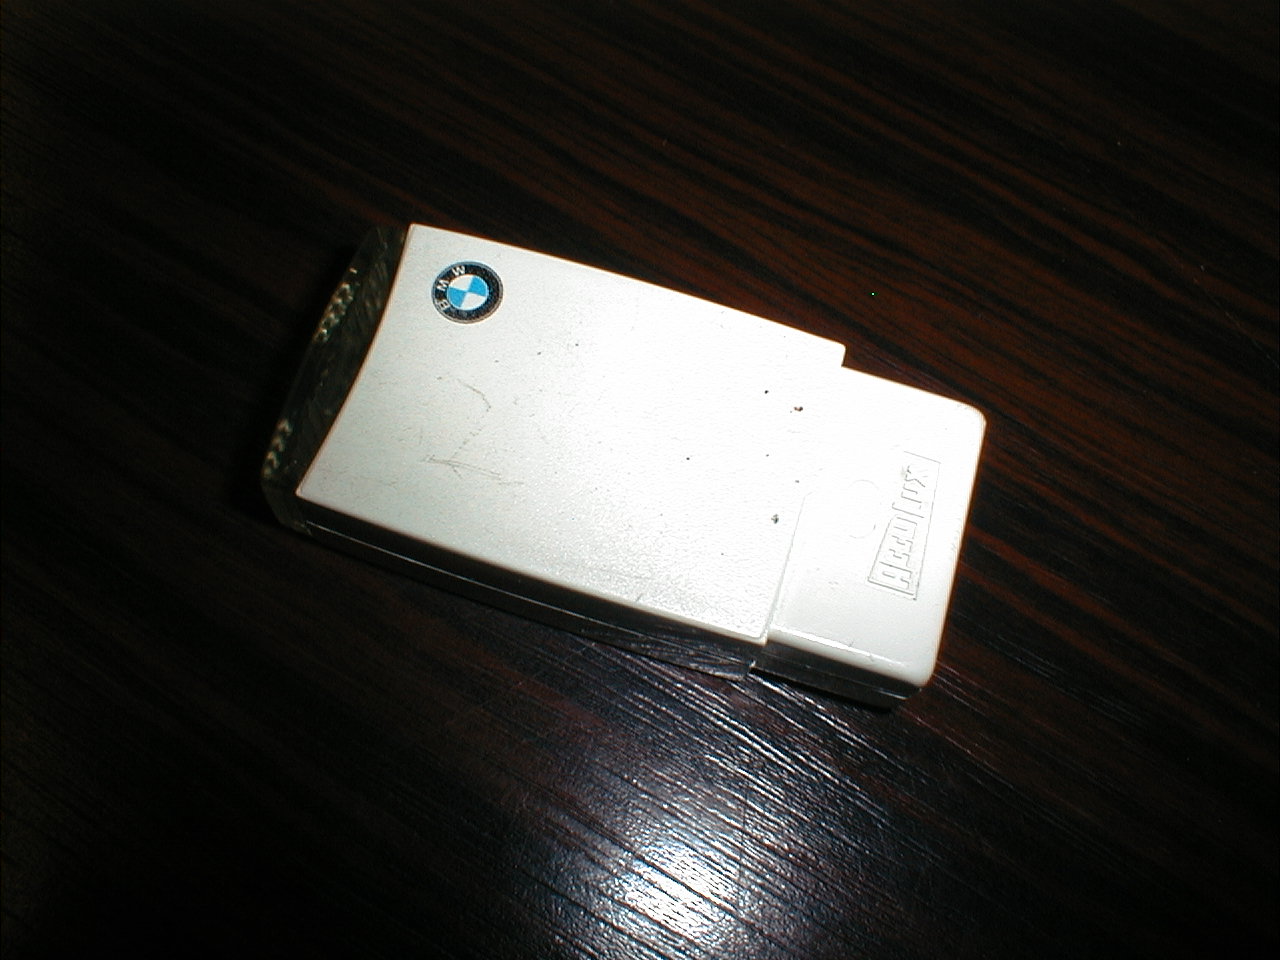
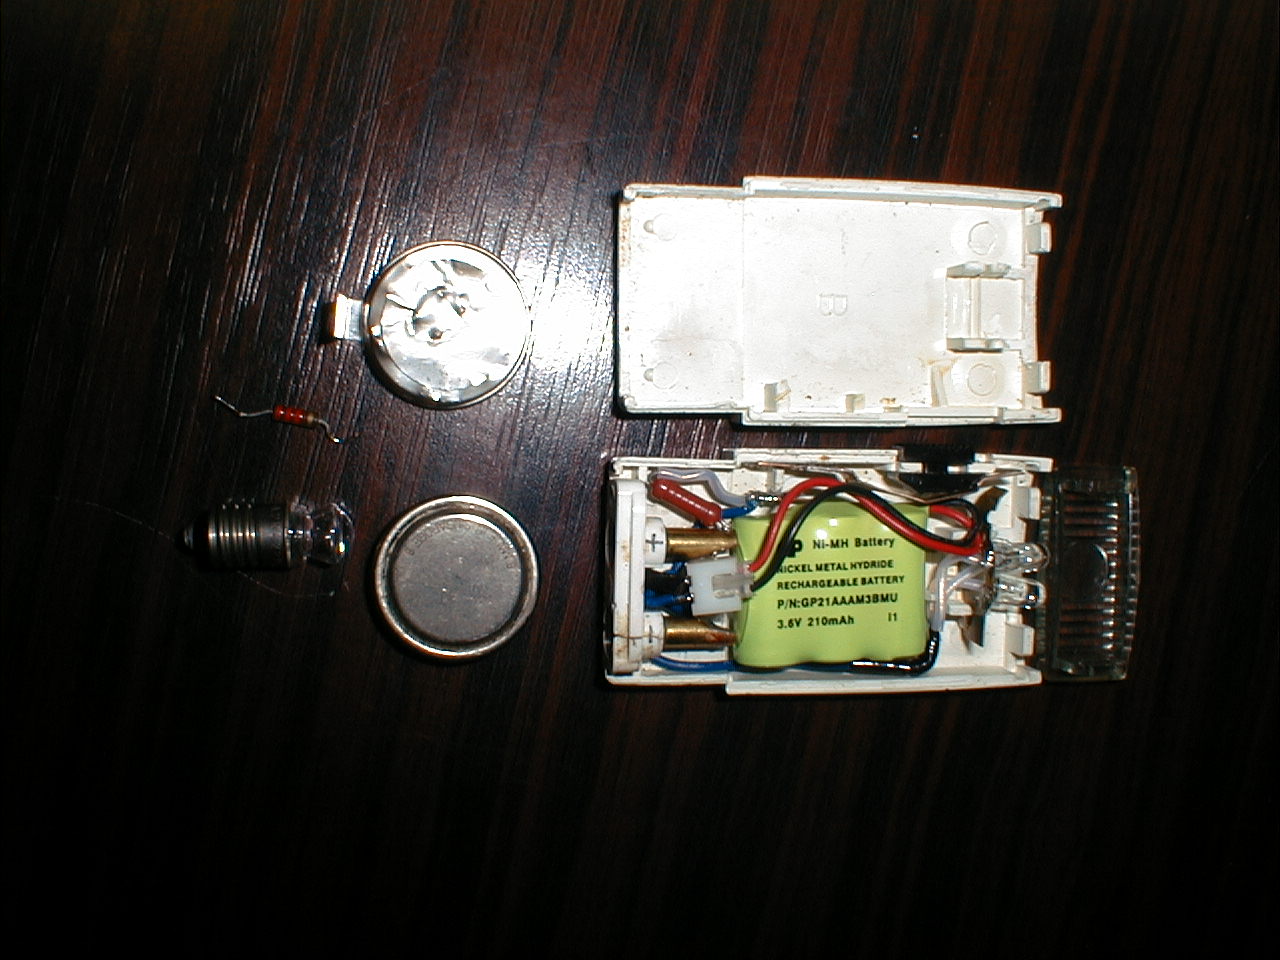
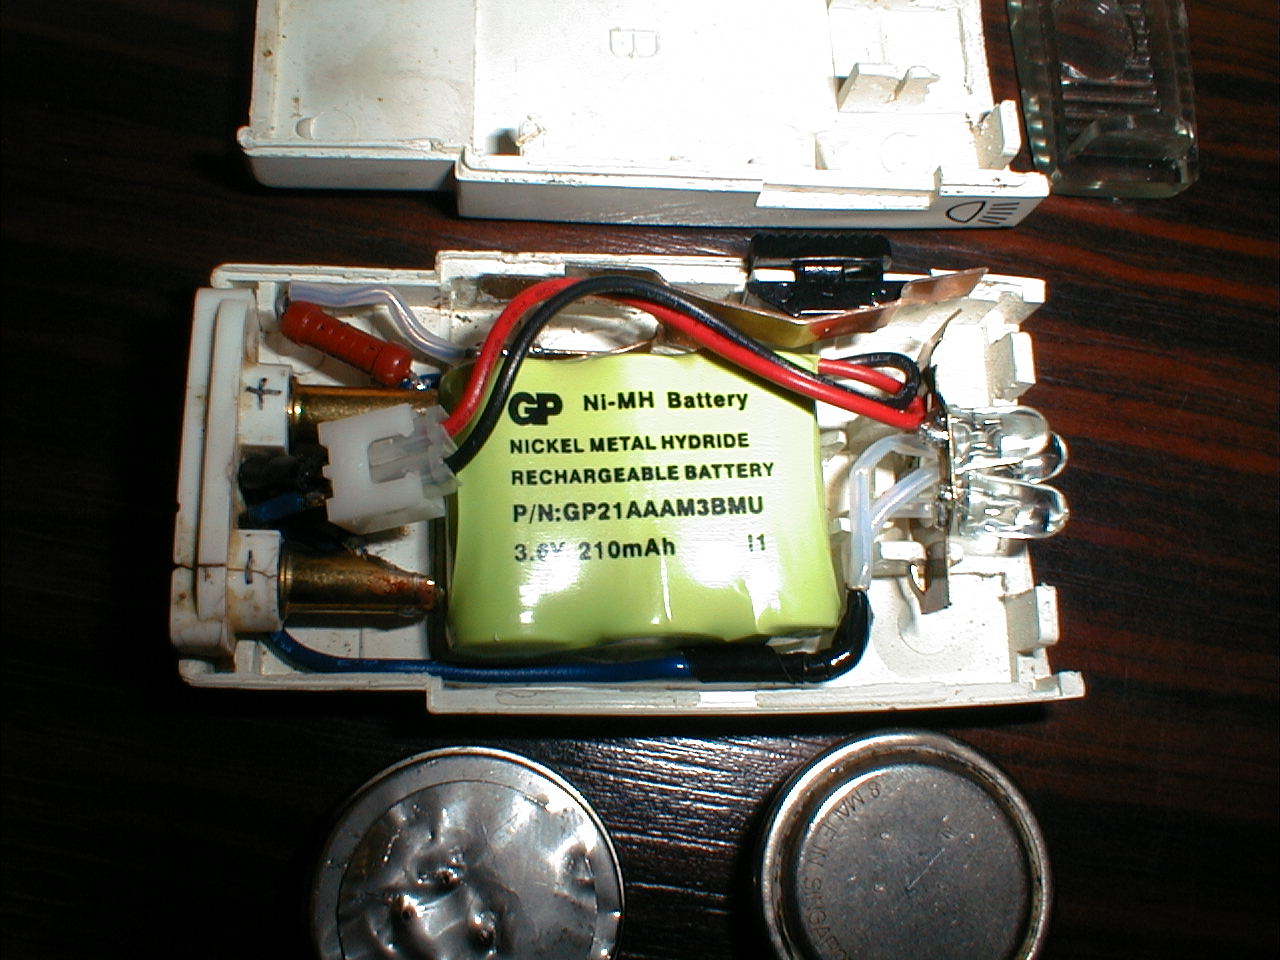
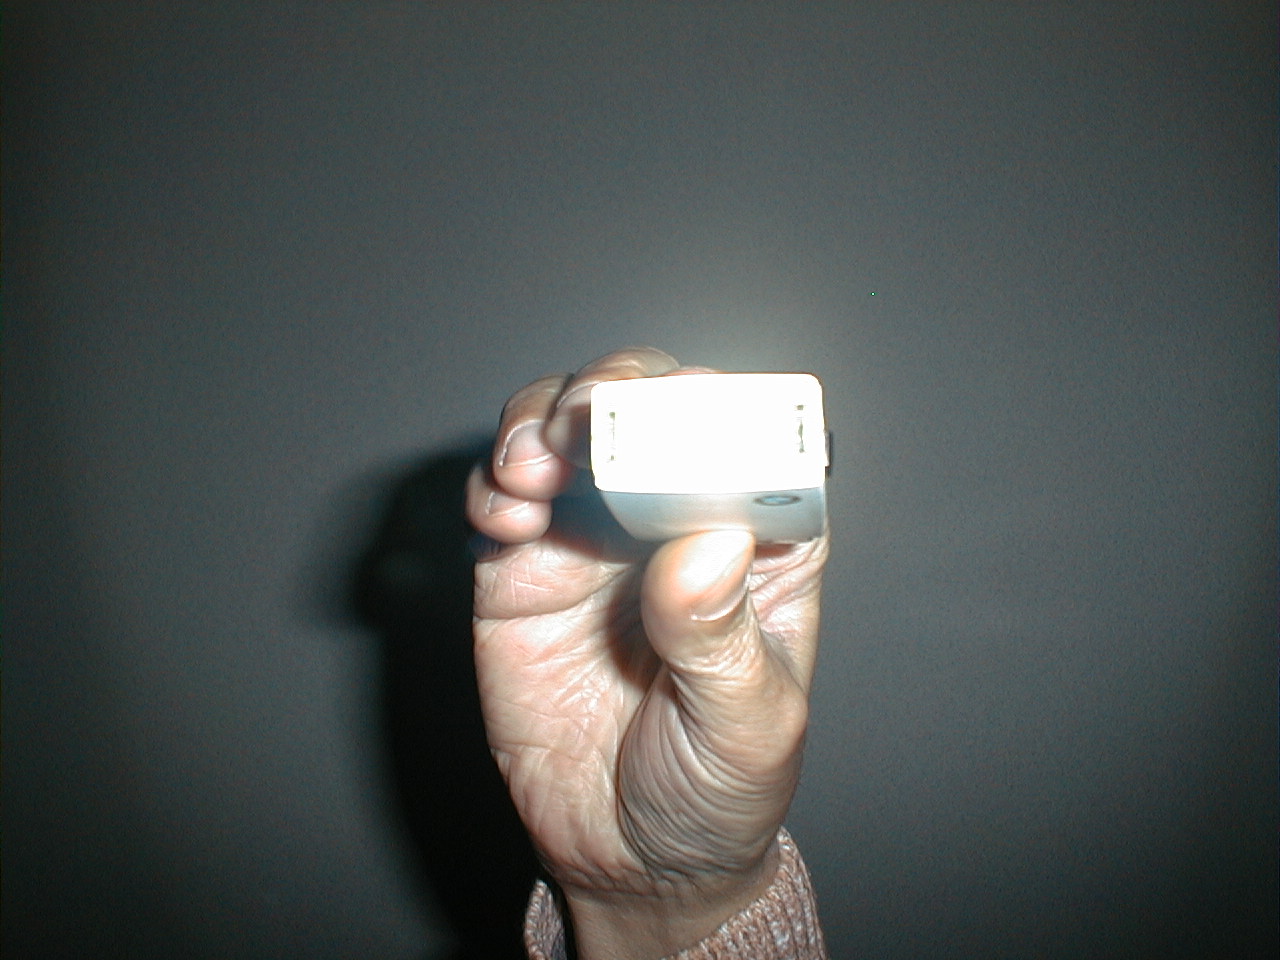
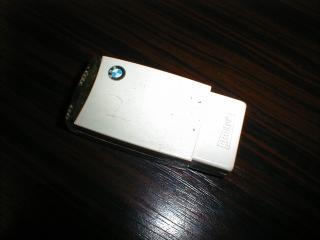
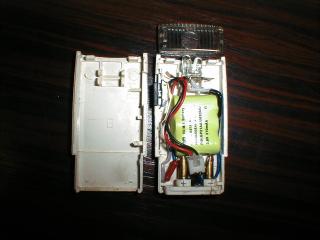
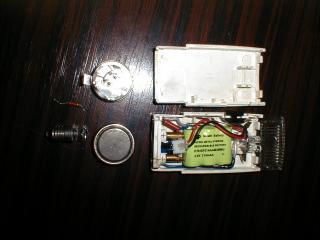
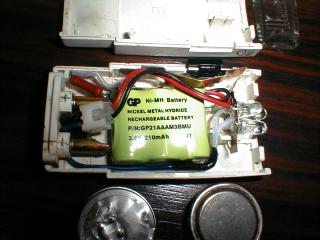
LED Flashlight:
These images where send to my by Erich who has converted his flashlight to use LEDs. He used a small battery from a mobile phone and attached the LEDs to the base plate of the bulb holder. You can click on the images to enlarge them.

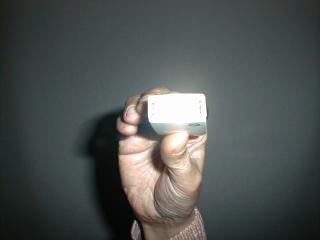
Another resource for flashlight upgrading: Jon Evans' Touch upgrade
Send in by Erich
PRND321 Strip faded?:
And you (like me) are to cheap or lazy to buy a new strip for 5 euro? Why not use a silver pen to revive the silver lettering:
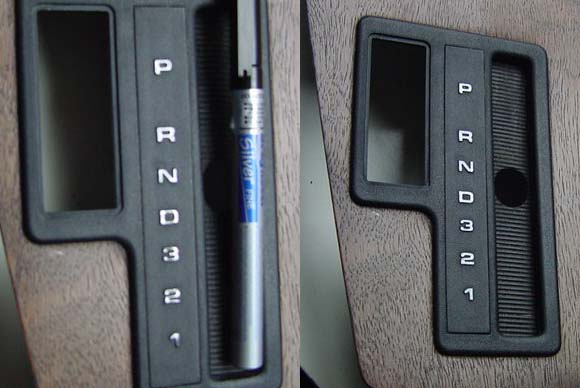
Page by Johan