Article by: Michael Oswald
Article applies to: all BMW models with the low impedance Bosch injectors.
Problem:
After installing a Perfect Power SMT-6 piggyback computer, I wanted to install new / used Bosch 24# blue top injectors.
The SMT-6 has already been set up for these injectors. So, I went on to ebay to search for a set of injectors, found some, ordered them, and was extremely happy because I thought I had found such a great deal.
Unfortunately, when they arrived, I realized why they were so cheap: They were not the model with the four injection points in the nozzle and most of their seals / gaskets were missing or rotten.
Since these injectors are going into a 1989 735il with the 3.5 liter M30 engine, I decided that the single port model would work just fine.
So rather than throw a fit, kick my dog, or make my wife unhappy by purchasing a better set, I decided to made due with what I had.
What I needed was a kit that included o-rings, gaskets, and basket filters.
I found them, so now I will show you how to recondition those nasty old injectors right quick!
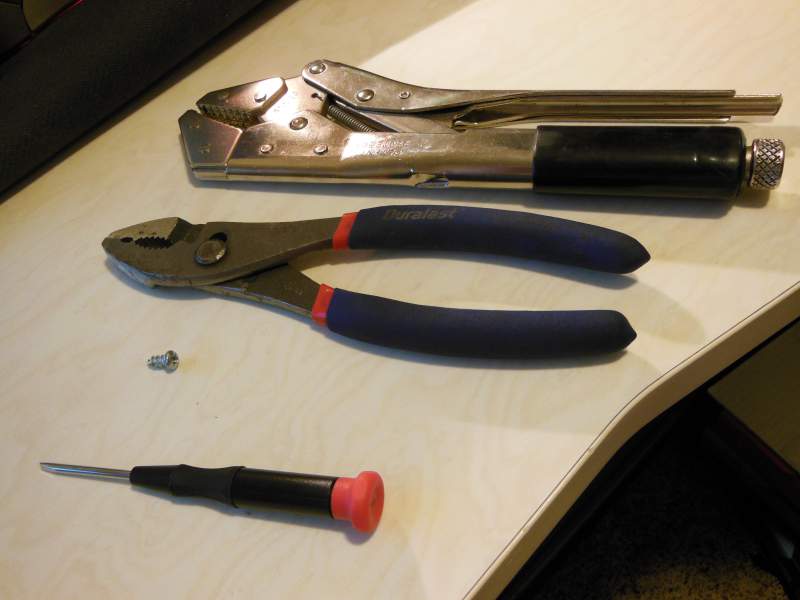
So let me start off with a list of the things you will need:
First you will need some vice-grip pliers, some regular pliers, a small sheet metal screw, a small flat head screw driver, a hammer, some patience, and possibly a beer (you might need to save the beer for when you are done as this process does require some small detail work.)
You don’t want to man-handle your injectors do you?
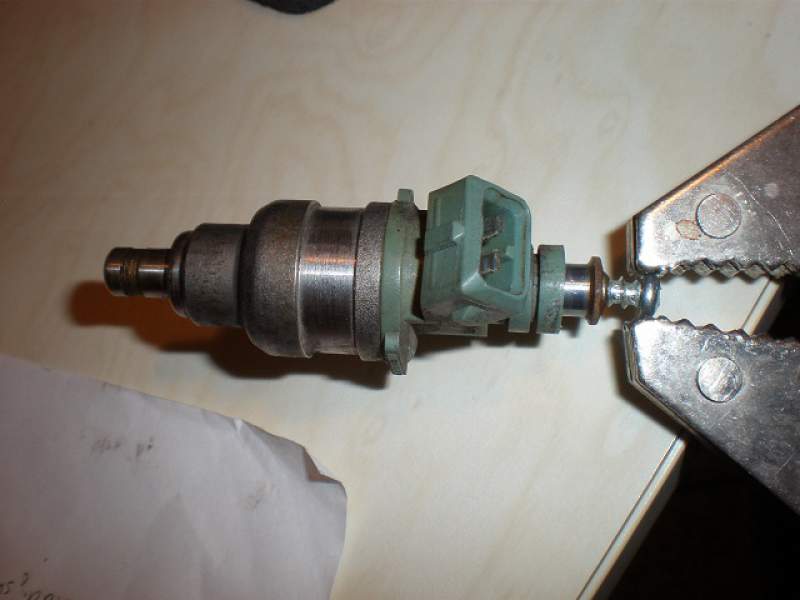
First you’ll want to start out by stripping the remaining seals off the injectors (if applicable).
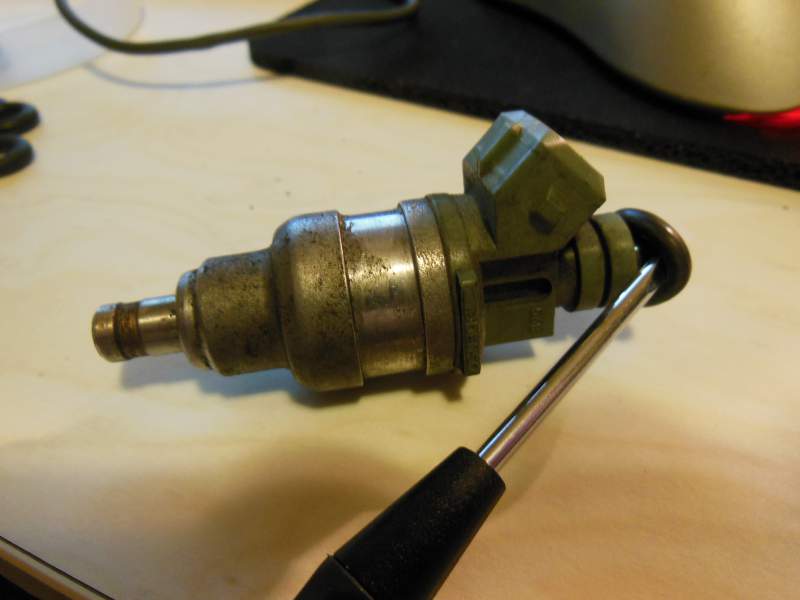
Use a small flat head screwdriver to carefully pry up the rubber o-ring seal.
I try to be really careful doing this because there is a smaller ring pressed on the top of the injector that can break. (Ask me . . . no, don’t ask me how I know this).
Next up we want to remove the basket filter inside the top of the injector. This is a filter that keeps any larger particles out of the injector body.
Since I have no idea how these injectors were treated before I bought them, I thought it was a good idea to replace the screens.
There is a bronze crush washer that holds the screen in.
This is your friend, and it’s not hard to remove it.
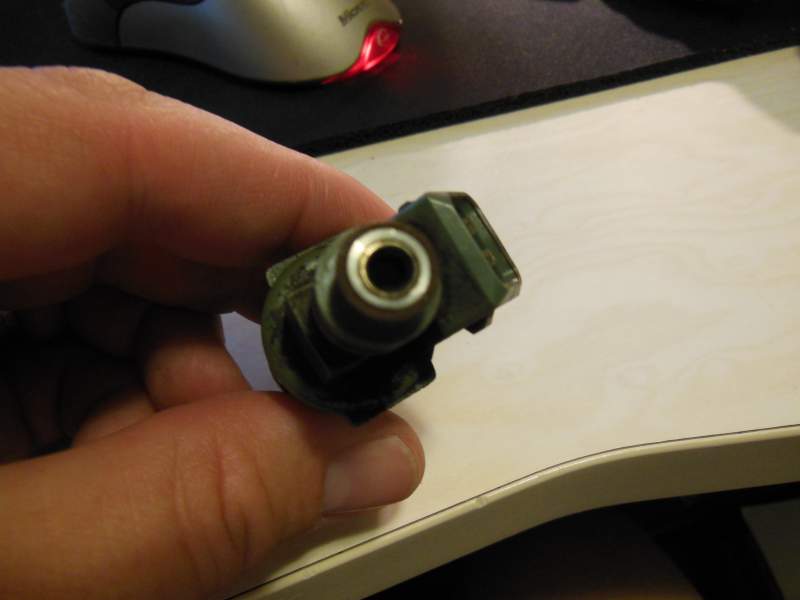
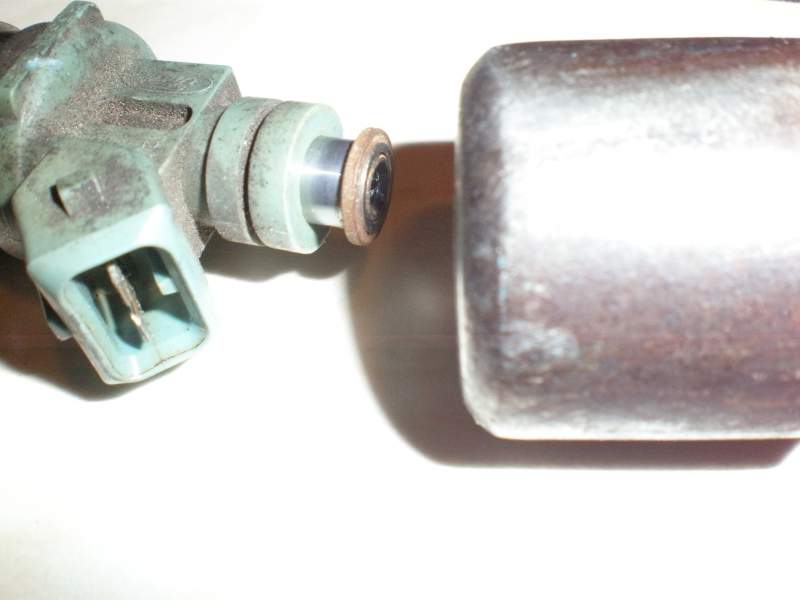
This next picture shows the top of the injector and you can see there is a small ring of bronze inside the aluminum housing.
This is what we are looking for.
Next grab your vice grip pliers and your metal screw. You’ll want to lock that vice grip down hard on the top of the screw so that the sharp end of the screw is pointing away from you.
Then carefully insert the screw into the top of the injector and slowly turn the injector until you feel the screw bite and stop turning.
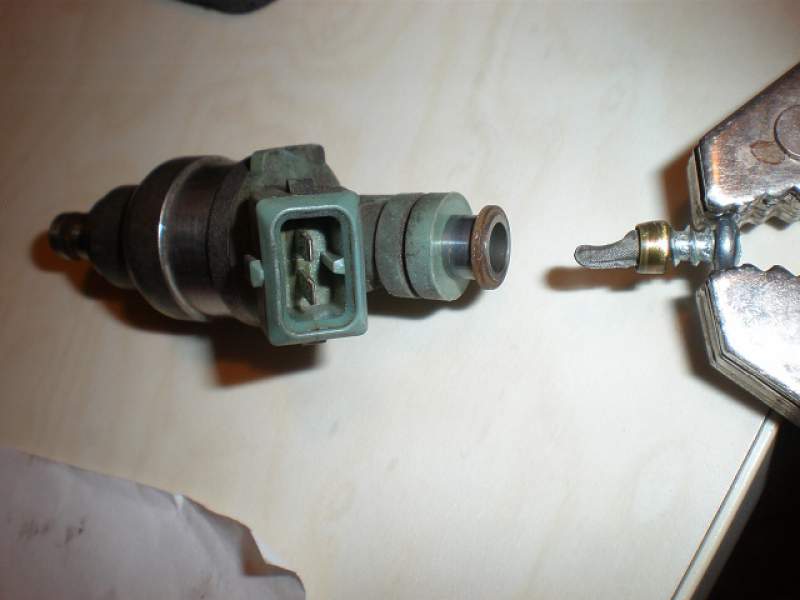
Rock the vice grip back and forth until you can feel the inserted screen begin to come out. Use some finesse here.
Don’t be a Fred Flintstone.
Here you can see the screen completely removed. It is literally a fine screen attached to a bronze ring.
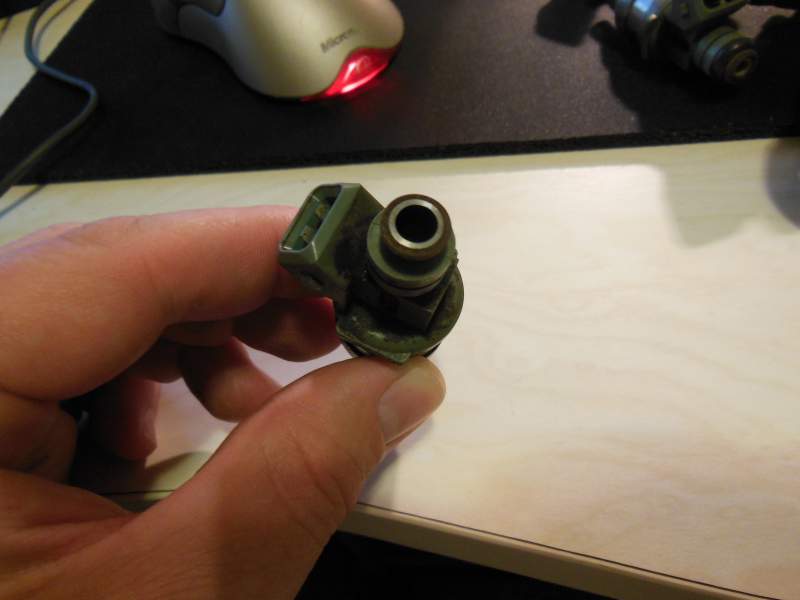
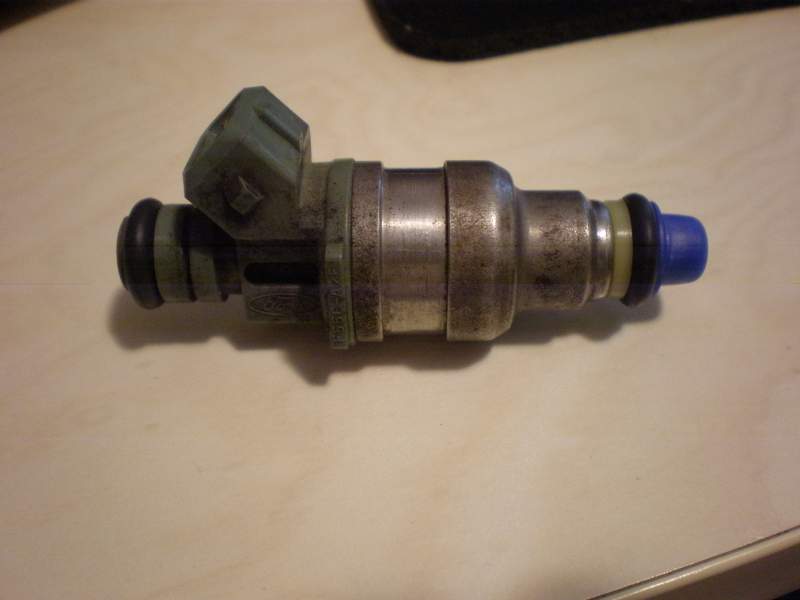
Now you can see what the top of the injector looks like with the screen replaced.
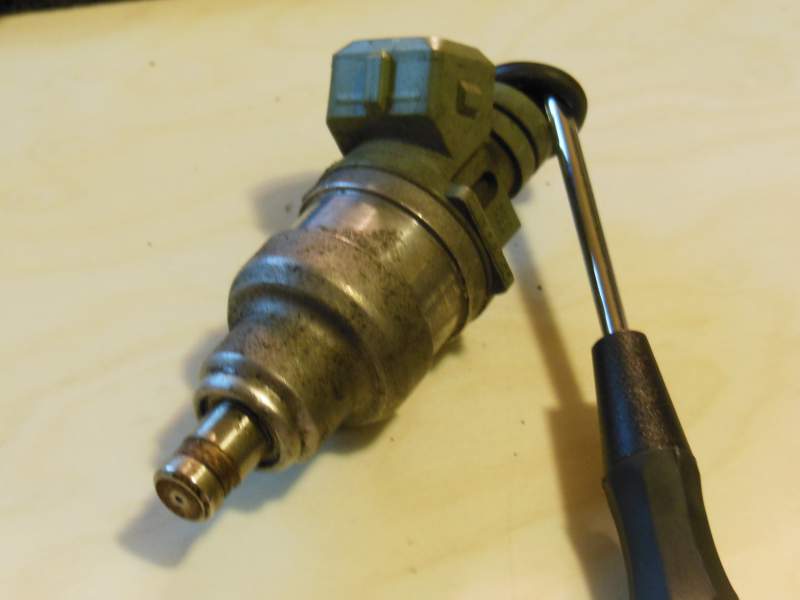
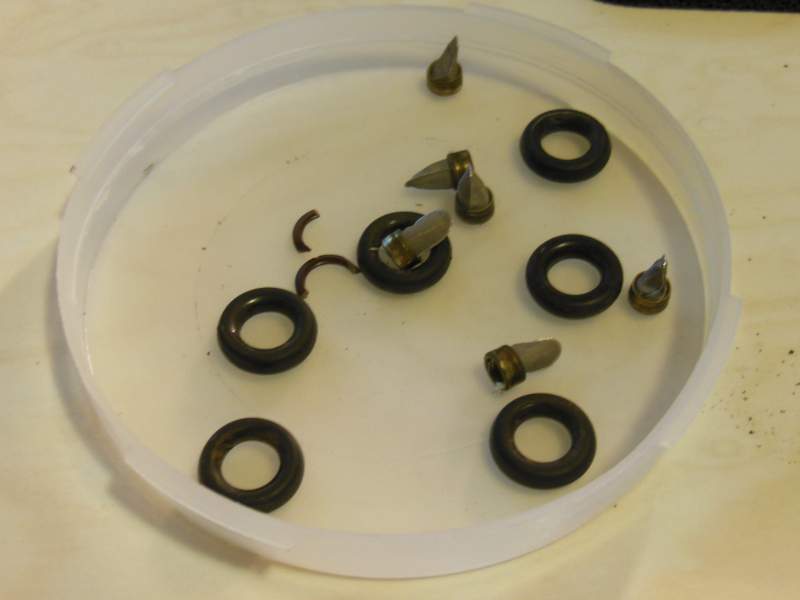
Remove the spray nozzle / pintle cover, front O-ring, and urethane bushing.
Now your injector is completely stripped and ready for some brand new parts!
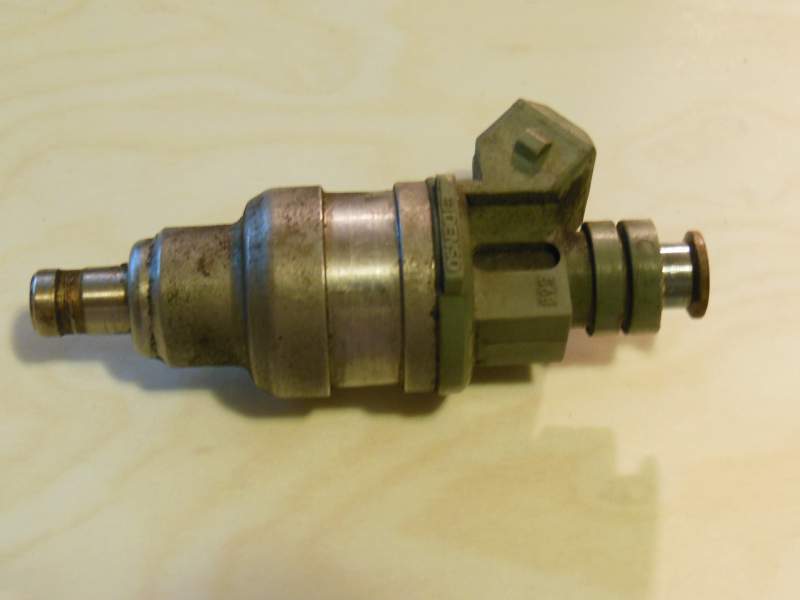
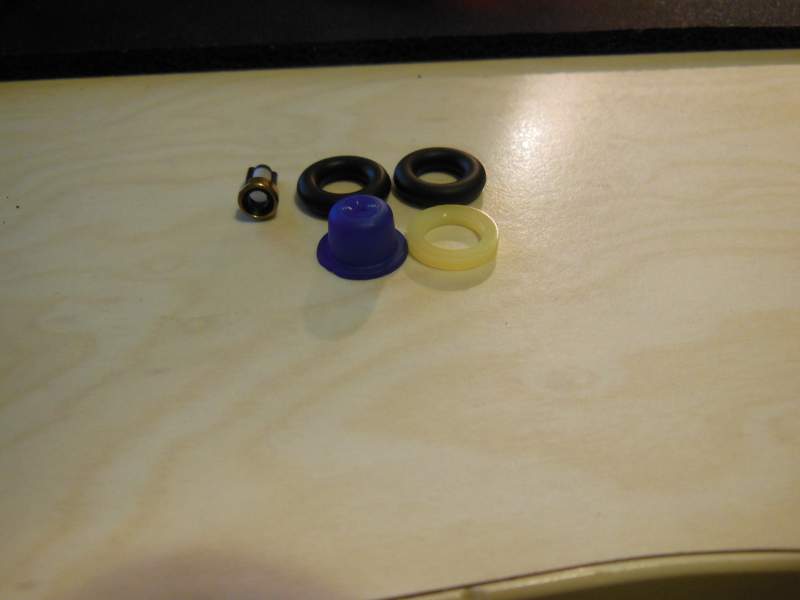
Each injector will need the following parts for this process: (2) rubber o-ring seals, (1) urethane ring, (1) screen filter, (1) pintle cap.
First we’ll install the new filter screen: (and yes, it involves a hammer . . . really!).

Now just insert the filter screen into the top of the injector (with the screen going inside the injector of course).
Using the hammer, remember what Chubbs Peterson said: “just taaap it in”.

So now that you have been so gentle, your filter screen is now perfectly flush with the top of the injector. Pretty nice right!?
Next simply install the rubber o-ring on the top of the injector, then on the bottom side, install the urethane ring, then the rubber o-ring, then the pintle cap and then you are done!
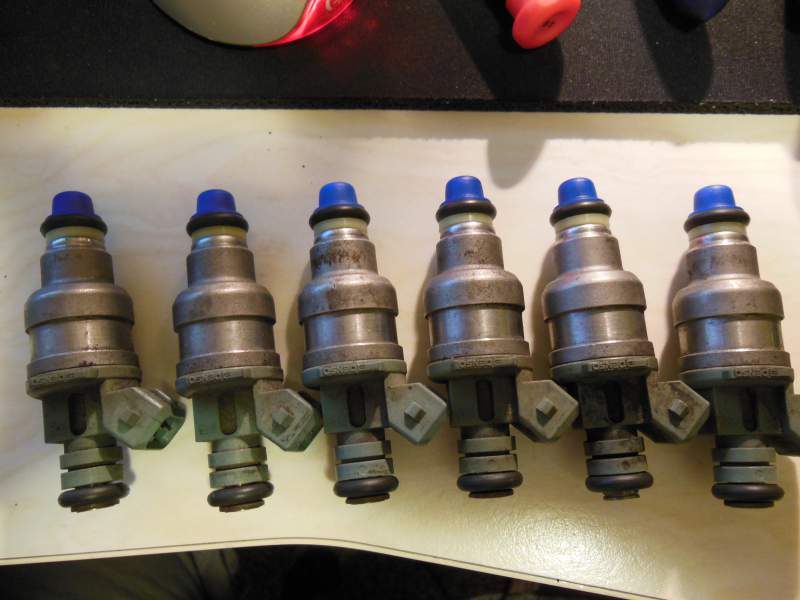
And there they are like Heywood said “I want ’em all lined up, just like a pretty little chorus line.”
You’ll have some bits left over. At most I would save some of the rubber o-rings. Mine were really hard and dry so I threw them away. It’s up to you though.
So there you are. The next article I will write will be how to clean the injectors internally using a 12v power source, some fuel, and some cleaner.
I hope this helps. . . . as for me, I hear a nice cold beer calling my name.