Article by: Unknown author
Article applies to: all models with the ZF 4HP22/24 transmissions.
Problem: ‘A’ clutch burnout: transmission will not move the car forward or there is a long delay once the car is put into gear.
Replacement: Teflon Seal replacement
The cause of the problem: the steel seals leak and send pressure to the 1st gear clutch pack and burn it up.
So let’s get into gear and get this tranny fixed . . . (sorry I couldn’t help myself).
These are the bolts to take out to remove the bell housing and pump as a unit, unless you need to replace the converter bushing you do not need to take the pump apart or off of the bell housing (I will describe the procedure for that and why at the end of the post).
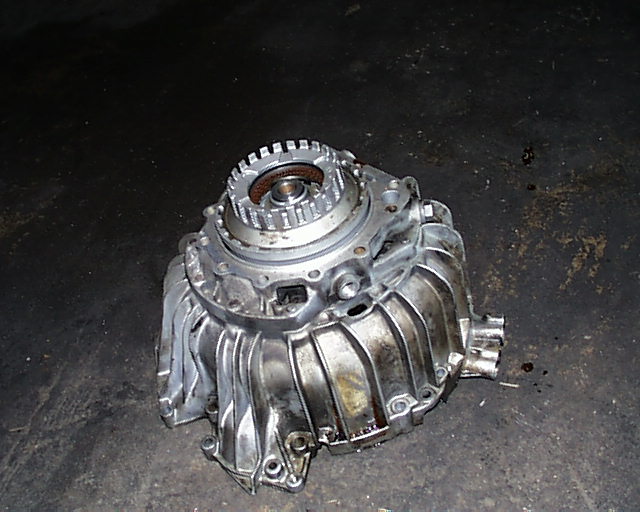
Here’s the bell housing / pump assembly off:
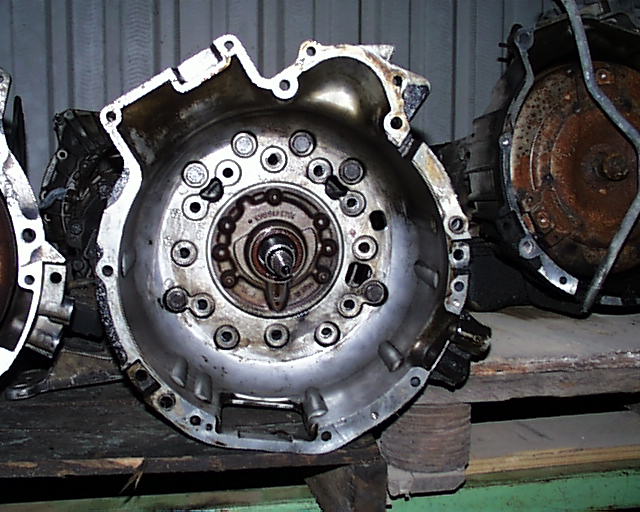
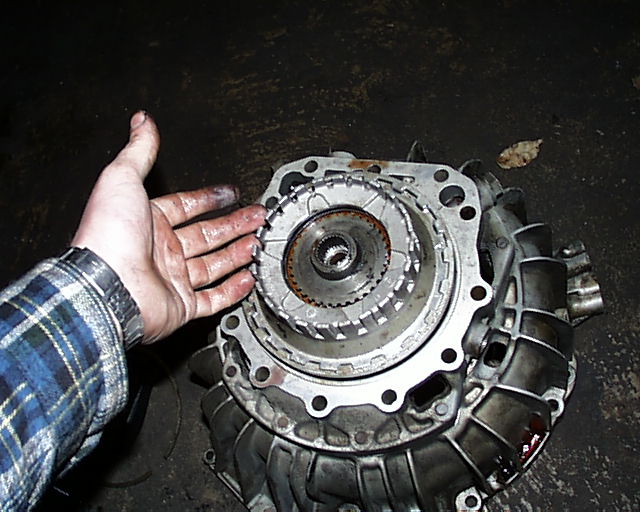
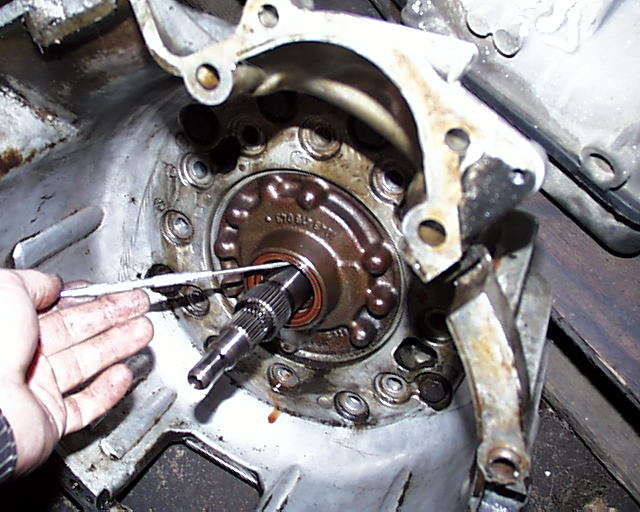
Here’s the front of the rest of the tranny and case:
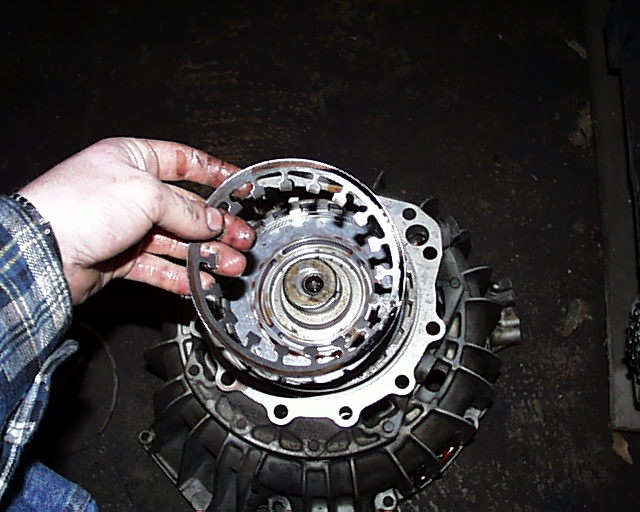
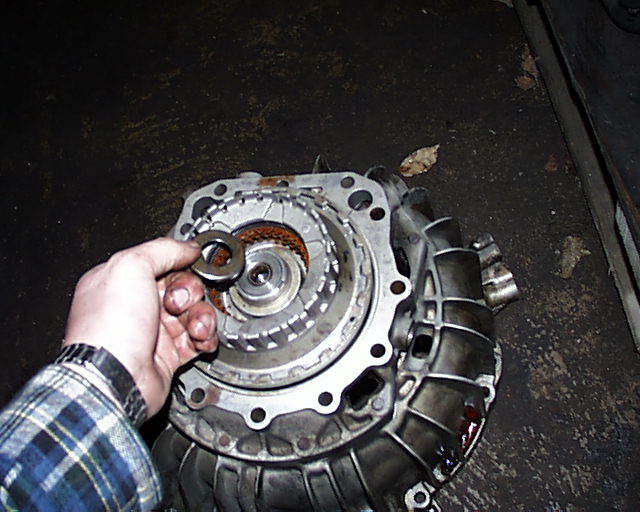
Grab the A-clutch basket and yank it out of the bell housing / pump assembly:
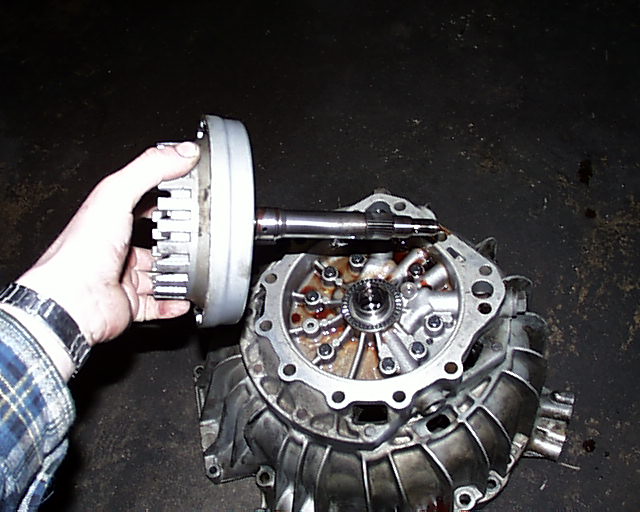
Here’s the back side of the A-clutch basket, there’s a steel bearing surface missing in this pic that you will have – between all rotating parts there’s a bearing race (looks like a washer), flat roller bearing and another race:
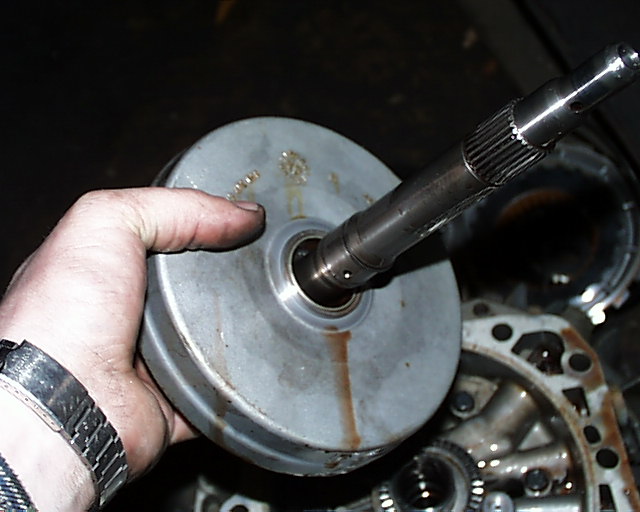
You can leave the shaft in the A-clutch basket or pop it out so the basket will sit flat on a bench; or you can just leave the whole thing in the bell housing / pump assembly while you do the clutches.
There’s a spring clip that holds the basket together that you remove with a screwdriver:

Inspect the basket for cracks, I’ve found a few blown up from people who didn’t take no for an answer.
Also inspect the groove the spring clip was in: those ears can snap off:
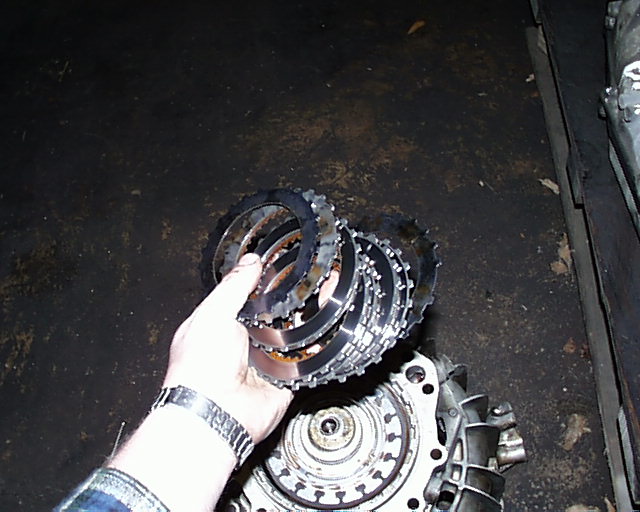
Here’s the pack of disks and plates – there’s a black wavy disk on the top and bottom of the pack that you re-use:
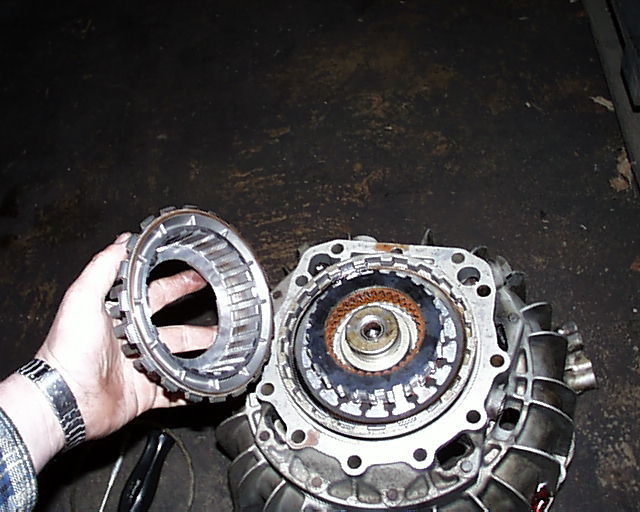
This pressure plate is under all of the clutches, you can see some of the burnt clutch on it, clean that off and clean under it:
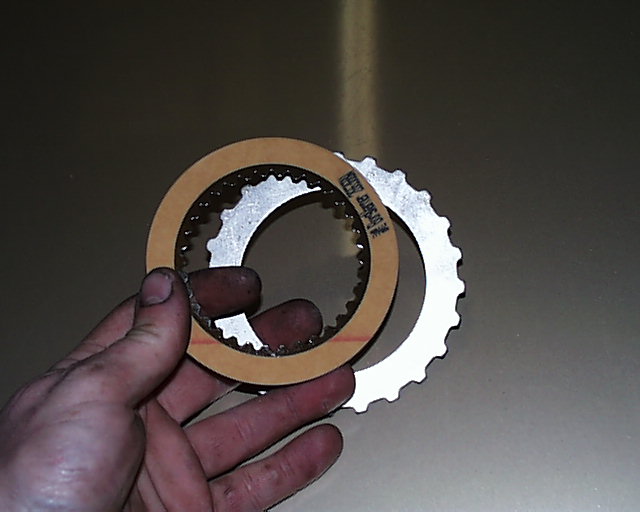
Here’s a new disc and steel – soak the discs in fresh ATF for a few minutes before installing:
With the teflon seals there should be a drill bit and a sandpaper flap drill thingie – I’ve never drilled the hole in the 25-30 trannys I’ve done, it’s up to you.
It is done to relieve any future leak pressure, I’ve been doing these for over 5 years and have yet to have one of my repairs fail.
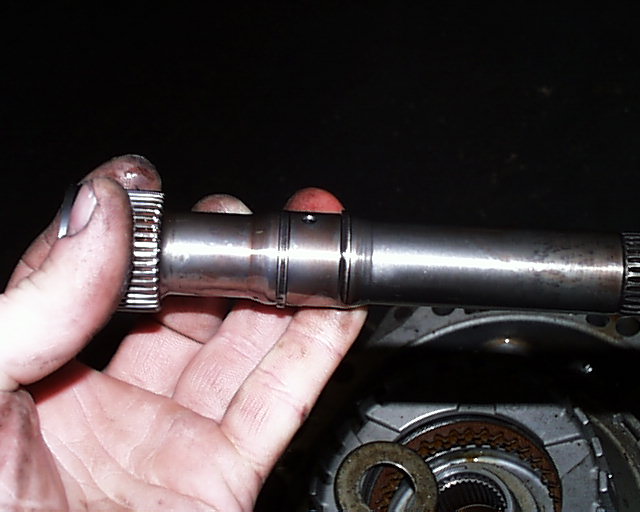
The sandpaper drill thingie is used to knock down any burrs left from the steel seals here:
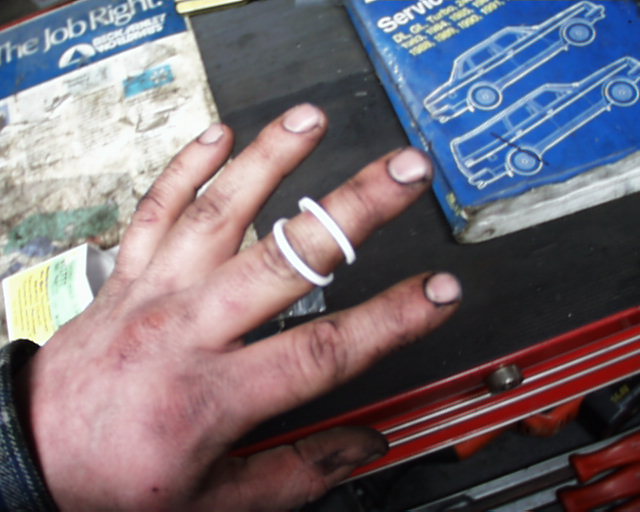
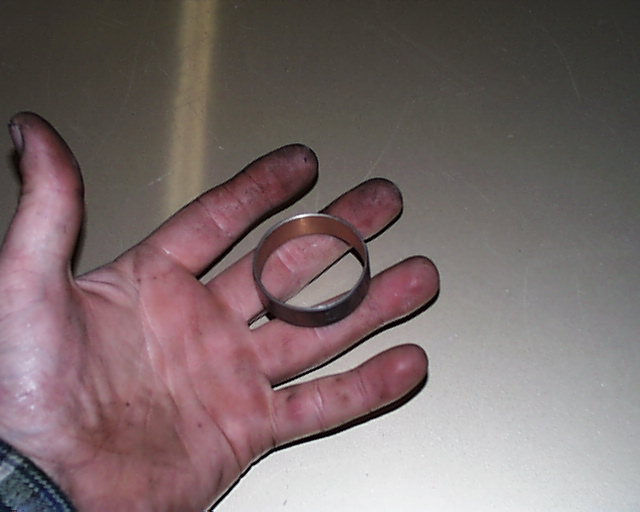
New teflon seals. So nice.
Shows the old seals and where to install the new teflon seals. . .

After cleaning the bore by honing it, stick the input shaft back in the A-clutch basket (if you removed it) and lube the seals and bore with ATF.
Make sure the three pieces of the bearing are in place and slide the A-clutch assembly back into the bell housing / pump assembly. It will seat with a thunk and spin freely.
Put this bearing race on the of the input shaft/a-clutch assembly, then the bearing and last the other race, it will be the smallest of all the races:
Then insert this gear into the A-clutch assembly…
If you didn’t break the paper gasket that seals the pump to the tranny you can reuse it as a new one is a bitch to fit onto the pump without ripping it.
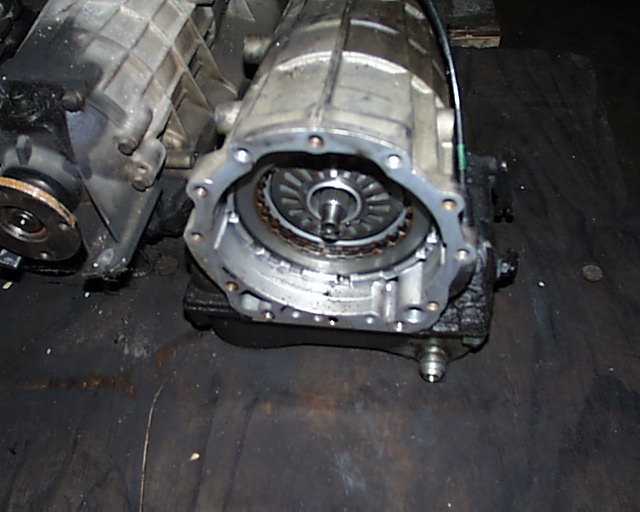
All that’s left is to reinstall the bell housing / pump assembly into the tranny – get comfy as this can be fun sometimes!
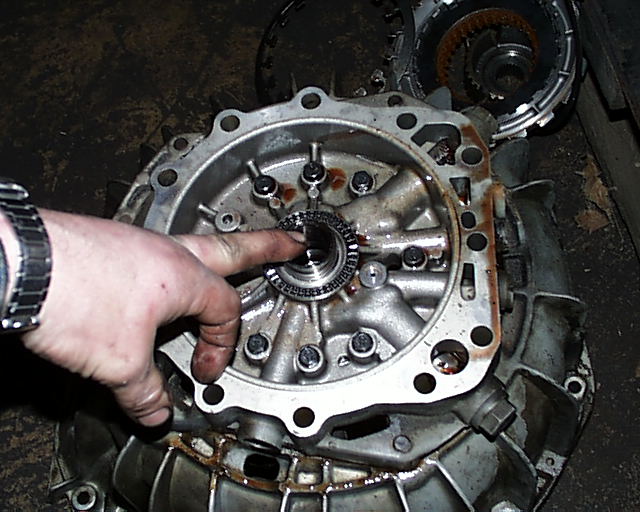
The object is to slip the fingers on the back of the A-clutch into the slots of the 2nd gear clutches in the tranny case. Twisting the input shaft helps – you have to ‘feel’ your way in.
There will be no gap between the pump and tranny case when seated. Tighten the 17mm bolts in a cross pattern, and you are done.
Take your time: look carefully at how everything came apart, and if in doubt dump ATF all over it if it’s inside of the tranny! The Bentley manual has an exploded view of the tranny if I remember right.
When installing the torque converter, make sure it’s all the way in: If the tranny and motor won’t go together find out why, don’t pull it together with the bolts as you can destroy the pump and converter.
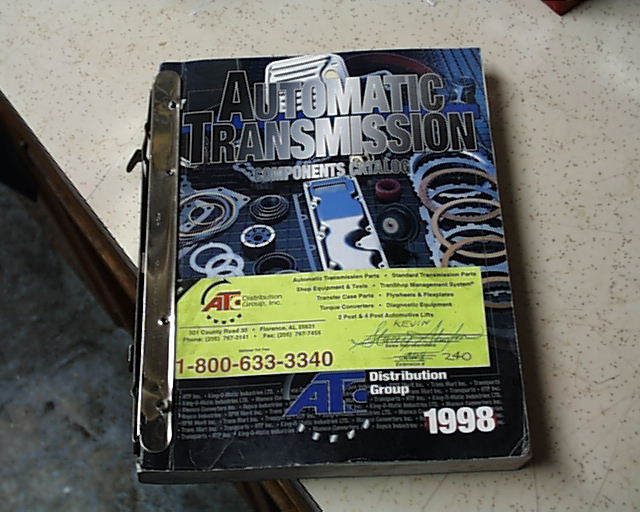
I get most of my parts from these guys, but there’s almost always a tranny parts place or two in town.
Converter Oil Seal
If the converter seal you just replaced is leaking again, the bushing behind the seal has walked forward and is blocking the drain: Time for a new bushing!
It’s hiding here:
Take the bell housing pump assembly off as seen in the a-clutch repair and take the rest of the bolts out of it and separate the pump from the bell housing and take the bolts out of the back of the pump.
You can then strip the pump all the way down and press the new bushing in.
Re-assembly is covered in the A-clutch repair.
Posted by Mike Oswald with a special thanks to the Disgruntled Goat for preserving this write-up!