Article by: Sean
Article applies to: all E32 and E34 models with LAD “self-leveling” rear suspension.

Problem : bouncy ride from the rear. Stiff ride in the rear. Others describing the problem on various forums:
George Mann about this:
“the telltale for bad accumulators is ride. If your rear ride is bouncy the accumulators have had it. Also age and mileage are a fairly accurate barometer…around 8 years or so/100 k miles…the accumulators are about done. ”
Ed :
“The harse ride is caused by the accumulators filling with oil. Gas is gone so no give. ”
Brendan 750il ’88:
“The rear of my car has become very hard and can be kind of bounce, and there is not that much movement in them.”
Tim ’91 750il:
“The rear end bounces like I’m the kid on the school bus above the rear wheels over a speed bump”
DN:
“The rear is VERY firm and it’s difficult to push down on the rear end of the car”
Well, you’ll get the point. I think it is most noticeable when driving over a speed bump, there is a huge difference between the front and the rear suspension.
Background: this is only about E-32’s equipped with LAD rear suspension. How do you know? All iL models have LAD (735/740/750). All 750 models have LAD (750i and 750iL). And about the other models: in some countries it could be ordered as an expensive (and therefore rare) factory option.
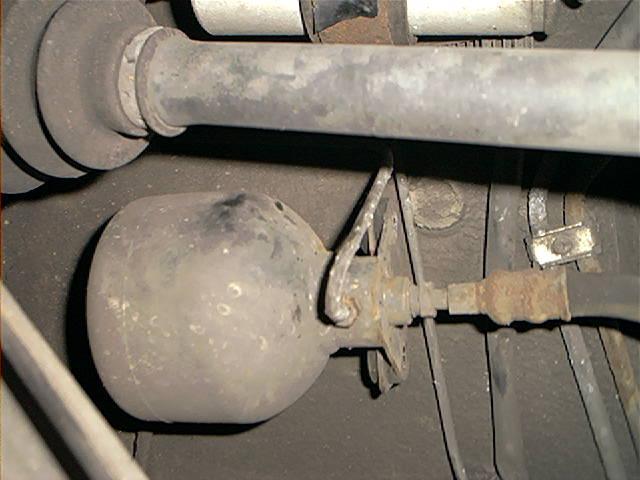
How does it work? The rear suspension has 2 accumulators that are nitrogen charged with rubber diaphragms separating the nitrogen from the hydraulic suspension fluid (Pentosin). When a rear shock is compressed, the Pentosin is pushed into the accumulators and compresses the nitrogen, causing the shock absorption:

This is a very nice and simple fully mechanic/hydraulic system and virtually the same used on Rolls Royces and Citroens (a european auto brand).
When the nitrogen charge is gone (leaking diaphragm) the accumulators fill with fluid so that there is nothing to compress anymore and makes the rear suspension much stiffer. A nice thing is that there are no electronics involved (except a warning light).
The fluid system pressure is variable by the LAD regulator so the ride height can also be (automatically) adjusted depending on vehicle load.
The accumulators are fairly easy to replace and costs are about 90 euro/US$ a piece. You can purchase them at your local BMW dealer, but if your local auto parts seller is able to sell parts from Febi-Bilstein (OEM manufacturer) you can purchase them also there.
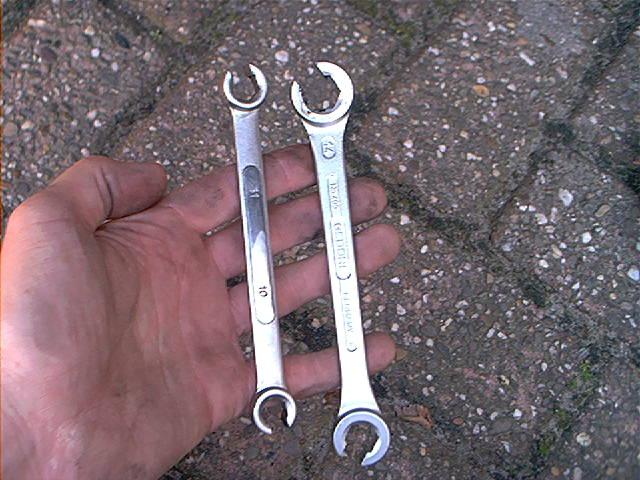
Some flare nut wrenches are making life a lot easier, those fluid fittings can be nasty things to loosen as you will see.
Buy some additional Pentosin also, you’re about to drain at least 2 liter and I suggest you don’t reuse it like I did.
Last remark: you *don’t* have to remove the exhaust to remove the left accumulator. Bentley and the factory manual are telling us this, but they are wrong (and that is a good thing).
Let’s start unbolting and removing parts:
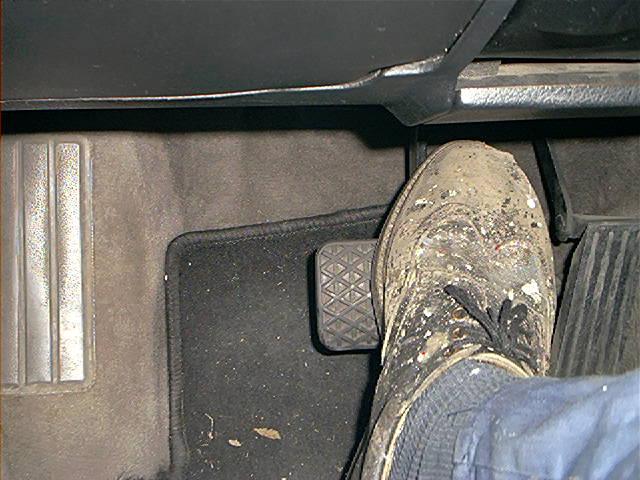
It’s a good idea to depressurize the hydraulic system first. Depress the brake pedal at least 20 times:
Jack the car up from the rear (don’t use the diff but the sub-frame instead), place jack stands, remove wheels (..yawn..). We are beginning with the left accumulator:
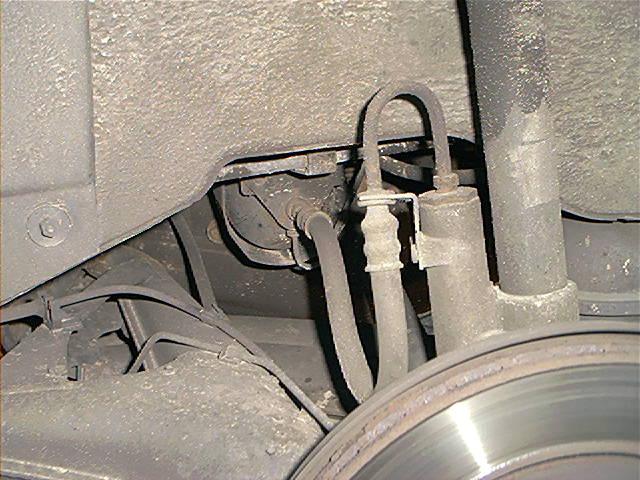
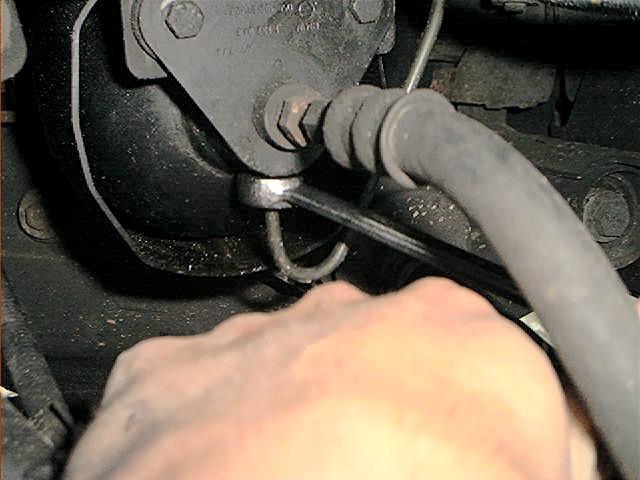
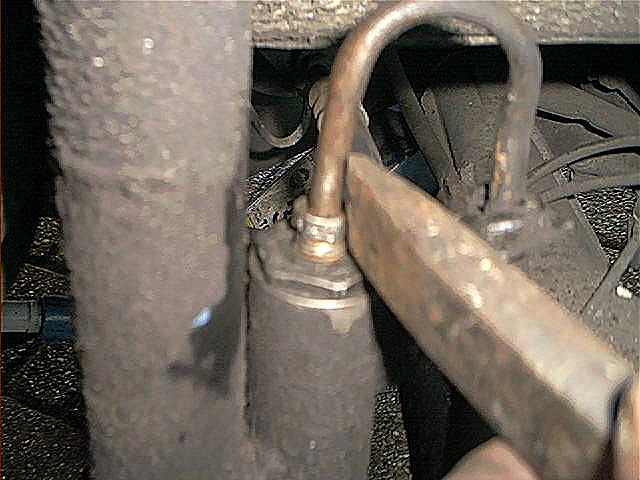
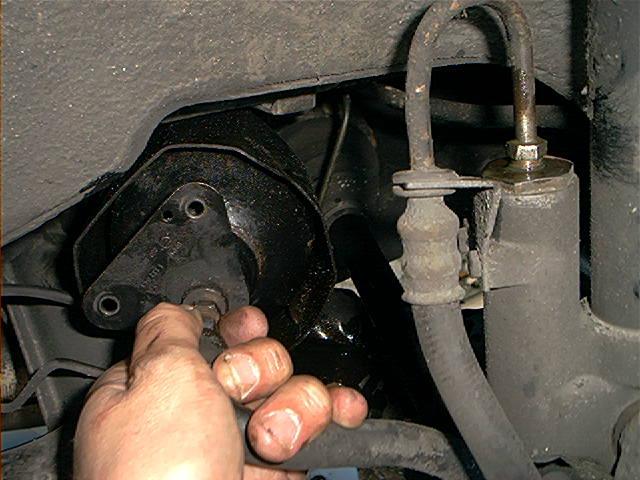
This shows the right accumulator from underneath. This one is easier to reach:
The most important part of the whole procedure is loosening the fluid fittings without rounding off/stripping the hex.
This is in addition to preventing the fluid lining from damaging while turning the flare nut (sometimes the lining is stuck in the nut…at that point use some WD40 and alot of patience if you are not planning to buy new hose).
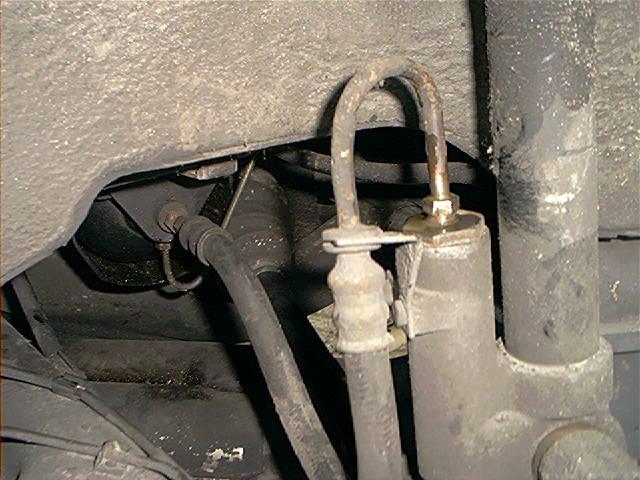
In my opinion it is virtually impossible to remove the large fluid fitting at the accumulator itself.
The small one beneath (11mm) isn’t really a problem, but the big 14mm one is a tough one.
I decided to remove the fluid fitting at the LAD strut thus removing the accumulator and the flexible H/P hose attached to it.
Later on I would remove the hose using my workbench and bench vice. And that was a good idea.
The flare nut wrenches I used (these things are costing a small fortune over here) are 11mm and 14mm which are strange sizes for a European car:
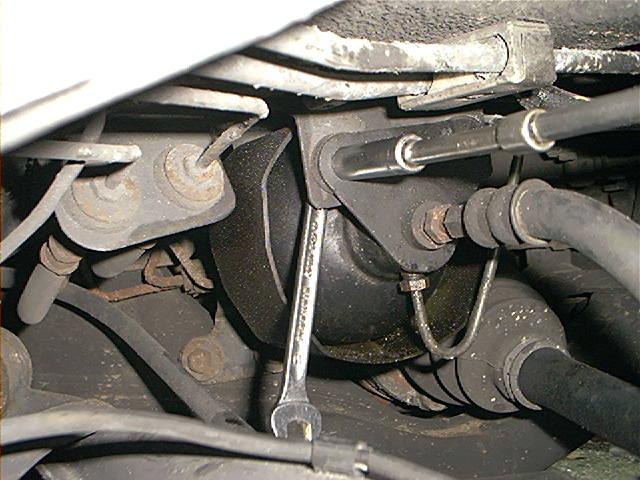
When everything is still installed, try to loosen the fluid fittings at least one turn before you remove the accumulator.
These fittings are your main concern right now.
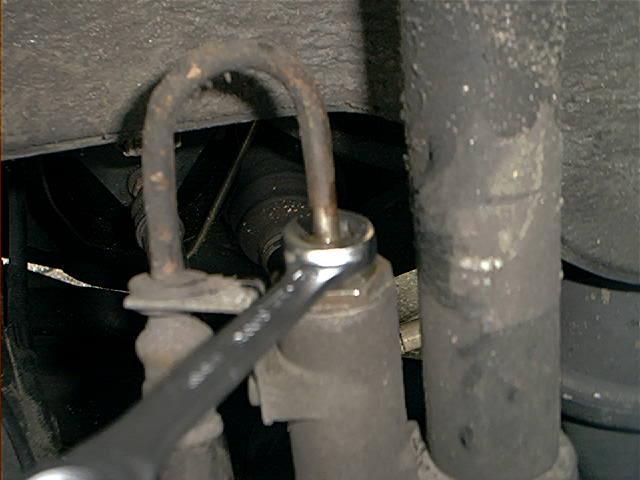
Loosen the lower 11mm fitting one turn:
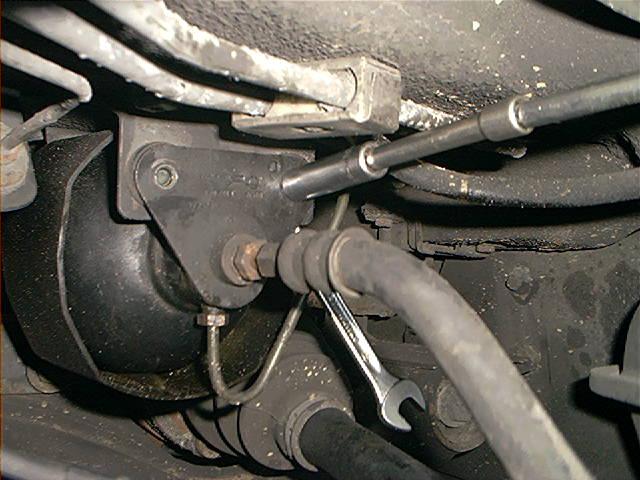
And the one on the strut:
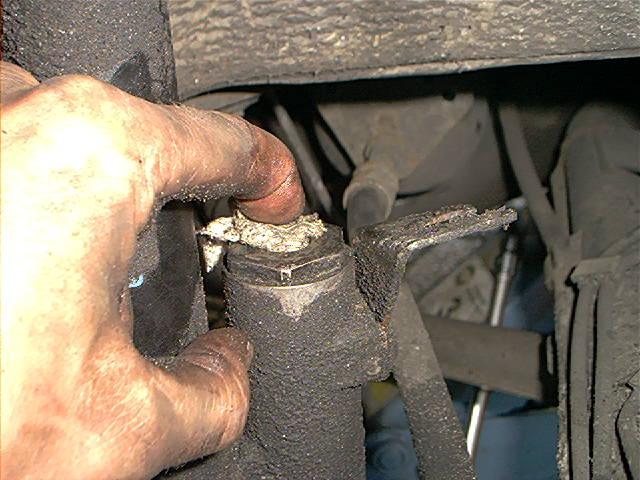
On the right side, I wasn’t that lucky and I destroyed the fluid fitting…G#@$!MN! F#@K! and so on for about 5 minutes….
This was a tough son of a b*tch. Even vice grips didn’t do the job. Neither a large water pump plier.
When the nut is fully stripped, you can use a chisel with a hammer as a last attempt before cutting the hose and using a socket:
And that did the job. Back to the right side. A little bit of Pentosin leaked already, but if you loosen it just one turn it can be not that much.
Clean the area thoroughly to prevent dirt entering the thread bore:
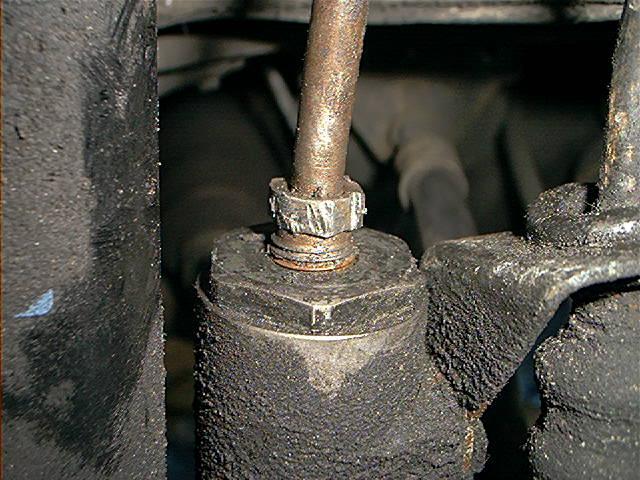
Now you can remove the bolts holding the accumulator to the bracket. 2 at the front of the accumulator and one at the rear.
I suggest you remove the bolt at the rear the first. When it comes to the left accumulator, the rear bolt can be sort of an hassle to reach and remove with the exhaust installed.
I wasn’t even be able to photograph it. But I used a 10mm socket, swivel and all 1/4″ extensions I could find to remove it. The front bolts where a lot easier (all tiny 10mm nuts and bolts):
When it’s hanging loose, you can drain the Pentosin by removing the lower fluid fitting.
You can drain the Pentosin also in an earlier stage but it can become some sort of Pentosin mess at that point because it leaks everywhere on your exhaust, now you are able to ‘maneuver’ the fluid a bit:
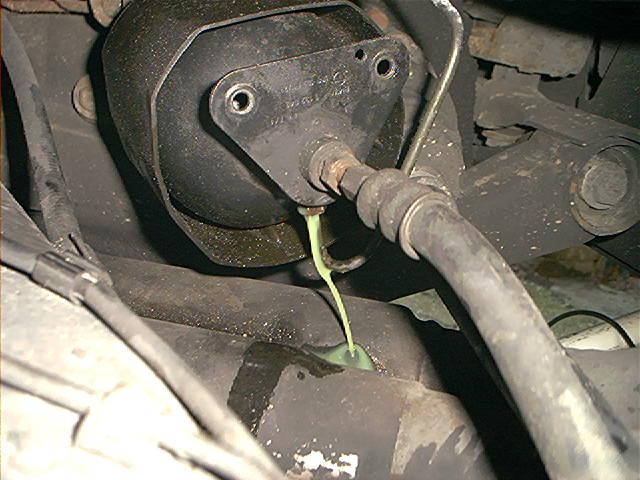
Notice the strange color of the Pentosin.
That is because I used contaminated Pentosin when I was in a real hurry and had only some Pentosin which I had drained in an earlier repair.
I suggest you don’t do such stupid things.
So I drained the reservoir as well for this reason (obviously you don’t have to do that but it can be a nice reason to change the Pentosin once in a while):
![]()
The filter is exposed:
![]()
Ok, quit the playground and get back underneath. Notice the plastic cover that protects the left accumulator. The right accumulator lacks it.
Maybe to shield the left accumulator from the heat of the exhaust. After the 3 bolts are removed, you can pull the accumulator through between the chassis and the rear-trailing arm:
After removal, I plugged the thread bores with a small rag:
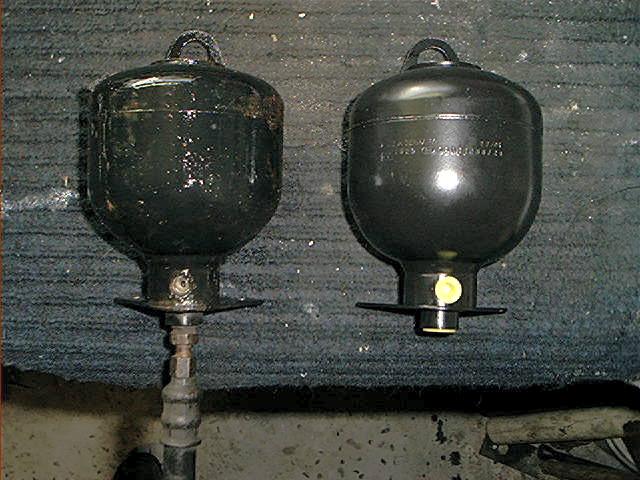
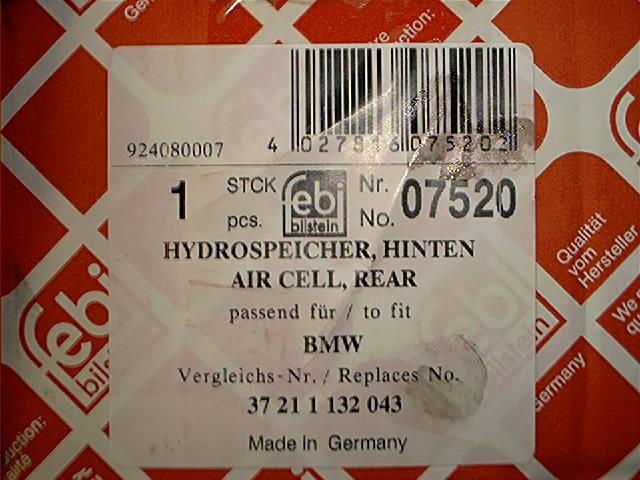
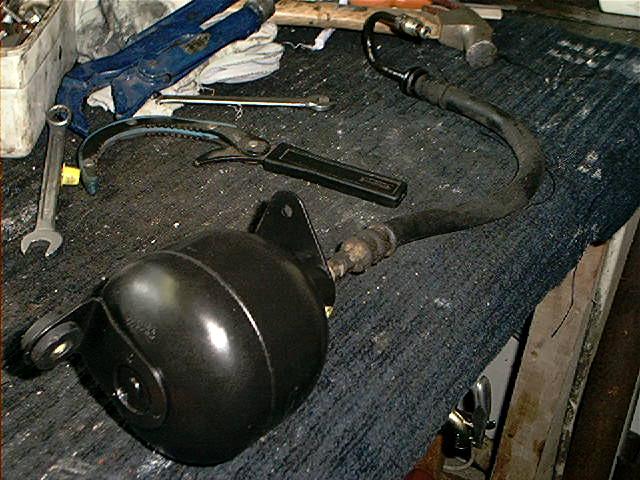
Old versus new. The new ones are made by Febi-Bilstein and are 100% identical to the BMW ones, probably same manufacturer.
You’ll see the fluid hose is still attached:
Close up of label:
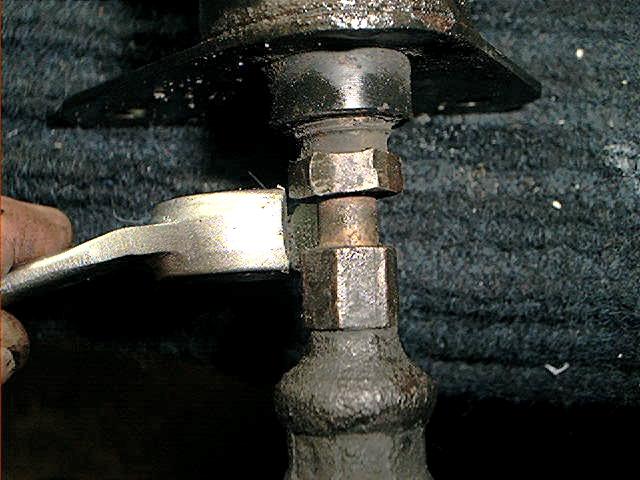
This shows why you can’t use the flare nut wrench. It’s just way too thick.
I tried to use an open wrench instead which didn’t work either (see damage fitting). Nice thinking by BMW….not!
This shows why you can’t use the flare nut wrench. It’s just way too thick.
I tried to use an open wrench instead which didn’t work either (see damage fitting). Nice thinking by BMW….not!
Sigh. Time for some deep thinking here…..
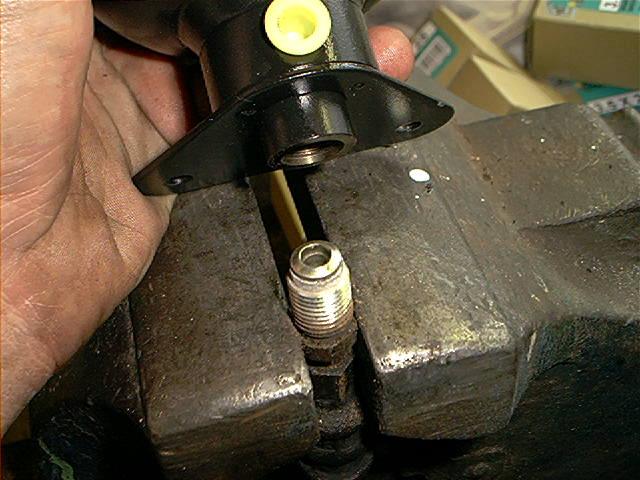
I tightened the flare nut in my bench vice (be very careful you don’t tighten it to much, ending up with a destroyed flare nut and a flat fluid hose connection..):
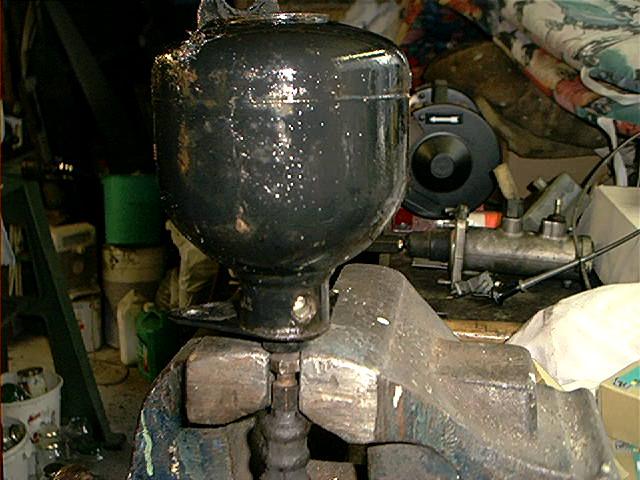
Perhaps you are thinking now, when staring at these fine photo’s, something like ‘now he just have to turn the accumulator by hand and it will loosen’.
Well…..no. Absolutely not. Not a tiny bit. So I grabbed a large oil filter wrench and used it on the accumulator.
And nothing either. It was just incredibly tight. So I took the largest pipe wrench I could find:
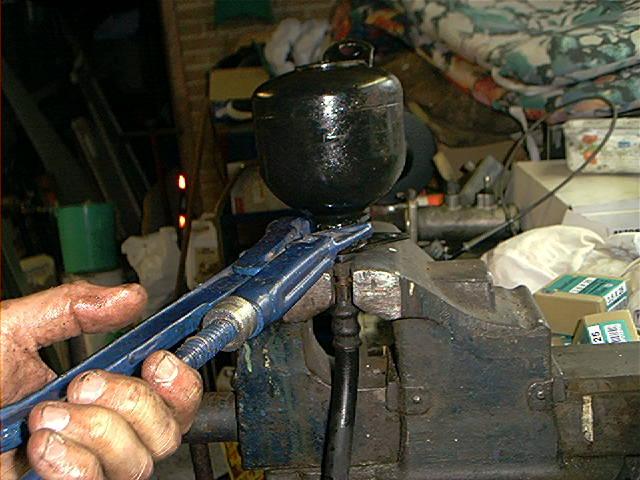
This finally did the job so I can reuse the fluid hoses.
Great, but this took me an hour just to get to this point.
Mounting the new accumulator onto the fluid fitting:
And tightened the new accumulator with an ehhh…oil filter wrench:

Don’t forget to remove the rubber mounting grommet from the old accumulator and install it onto the new one:

And yes, we are making progress:
And the same procedure again for the other side. After reinstalling the accumulators, fill the Pentosin reservoir and keep an eye on the level after starting the car.
You’ll need at least 2 liters of fresh Pentosin to add to the system. It’s also a good idea to start the car before you put the wheels back on (be careful when doing this, if the car drops while doing this you won’t be a happy person) to check for leaks.
You will smell some burnt Pentosin when the exhaust heats up, don’t worry (you did clean up as much as possible before hand right?).
Total amount of parts and cost (about 1 Euro equals 1 US dollar): about 80-90 euro/US$ a piece plus some Pentosin (I use LHM fluid instead which seems also to work).
Total amount of time: it took me all morning so my wife was not pleased at all because she had to do shopping now all by herself (gosh..lucky me!).
Skills needed/difficulty level: Those fluid fittings are always a problem and easily rounded off, even with flare nut wrenches. Why don’t they use banjo bolts or something like that?
Satisfactory level after the job done: virtually everyone’s bouncy ride is solved after replacing the accumulators but surprise, surprise…not mine. Problem is still under investigation, maybe a faulty regulator.
But the accumulators needed replacement anyway, after doing about 130k. I need coffee. Now. Lots of it . . . and an aspirin, also lots of it.
Editor’s Note:
If you have discovered that a prior owner has filled your power steering / LAD system with ATF, this is a bad sign.
ATF attacks the seals in the LAD shocks (and also damaged the accumulators). After replacing and rebuilding my system (1989 735il), I flushed the power steering / LAD system with fresh Pentosin several times.
ATF is **not** to be used in this system.
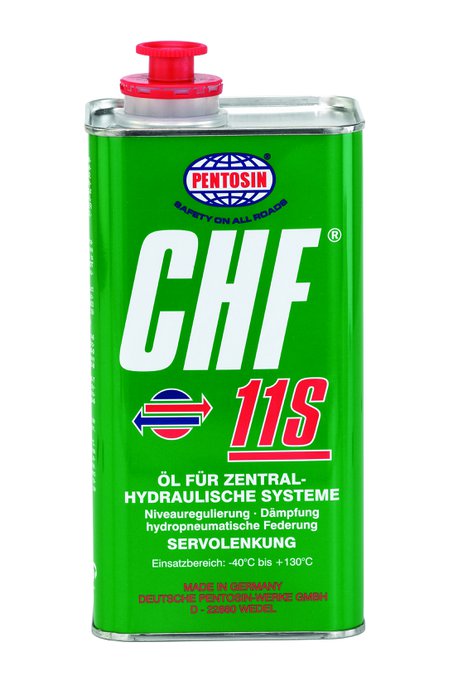
Pentosin CHF 11S is the correct fluid.
~ M. Oswald