When working on the strut, the
strut must be in upward position, do not allow it to lie
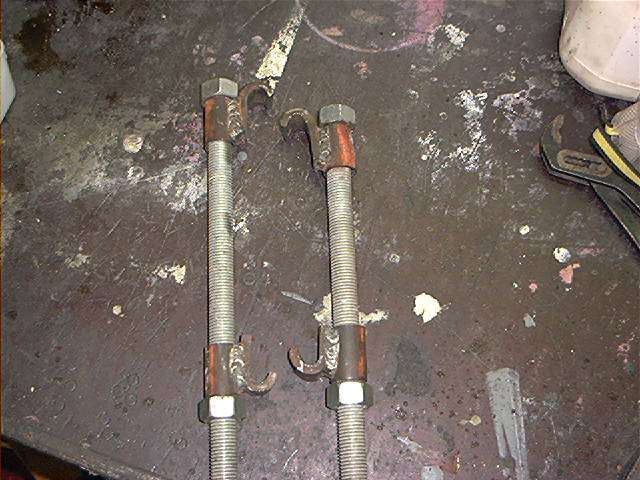
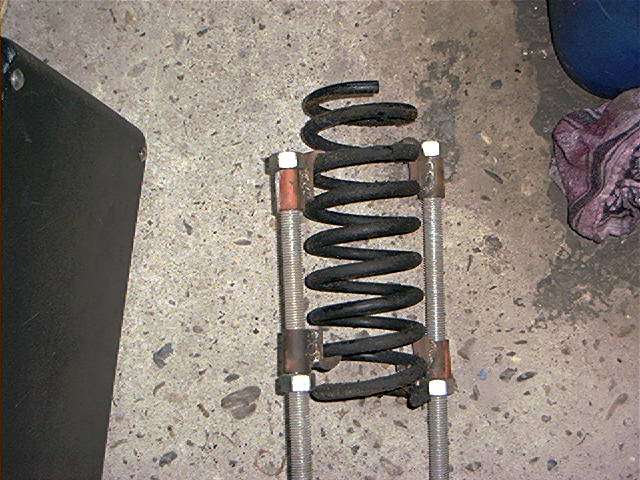
horizontally. I put it in my vice. To compress the coil, you need
some kind of springcompressor. I made these myself, by an
original concept by Gale (see building instructions at Gale's springcompressor). I made the concept somewhat
stronger/beefier and fully welded the bar stock to the conduit:
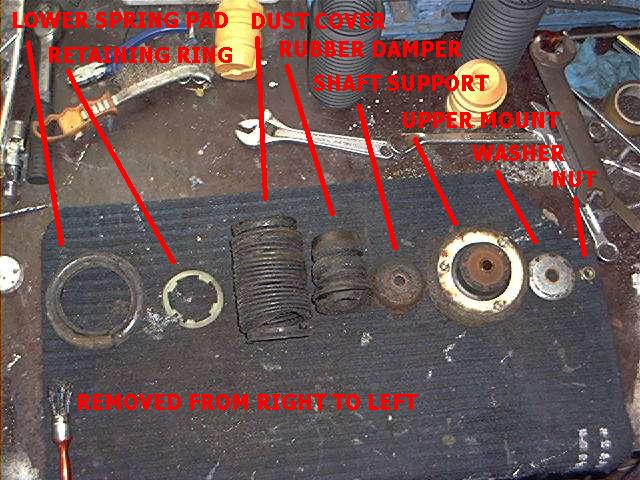
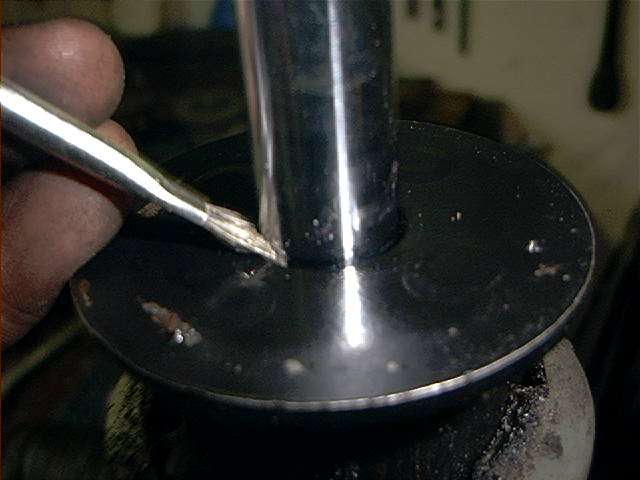
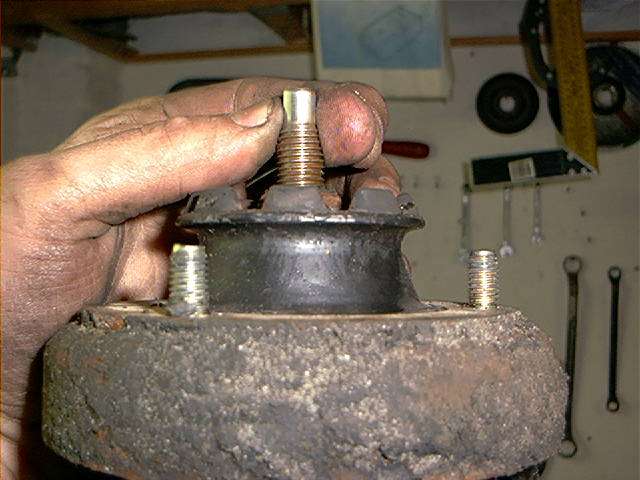
Before uninstalling the spring,
mark the position of the lower spring pad according to the strut.
This will make the reinstalling easier (spring removed for better
understanding):
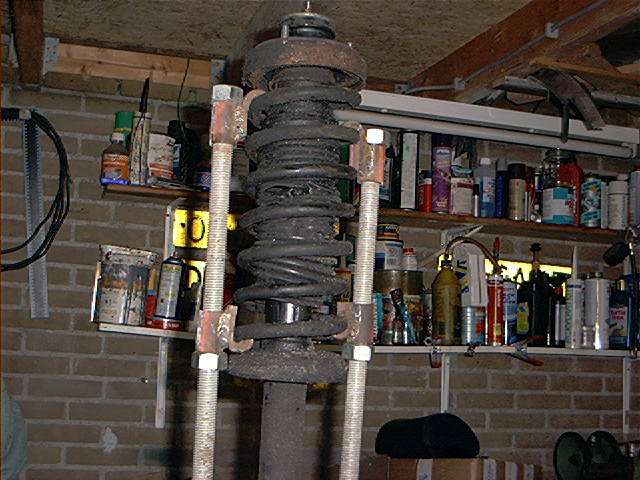
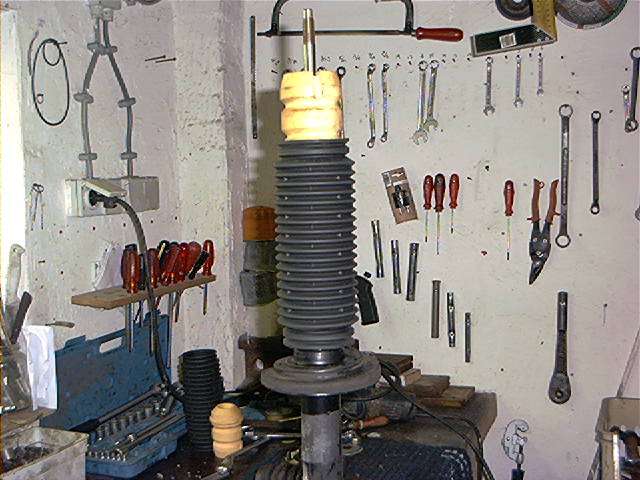
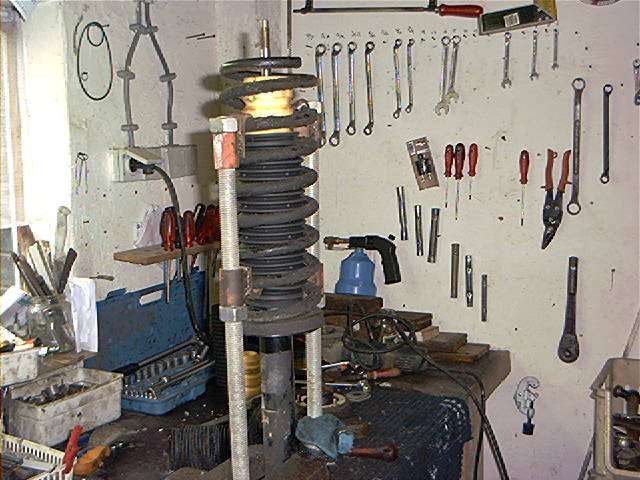
Strut clamped in workbench with
installed spring compressors:
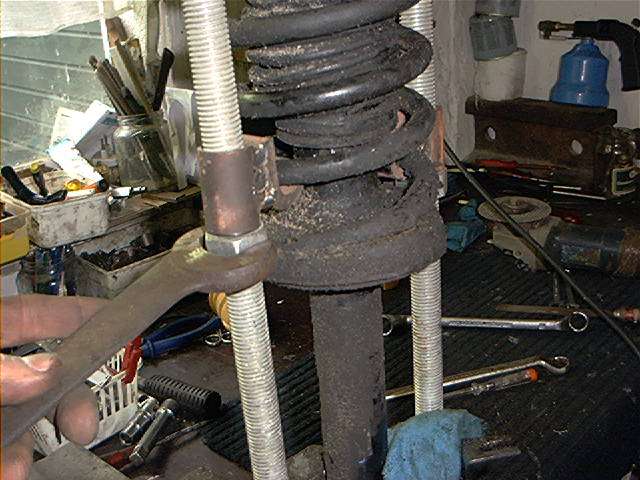
Be very careful working with
springcompressors. Tighten them equally and slowly:
Compress the spring not all the
way, just enough so you can turn the spring with your hands.
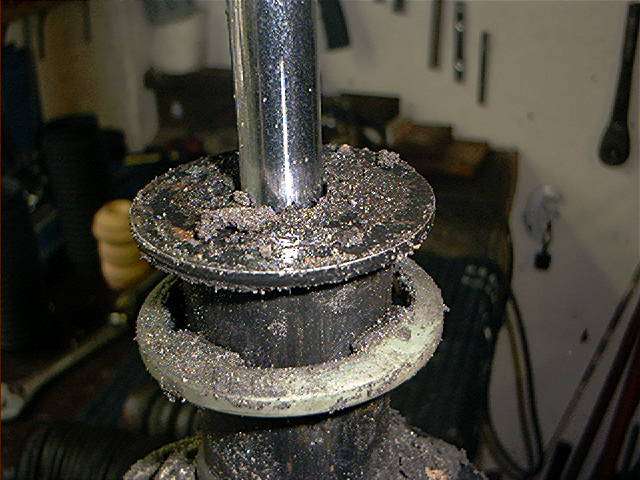
Loosen the big upper mounting nut:
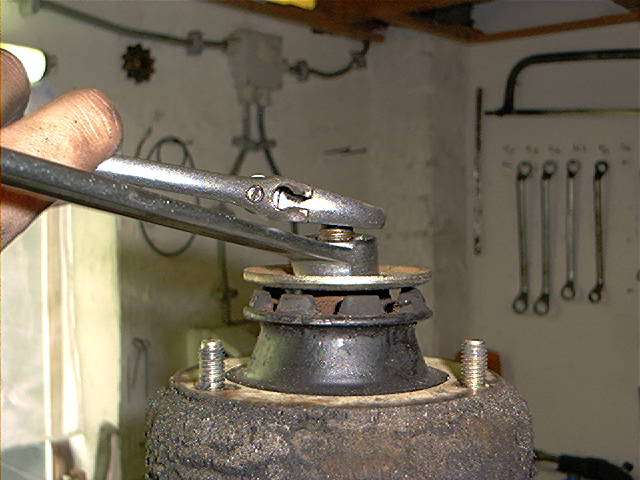
And remove the top upper mount
pad:
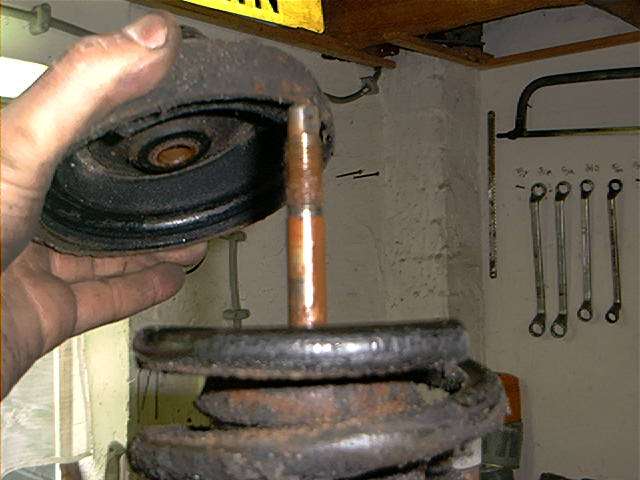
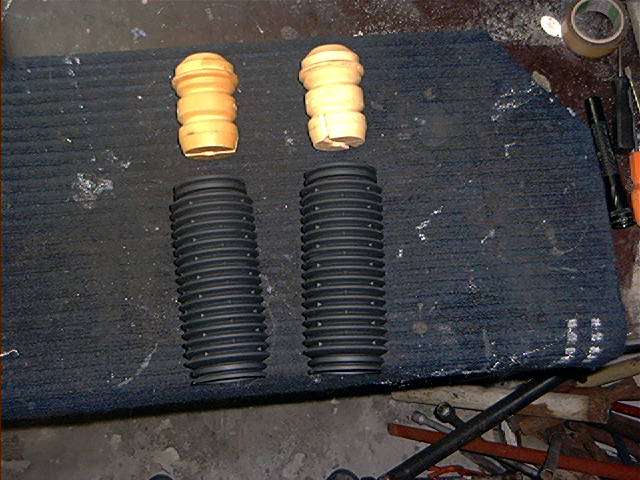
Remove spring, rubber damper,
pads and dustcovers:
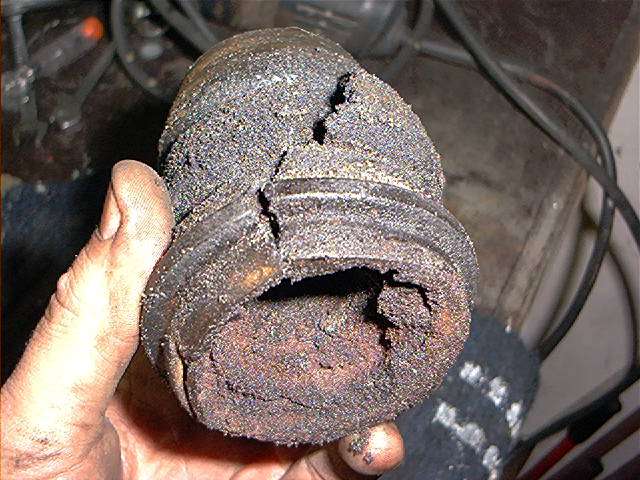
The rubber (it isn't really
rubber but some kind of foam) stops/dampers where in bad
condition, this is usually the case:
And so where the dust covers:
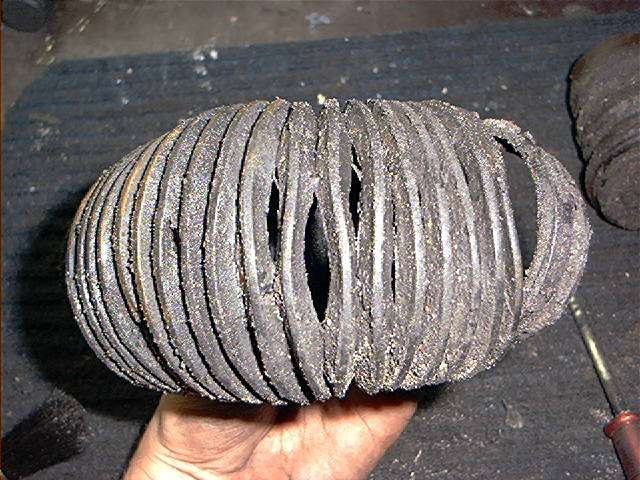
Because of the very bad
condition of the dust covers, a lot of debris can be found on the
struts:
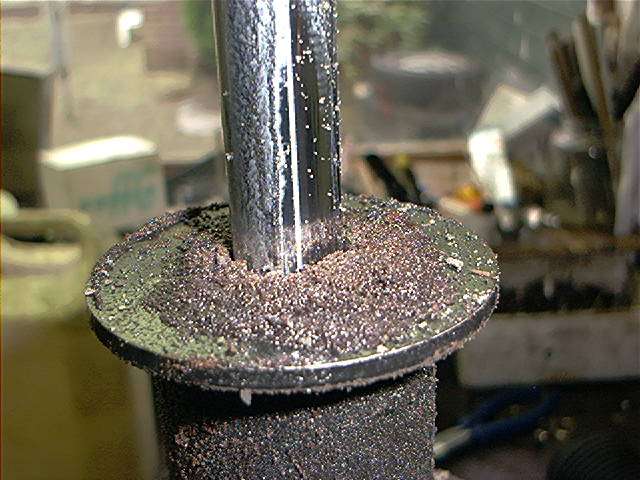
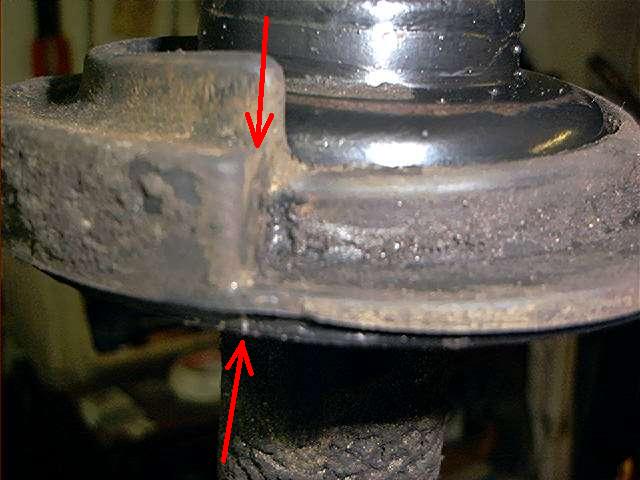
This is not a very good thing for my seals, so I cleaned things up a bit with a small brush. A remark must be made here (with thanks to Gavin Ligget): This upper seal is simply a wiper seal which serves to keep crud out of the cylinder. It is retained by a taper. This seal does not prevent the egression of Pentosin.
If your shock is
leaking badly in this area, this is due to internal leakage of
the strut. The strut can be rebuild, check out our section 'LAD
strut rebuild'.
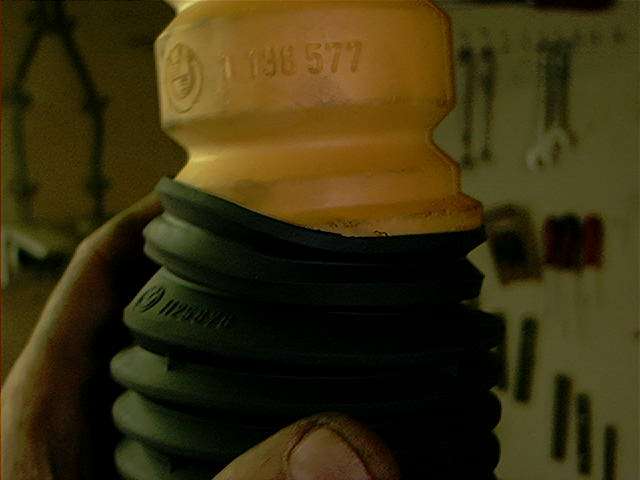
Time to install the new parts
(note: the dampers are showed upside down, slight mistake):
Mount the hose onto the rubber
stop/damper:
Install the lower pad (mind the
previous made markings) and install both parts onto the strut and
onto the lower retaining ring:

Now it should look something
like this:
Install the spring:
Install coil and upper parts.
Pull the shock rod entirely up:
And install upper ring and nut.
Make sure the bolt it fully tightened, then remove the spring
compressors. The reinstalling is pretty much the reversal of
removal. With one exception: when reinstalling the strut, tighten
the upper 3 mounting nuts just a few turns, do not fully tighten
them:
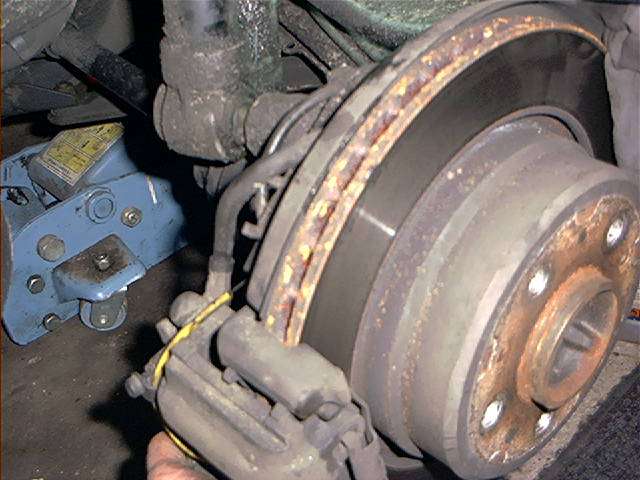
Install the strut onto the
trailing arm (lift trailing arm for that) and tighten the big
lower bolt:
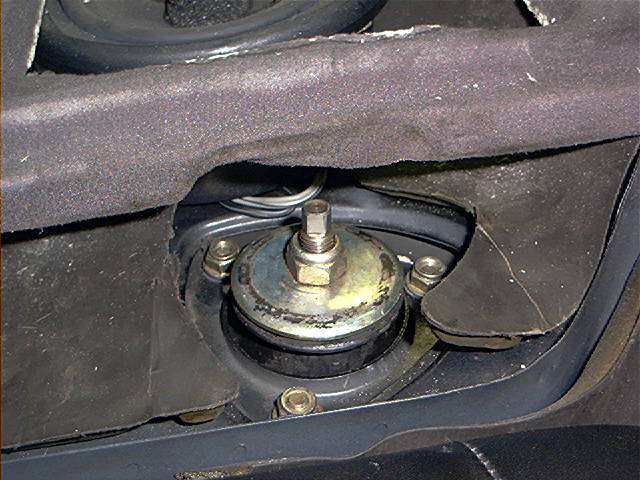
After this, install the HP hoses
and the rear wheels. Remove the jack. At last, tighten the 3
upper bolts.
You don't bleed the HP system at the shocks. I didn't bleed the
system at all. But you can do it at the LAD regulator valve
underneath the car, putting 150 kg (332 lbs) weight in the trunk.
I removed the lid of the LAD fluid reservoir and started the car (wheels on ground). I saw the reservoir immediately sucked almost empty, while the car was pumping fluid towards the empty rear shocks. I added almost 1 liter of fresh Pentosin to the reservoir and that about was it. Until now, no problems and no difference in suspension characteristics.
That's about it. This procedure is pretty straightforward but I say it once again: working with spring compressors can be hazardous or even lethal. You need to know what you are doing.
Total amount of parts and cost (excl. taxes):
| BMW partnr | description | price (1 piece) | used amount |
| 33 53 1 138 577 | rubber damper | 10,44 Euro/US dollar | 2 |
| 31 32 1 125 878 | dust cover | 9,27 Euro/US dollar | 2 |
You'll need also about 1 liter
of Pentosin fluid to compensate the loss of fluid.
Total amount of time:
About 6 hour.
Skills
needed/difficulty level:
You do have to use
springcompressors. If you don't have any experiences with those
tools, the job can be dangerous. You are warned.
Satisfactory level after the job done:
Excellent.
Some
things I should have done but I overlooked, forgotten, just being
too lazy or didn't replace because I am cheap and now I am
regretting that while everything is reinstalled already and I
drove it for a few thousand kilometers/miles?
No, but I just hate
to remove that !@# backseat/backrest for this procedure.
Story by Sean750.
If you would like to add any comments, remarks and/or corrections to this procedure, feel free to email Mike Oswald and we'll put it on our site. Share your experiences with us so others may benefit from it.