Article by: Sean
Article applies to: all e31, e32, and e38 models with the M70 V12 engine.
Problem : Various. I always had a slow cranking starter since the day I bought the car a few years back.
The battery was dead at that time, so I replaced it with a brand-new AC DELCO 90Ah, originally intended for a diesel engine, ensuring enough start amps.
That day it cranked like new, later on the same problem…slow cranking.
Normally, after that you would expect a bad starter, so I decided to leave it that way and waited until the day the starter finally died.
Lots and lots of miles/kilometers later, I replaced literally everything on my 750, but not the starter. Must be a tough one (still original).
So the slow cranking has some other cause.
At a certain dark night, I was watching my headlight pattern against a wall, and saw the lights slightly pulsating, barely visible.
When I looked very carefully, I could also see the interior light slightly pulsating. That’s not good.
So I performed the famous built-in voltage regulator test which every E32 has.. the OBC test 09:
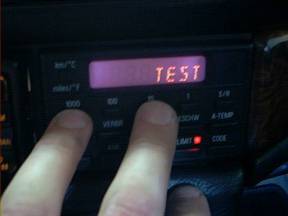
This gave the following readings. Ignition on, engine off:

That is a bit low. The following while starting and camera shaking:

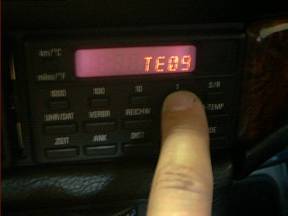
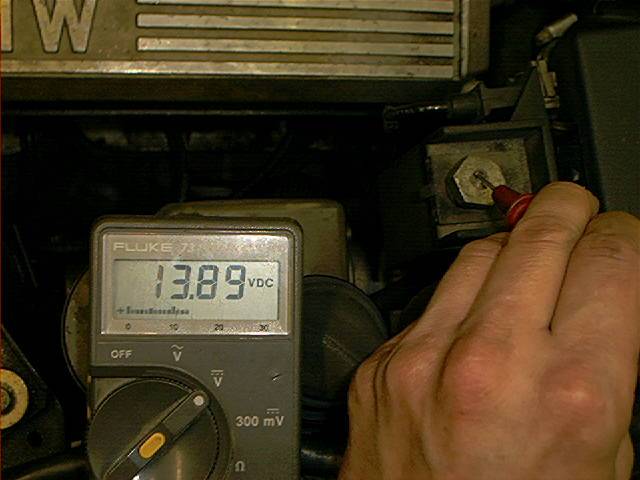
That wasn’t easy to shoot. It actually dropped down to something like 9 volts, as I can recall. Not abnormal. Now engine at idle:

1 second later:

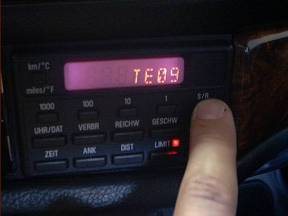
And 1 second later:

And so on. The voltage fluctuated between the 13.20~13.77 volt. Sometimes it dropped right down to 12.80
Folks, that ain’t right. The voltage should vary somewhere between the 13.50~14.20 volt. Some say it should be 13.70~14.20 volt (about 14 volt +/- 0.2 volt).
There is some discussion about the right values for the E32, but everybody agrees on the fact that everything below 13.50 and above 14.80 is a reason to get the tools out of the box.
This way, my battery can’t be fully charged. I also measured it at the battery terminal with a running engine:
That’s a normal value, without lots of varying. But I didn’t saw any value higher than this. I decided to replace the voltage regulator.
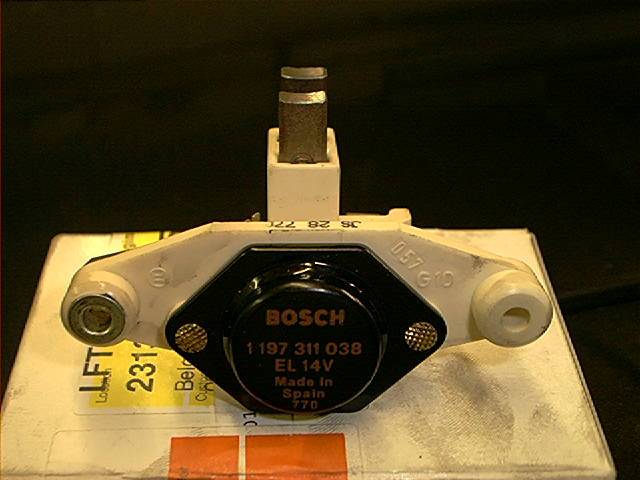
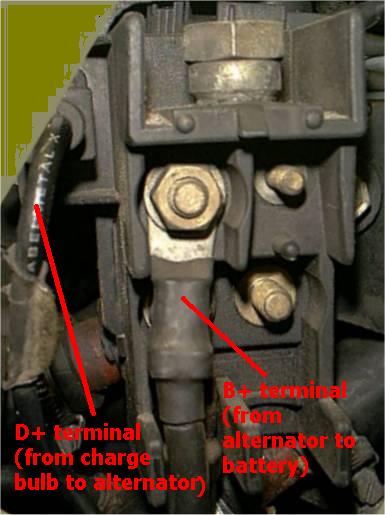
Background: These alternators can have different current ratings. The alternator is a standard type with a battery terminal connection (B+), a D+ terminal connection (for the charging bulb in your dash) and an integrated voltage regulator.
The voltage regulator has the brushes integrated, but the brushes can be replaced without the need for a new voltage regulator.
At least, this particular model alternator. However, a new voltage regulator comes always with new brushes.
The nice thing about these Bosch alternators is that you don’t have to remove the alternator to replace the voltage regulator and/or brushes.
At least, the 730/735 owners have this advantage (well, that’s what I thought. Later on Johan told me he had a hard time replacing it on his 735i leaving the alternator installed).
The 750 owners have basically the same model alternator (although heavier, more amps), but due to lack of working space it is normal you have to remove the alternator in case to replace the voltage regulator.
The factory manual and the Bentley Book are telling both you have to remove various parts, including the radiator and fan, so the alternator could slide out at the front of the engine.
Folks, that is not an easy job. Not at all. If you looking at the engine bay of an early 750, you can’t see the alternator at all.
If you are lucky, you barely can see the pulley. It’s located at the left side of the engine, between the hydraulic pump and the left distributor, and stuck between radiator hoses, hydraulic hoses and whatsoever.
So when you want to remove the alternator, you have to do this:
Remove air filter housing, remove MAF and intake boots, remove fan, remove shroud, drain coolant, remove rad hoses, unbolt tranny cooler lines, unbolt oil cooler lines (if applicable), remove radiator/oil cooler, remove belt tensioner, remove belt, remove alternator air duct.
At this point you didn’t touch the alternator yet at all. Furthermore, detach electrical connections of alternator, unbolt 3 bolts holding the alternator and at last it slides forward between the hydraulic hoses.
I don’t like this. A couple of months I replaced my radiator (see radiator replacement) and I didn’t want to go over this procedure again.
So I invented a way to replace the voltage regulator WITHOUT removing the fan/rad and whatsoever. AND the alternator doesn’t have to be removed.
But you still have to remove parts though….but not so many.
But first I have to tell you about the location of the voltage regulator. This is a schematic overview, facing the back of the alternator, looking towards the front. At the right you have the engine:
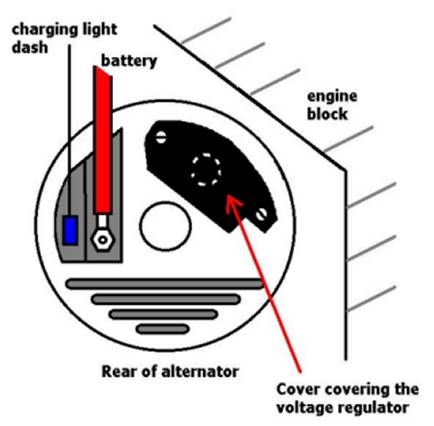
At the left you’ll see the B+ en D+ terminal (sometimes covered), at the right a black plastic cover. The voltage regulator is located behind the black plastic cover.
In order to replace it, you’ll have to remove both bolts holding the cover, and after that 2 bolts holding the voltage regulator.
It’s as simple at that, but how on earth are you gonna reach it? (that is not an uncommon question when you are staring at the engine bay of a v12, believe me).
Let’s start unbolting and removing parts:
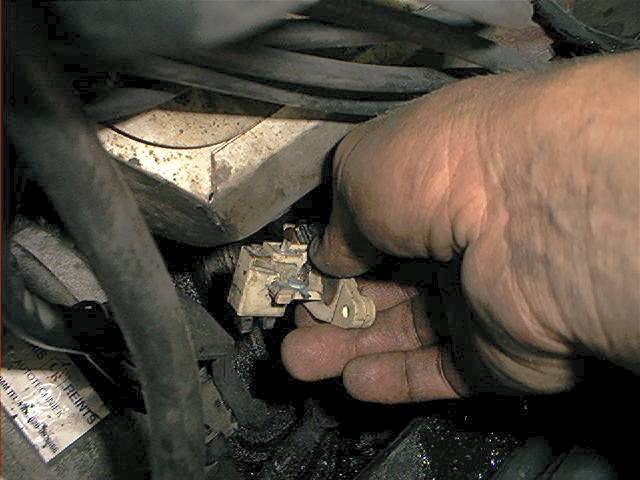
At the very first beginning, it’s not a bad idea to disconnect the B+ and the D+ terminal to prevent some nice sparks when working on the alternator. Remove cover of the + terminal:
These are the connections to remove:
Just bent them slightly out of the way, make sure they don’t touch the + terminal:
The ultimate goal is to remove the oil filter canister. I described this procedure extensive in ‘oil filter canister removal‘ so I won’t go this again.
Remove left air filter housing assembly (upper AND lower), MAF and intake boot:
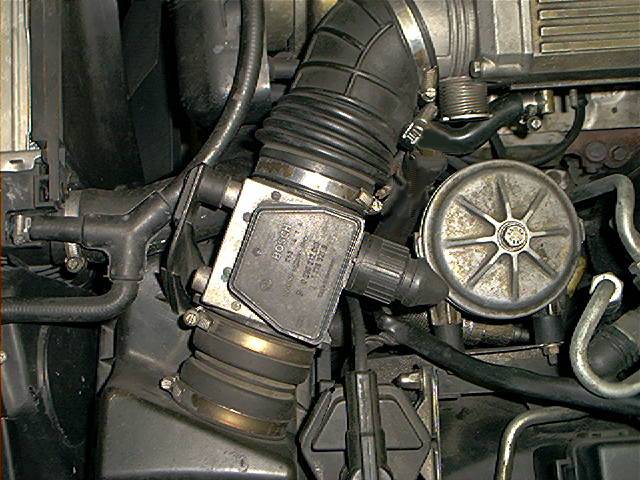
That should give a nice image like this. We already barely can see the alternator (nice quiz question: where on this picture is the alternator located?).
Don’t give up so quickly, take a closer look, it’s there:
After removing the oil cooler connections, pressure hoses to the engine, drain hose, oil pressure switch connection and 2 bolts holding the oil canister to the body, it can be lifted upwards.
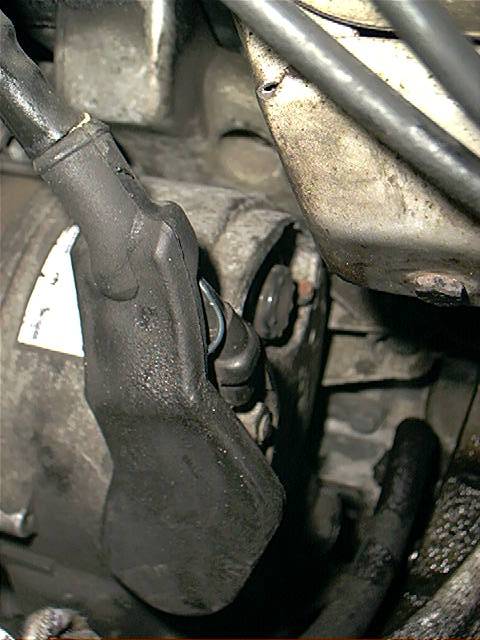
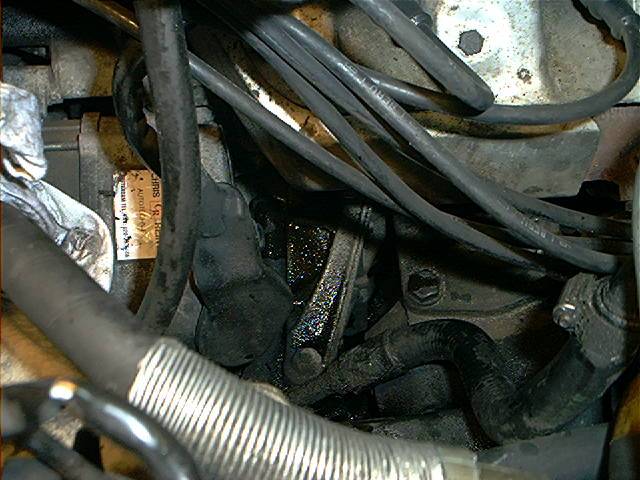
It’s advisable to drain the oil first from the canister. You can see the alternator just above my finger (with small square white sticker on it):
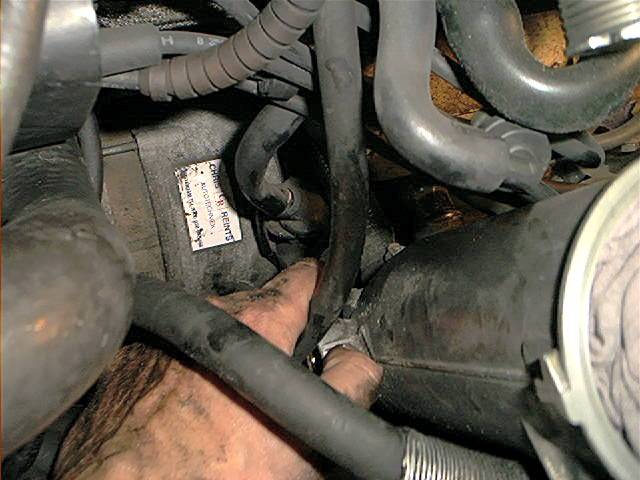
You can see you can access the back of the alternator better, but its not enough (compare it to the drawing above..bot bad uh?).
The high pressure oil hoses are preventing easy access:
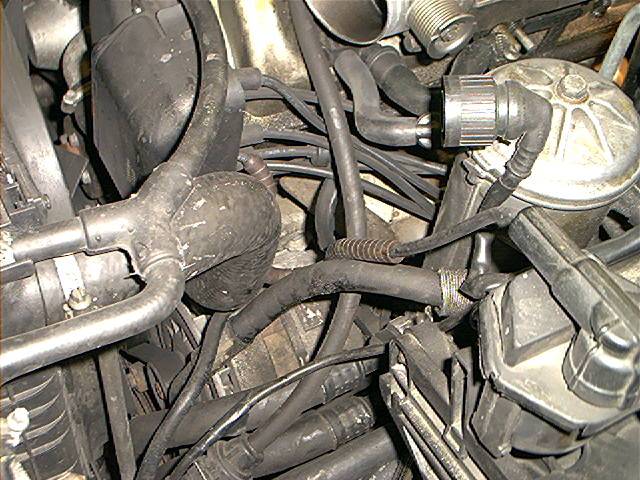
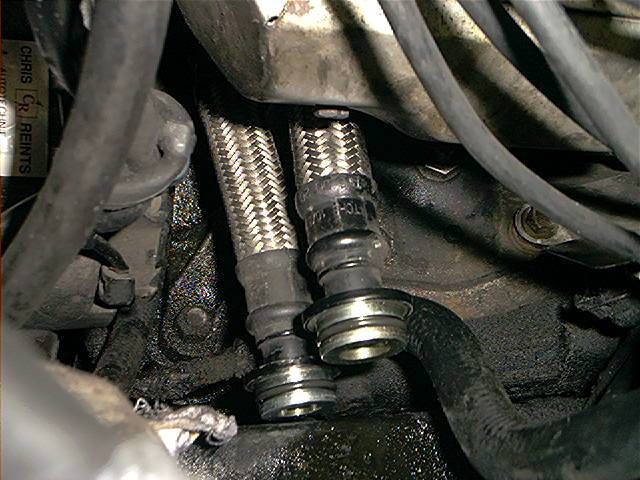
When you have removed the oil canister, you’ll be looking at these 2 high pressure hoses coming from the engine. These are the supply/return hoses. These also have to be removed:
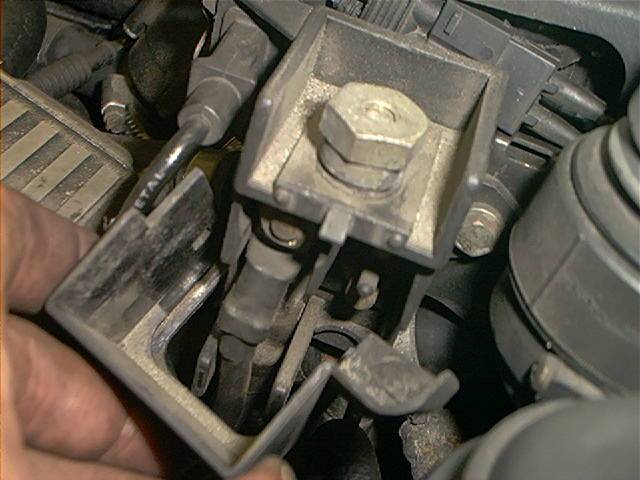
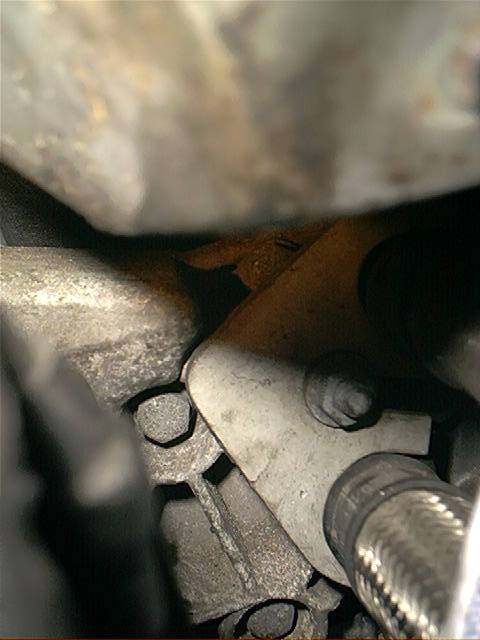
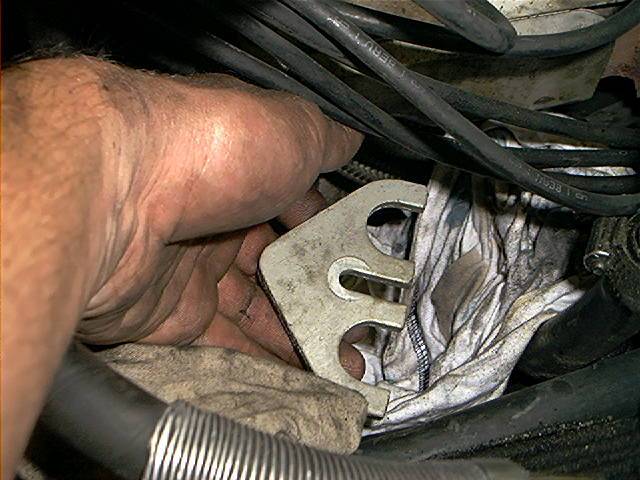
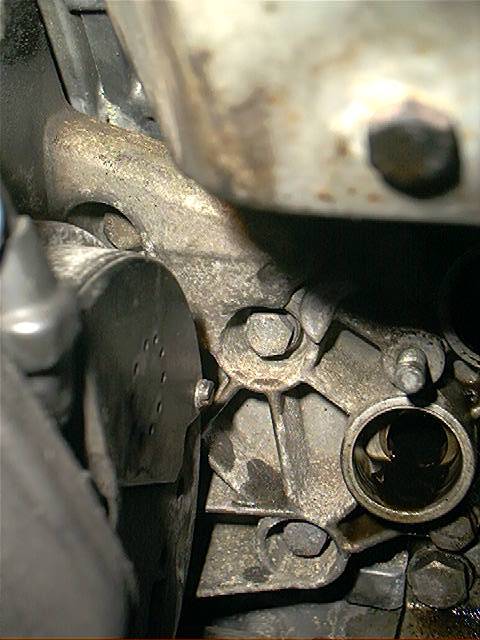
To give better understanding how these hoses are connected to the engine block, I made some pictures.
You’ll see some sort of bracket with in the center a 13mm bolt holding the bracket to the engine (thus keeping the pressure hoses tight to the engine block).
This is exactly the same construction as how the pressure hoses are connected to the oil filter canister:
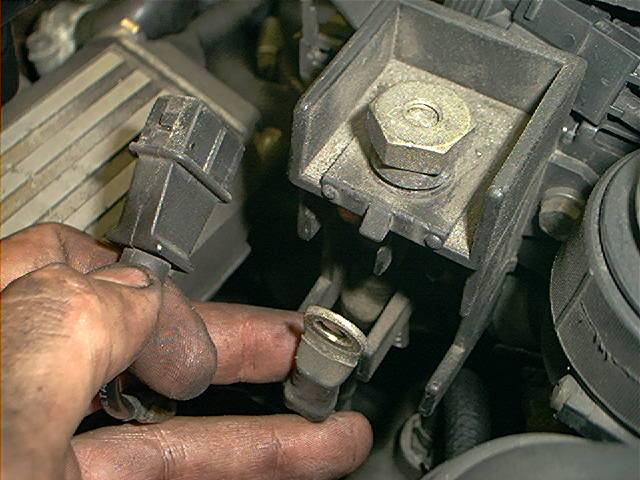
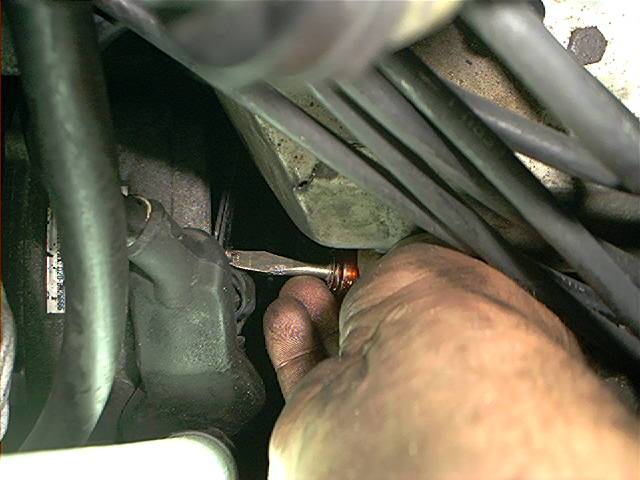
The difference with the bolt holding the bracket to the oil filter canister is that this bolt has to be removed completely. That’s fairly easy:
Mission accomplished. This is the actual bracket:
The hoses still will be inside the engine block after removing the bracket:
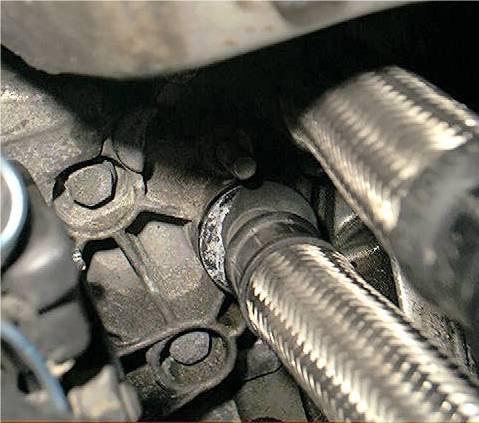
Now you can pull the hoses easily out of place. The upper one:
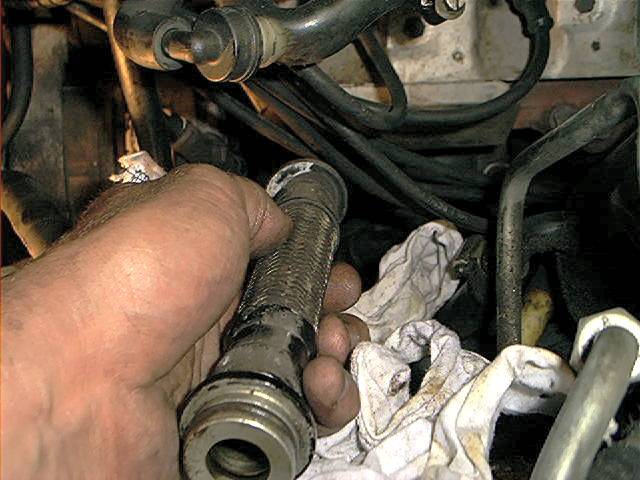
And the lower one:
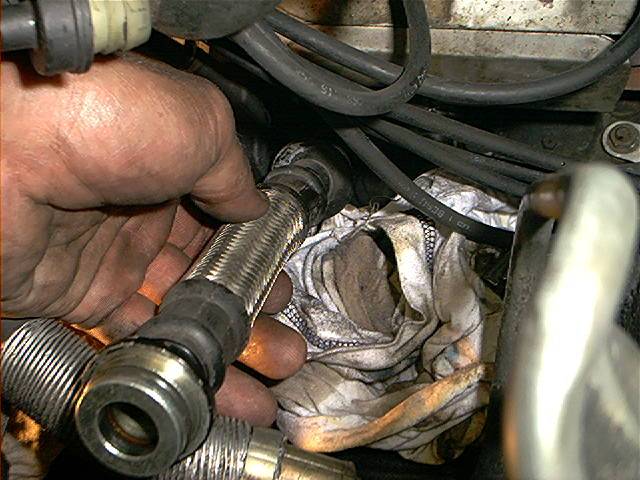
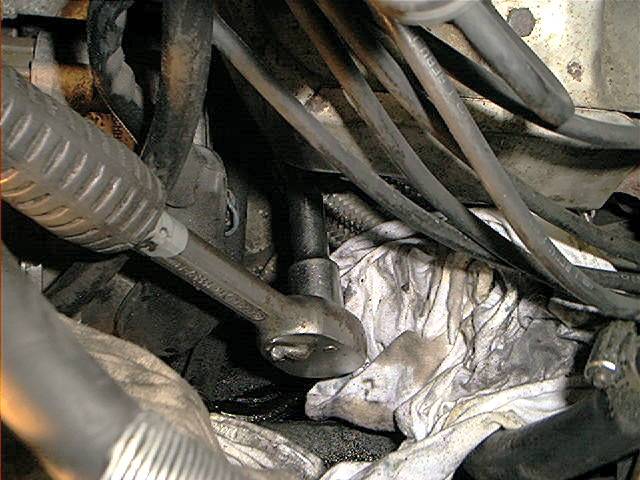
Now we have some workspace. This for people who are not used to the v12: yes, this is A LOT of workspace, plenty mucho:
This is the target: at the left the black plastic cover with underneath the voltage regulator.
At the right you’ll see the oil pressure hose connection (should have covered that with an old rag or something, but lazy…):
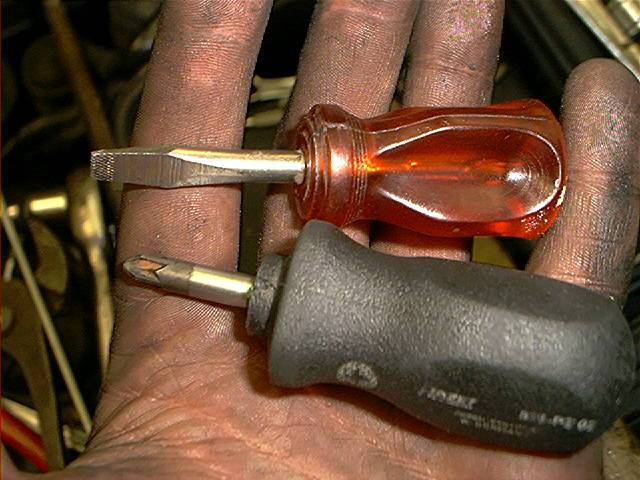
In my case, the cover was mounted with 2 tiny slotted screws and the voltage regulator was mounted with 2 cross head screws.
These tools proved that they where extremely handy for this:
You’ll get the point:
Removing the cover:

The voltage regulator is now exposed:
I tried to make a close-up of the voltage regulator. That was not easy. You can see the cross head screws, which gave me a very hard time to loosen them.
For the rusted lower one I needed even vice grips to loosen it, after I destroyed the head:

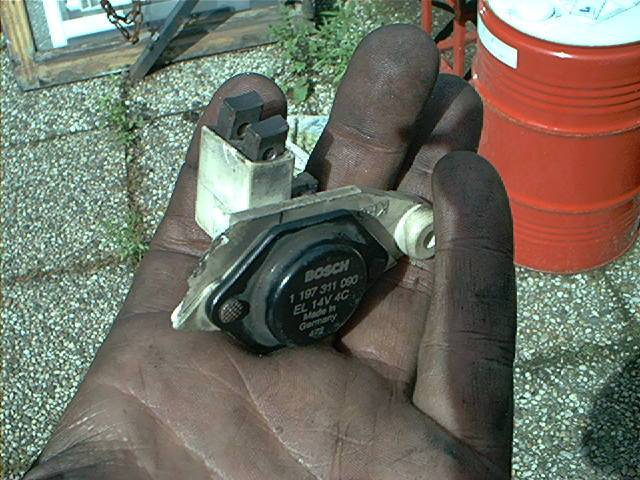
But at last the old voltage regulator slipped out:
The brushes where quite worn, what a surprise. One piece of the voltage regulator broke off during removal, so I was glad I replaced the whole unit (already ordered) instead of the brushes only:
I had a hard time installing the new voltage regulator. The brushes keep pushing back the regulator, making it hard to find the holes for the screws.
After 10 minutes of attempting to install the new unit, I gave up and compared the old and the new one closely:
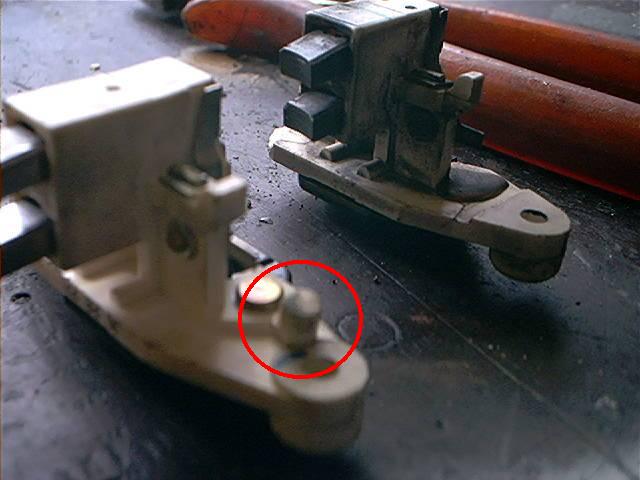
The new voltage regulator had a small notch, which the old seems to lack. I was getting pretty tired of all problems and decided to cut off the notch:
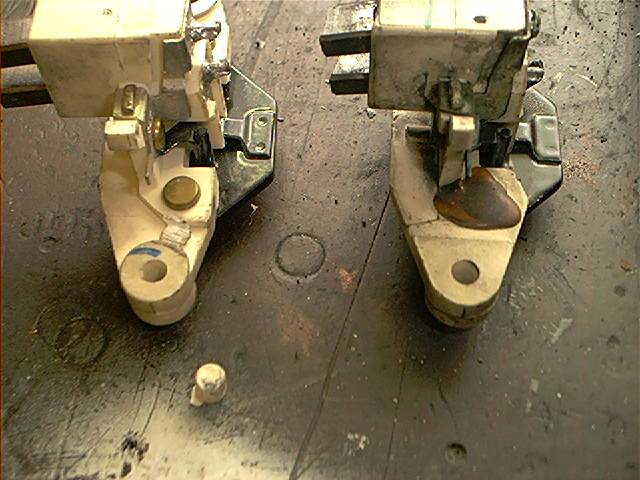
After that, the new voltage regulator fitted nicely.
After reinstalling everything, check carefully for oil leaks around the oil canister. Please don’t over tighten the central bolt of bracket holding the oil pressure hoses to the engine block. If the stud breaks, you’ll be in deeeep trouble.
I fired it up and instantly got higher voltage values after the OBC test 09:


In the old situation, I never got values of 14 volt and higher, so definitely an improvement. It still fluctuates a little bit, sometimes back to 13.80 volt and up to 14.30. This seems to differ from E32 to E32, where some people have rock steady values, and others have values jumping around. But healthy values now.
Mats Johanson reports about the fluctuating voltage the following:
‘Fluctuating voltage can come from worn bearings (due to an over tensioned fan belt) or dry bearings. May also occur if the copper surface that the brushes is sliding on is burnt or excentric/worn. An old voltage regulator can have wrong voltage setting so it would not help to just swap the brushes.’
With the last comment Mats is telling that if you have old alternator (thus an old voltage regulator) it is not recommended to replace the brushes alone. The only way you can inspect the copper surface is to remove the alternator. So make your own decision.
Some people have a different opinion about the voltage regulator replacement which I describe. Jeff Greenfield reported:
‘Recently I went through a voltage regulator replacement and (shortly thereafter) an alternator replacement. IMHO, it is much easier to remove the radiator (which requires removal of the fan), the belt, and then the alternator. I’ve removed the oil filter canister a few times too. The radiator is far easier.
Yes, on my car the oil cooler is attached to the bottom of the radiator, but the two connections are pretty easy to get to from underneath and again IMHO makes no bigger of a mess then removing the oil filter canister.
To each his own, I am just suggesting an alternative method. I’m fairly confident that I can R&R the radiator and other bits in less time than the oil filter canister and I am in a much happier mood after doing so as I find reconnecting all the fittings on the oil filter canister a real bear.’
I debated with Jeff about this but we seem to differ from opinion about this one. It’s up to our visitors of our site which method they choose.
Tony Brandt asks: ‘I have read your text about changing voltage regulator in your BMW750 E32 .And i wonder if you can do it from the underside of the car ? So you don’t have to remove so much stuff!’
I consider myself being a lazy man. So if there was an easier way, I would have done that. From underneath is impossible due to the front cross member and hydraulic pump.
Later on, I found the following reaction from DagerM50 (’89 750iL) on the roadfly board: ‘just replaced voltage regulator on my 89 750il. I only had to remove tensioner, belt and air filters, loosened 3 alternator bolts, turned alternator 90 degrees and nothing else’. Although I don’t have tried this procedure yet, this proves that it probably can be done without removing the radiator. The trick is to loosen the alternator but do not remove it out of the car, just turn it. This also proves that this website don’t always find the easiest solution…but we are trying hard 😉
Total amount of costs :
In euro/USdollar, without taxes/VAT/BTW etc:
| BMW Part Number | Description | Price | QTY |
| 12311735742 | Voltage regulator | $130.00 USD | 1 |
Pretty expensive part. Almost ridiculous, if you ask me. If you order just the brushes, the brushes will be app. 5 euro/US Dollar.
Total amount of time : ~4 hours, depending on skills. If you want to R&R the alternator, take all day (if you are lucky).
Skills needed/difficulty level : still a tough job.
Satisfactory level after the job done : cranking speed is improved, but I hope I didn’t ruin my battery after using it for several years without fully charging it due to the faulty charging circuit.