Article by: Sean
Article applies to: all e32 and e34 models
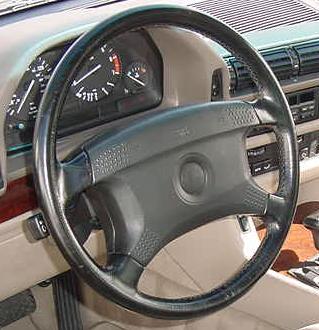
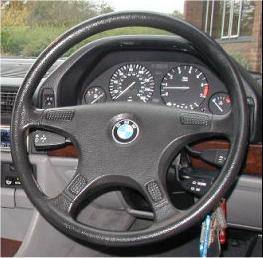
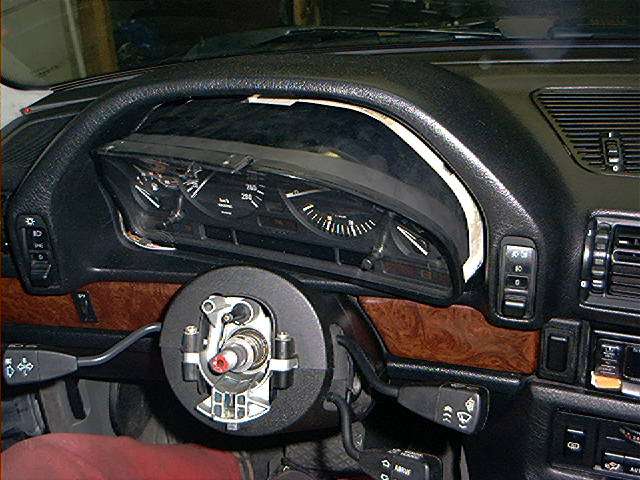
Typical airbag steering wheel Typical standard steering wheel
Problem: What do you think? I had to turn the interior lights on to read my water temperature….after driving 10 dkm with this procedure, it was getting pretty annoying.
Background: When it comes to replace the instrument cluster bulbs, you have to make a decision. Do you want to remove your steering wheel or not? If you have an airbag-equipped steering wheel, you have two options:
- Procedure 1: Removing the steering wheel and it can be found here.
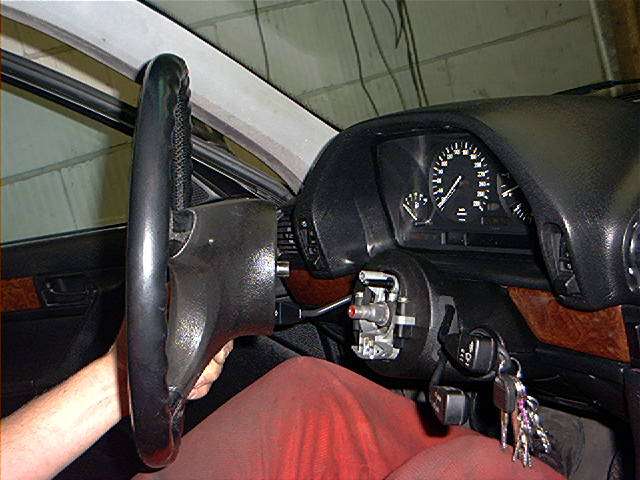
- Procedure 2: Dropping the steering column instead of removing the steering wheel
The last procedure isn’t very well known. Because my car doesn’t have an airbag, I’ll have to quote somebody on this (with thanks to JJP):
“I noticed someone put the post again to remove airbag and steering wheel to get the cluster out. DON’T. I have a 88 735i and all you need to do is remove the lower kick panel below the steering wheel so you can get access to under the dash, there is also a metal plate you have to remove. Follow the steering shaft down and you will find two bolts holding a U bracket which hold the shaft up. Remove them bolts and the whole steering wheel will pivot down. TA DA. you can now remove the instrument cluster right out the front. There are only two Phillips screws holding it in place on the underneath on the top.
When you have the standard steering wheel, you have also two options:
- Remove the steering wheel (very, very easy)
- Leave the steering wheel and try to remove the cluster with the steering wheel installed. It can be done, but it’s a bit of a hassle.
A comment from Rainman about the 2 procedures:
“You state that my page is the long way and dropping the column is the short way . . . Since I work on cars for a living and have done it both ways, I can tell you without a doubt that its quicker and easier to pull the airbag and steering wheel than it is to remove the lower cover and drop the column. Always, every time… Both ways the battery must be disconnected so there’s no time savings there”
On my older 5 series I didn’t remove the steering wheel to remove the cluster, and after a couple of times it gets easier to do. I didn’t remove it because I thought I need a puller or something to remove the steering wheel. On most of the cars I know of, the steering wheel is mounted to the steering column with a tapered joint with splines, making it sometimes very difficult to remove it.
Well, I can assure you that that isn’t the case with our 7 series (and probably all BMW’s). You just need to remove the big self locking 22mm nut and you just pull the steering wheel off. It’s that easy and no need to hassle with your cluster through the spokes of the steering wheel.
And this last comment is from Dennis:
“Disconnect the negative post of your battery before starting the procedure.”
To be perfectly honest, I did not do that (I like living on the edge). When you do have an airbag, you MUST disconnect the battery because otherwise the dreadful ‘SRS’ light will blink after removing the steering wheel and you have to go to the dealer to reset it….no fix for that….
Let’s start unbolting and removing parts:
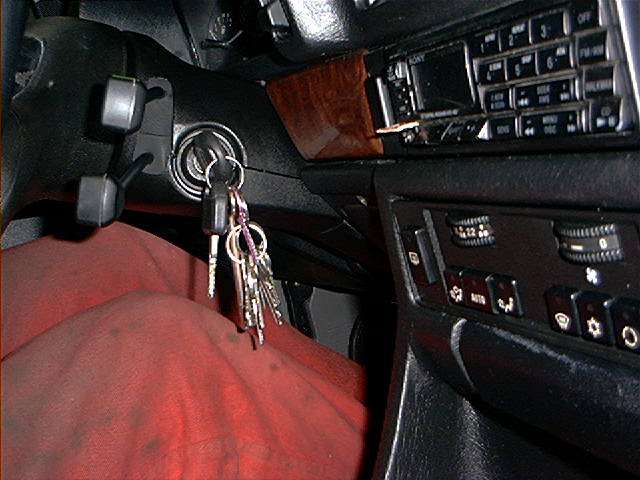
At first, turn ignition on and off. This will disabled the steering wheel locking mechanism. Without doing this procedure you can’t remove the steering wheel. After that, leave your keys in the ignition:
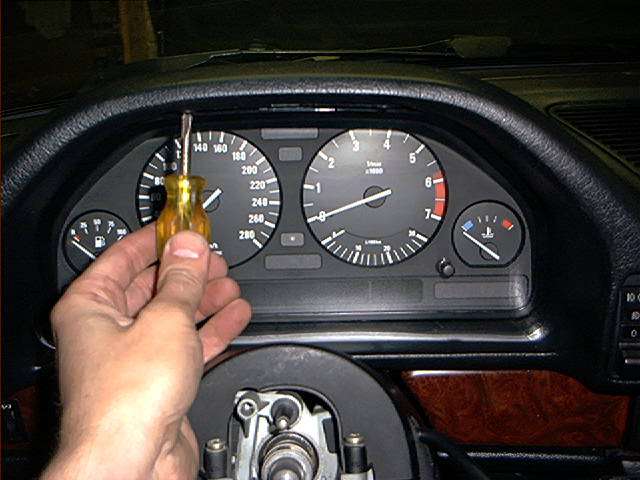
Remove the roundel emblem in the center of the steering wheel with a flat-blade screwdriver (gently!):

This will reveal The Bolt. A 22mm self locking nut. Mark the position of the steering wheel according to the steering shaft:
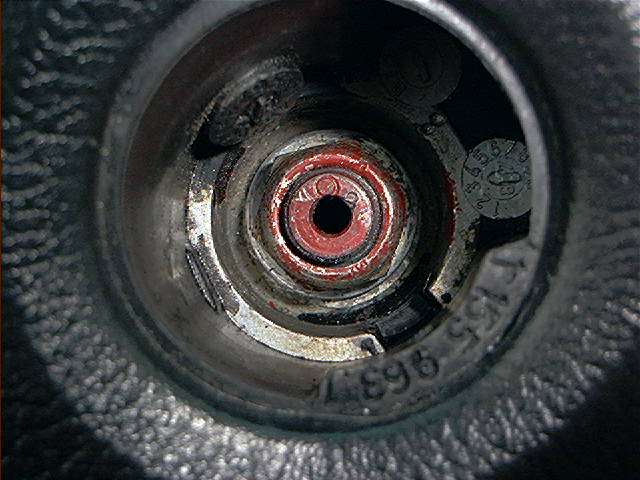
Unbolt the center bolt using an extension and socket:
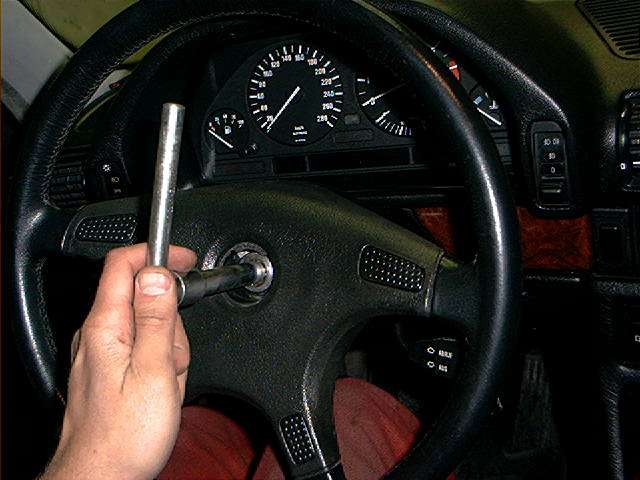
Now you can pull the wheel towards you, mind the washer inside the steering wheel:
So before we get going, let’s go through a quick checklist:
1) You disconnected the negative terminal from your battery.
2) You carefully removed your steering wheel.
3) You have a towel (never leave home without your towel).
4) You are now mentally and emotionally ready to begin with the removal of your dash instrument cluster.
Okay here we go!
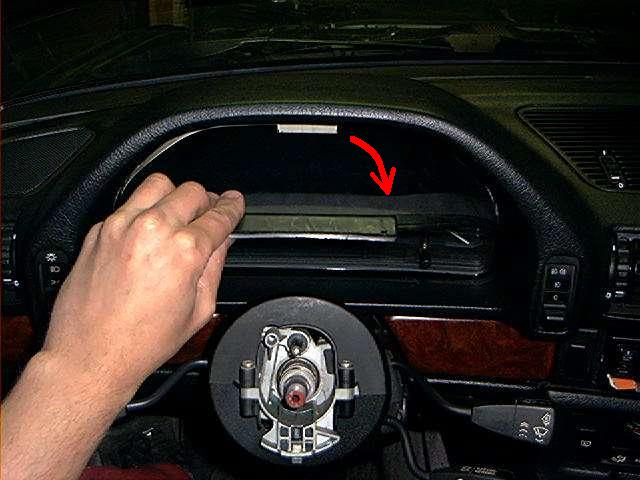
Remove the 2 upper Philips screws which holds the cluster (they are pretty small screws):
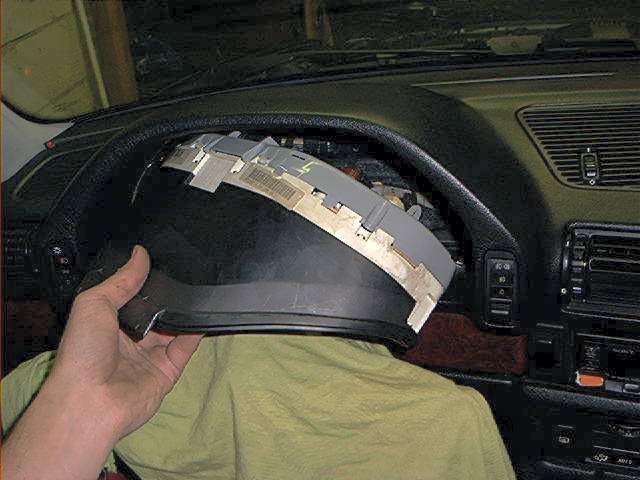
And pull the cluster towards you, turning over the top of the cluster:
Slowly pull the cluster out, but remember there are several wiring harnesses still attached in the back.
I used an old towel to protect the cluster (face can easily be scratched).(You know to never leave home without your towel, right!?)
This is the back of the cluster, revealing the connectors:

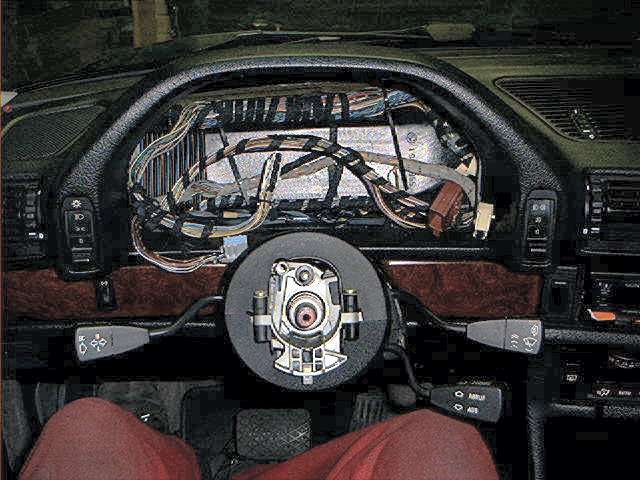
Raise the levers next to the connectors to release them and remove the cluster:
At the back of the panel, you have 2 latches to get to the dash bulbs:
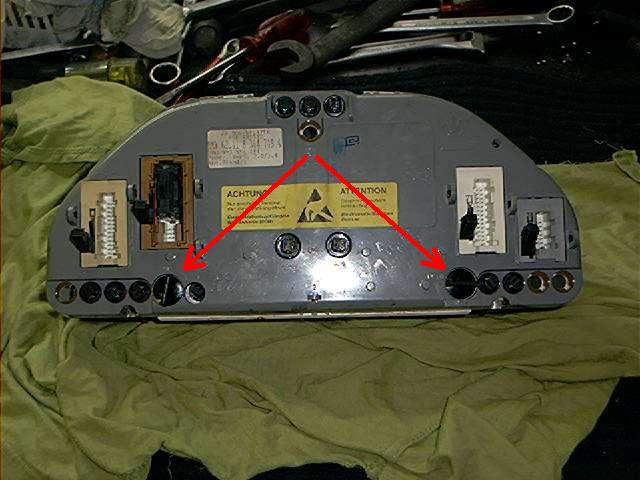
Turn both latches:
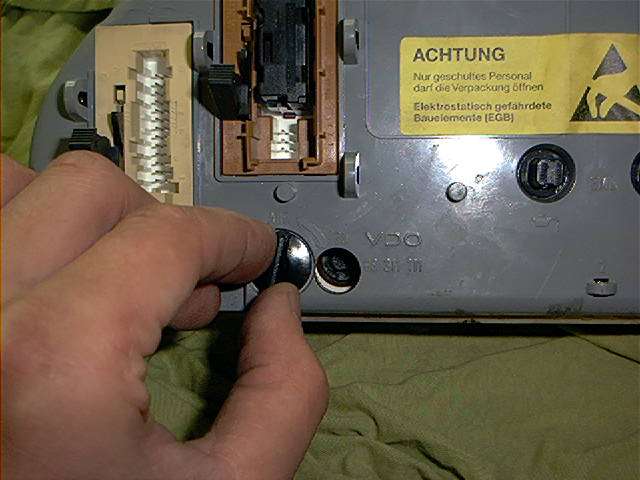
Swing the back panel up, the 3 bulbs are accessible now:
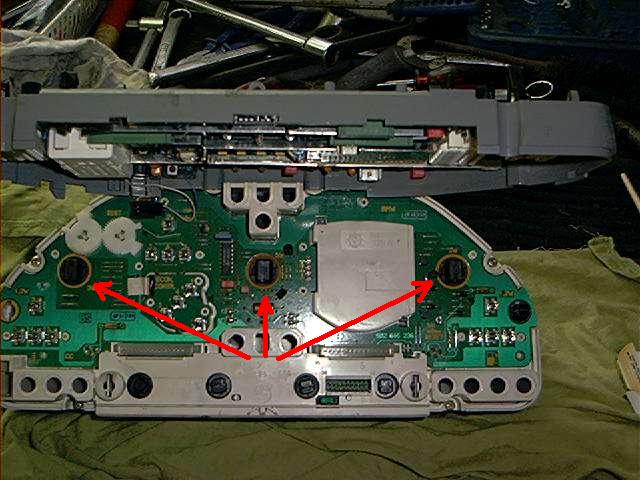
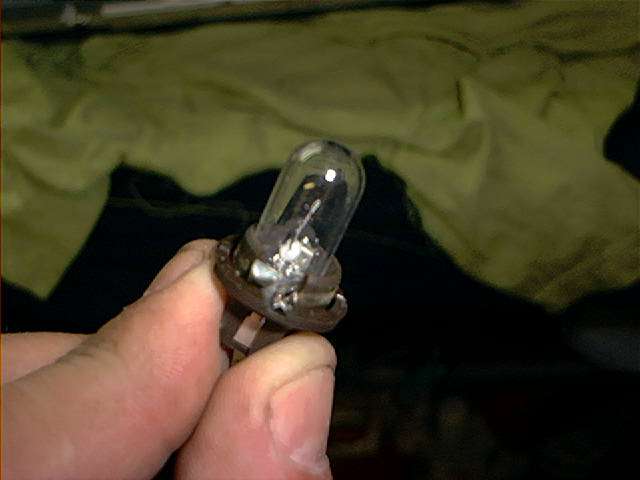
In my case, 1 bulb was burned out. When replacing it, its a good idea to replace all 3 bulbs. Most of the time, when 1 goes out, the other will follow sooner or later.
According to BMW, you’ll need 3 Watt bulbs, which is somewhat uncommon. Most bulbs you’ll find at the local parts sellers will be 5 Watt.
They will fit too, without any noticeable big difference in brightness:
Reinstalling is the reversal etc.
Check the gauge lighting before you reinstall everything, just hook up the connectors at the back and turn the lights on.
The steering wheel must be tightened at 80 Nm (59 ft-lb). That’s about 1 grunt.
Total amount of parts and cost : about 0.60 Euro cent/Dollar cent per piece
Total amount of time : 1,5 hour
Skills needed/difficulty level : basic stuff
Satisfactory level after the job done : and let there be light. . . nice gauge lighting now, no more guessing the temperature or fuel levels.