Article by: Sean
Applies to: all e32 and e34 models.
Problem: In my case, the central locking system keeps locking the car when I unlock it. That’s mostly related to a stuck servo or door lock.
But all the servo’s where working, so at first I thought that was related to a broken door lock bracket (pin won’t go all the way up and down, also not manually with the key).
After the replacement of the door lock bracket, which fixed the pin problem by the way, the locking problem continued. Sigh. Although less often, but still enough to be pretty annoying.
I’ve red the comment of MikeNL about lubricating the door lock. Perhaps the servo has to much resistance when it’s trying to unlock.
But which door lock is causing the problem . . . I decided to rebuild the driver side door lock, because the driver side was giving the most problems when manually locking and unlocking the door.
Background: simple, straightforward system. Solid door lock mechanism, bolted with 3 screws to the door.
Window guide rail has to be removed. You don’t mess up the door lock/window alignment with this procedure.
Let’s start unbolting and removing parts:
First, remove door panel. See section ‘door panel removal’ for details.
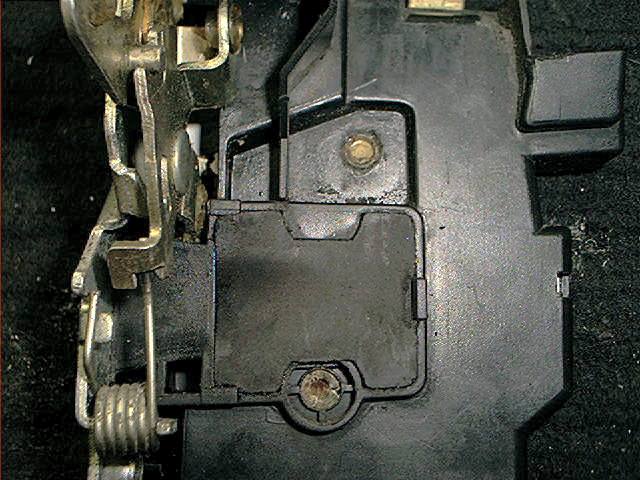
When you look inside the door, you’ll see the following (photo taken from inside door towards the locking mechanism . . . notice the absolute lack of rust inside this 16 year old car ) :
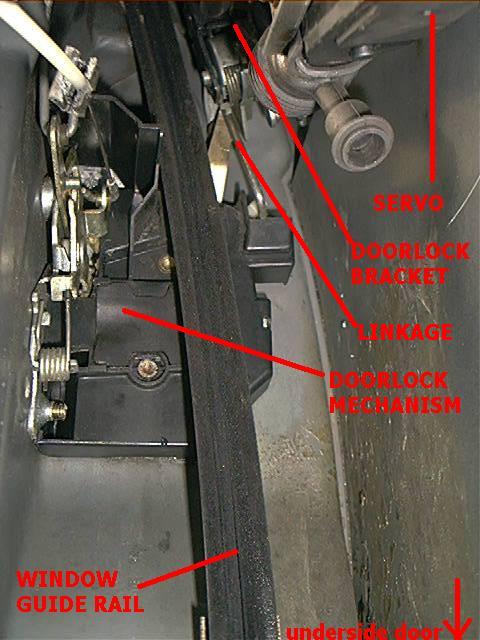
It’s obvious the mechanism can’t be removed without removing the window guide rail.
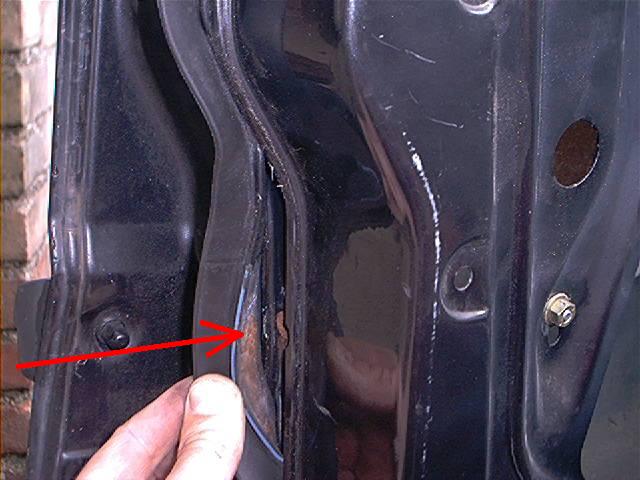
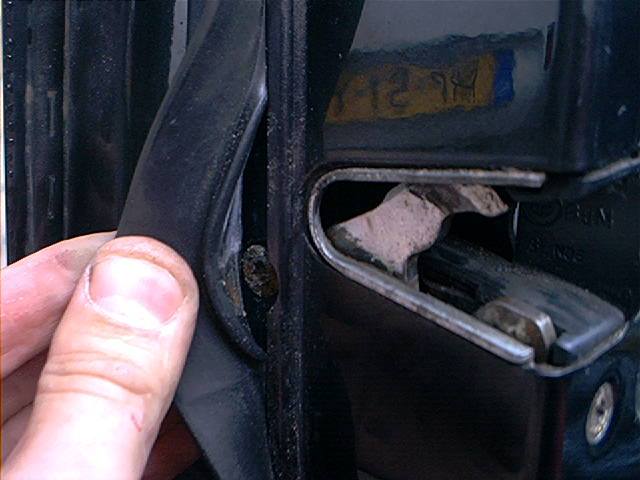
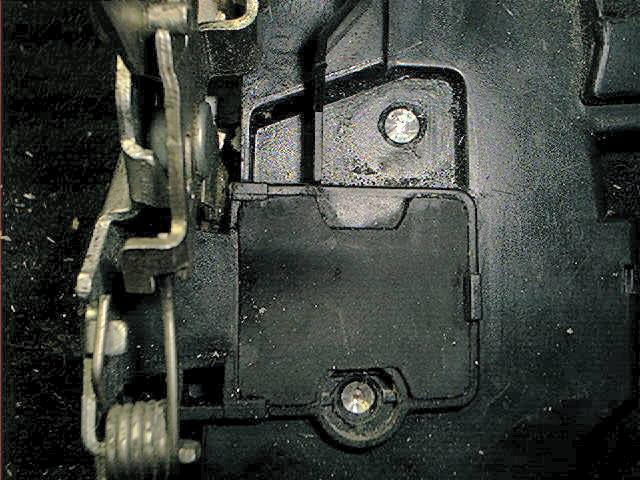
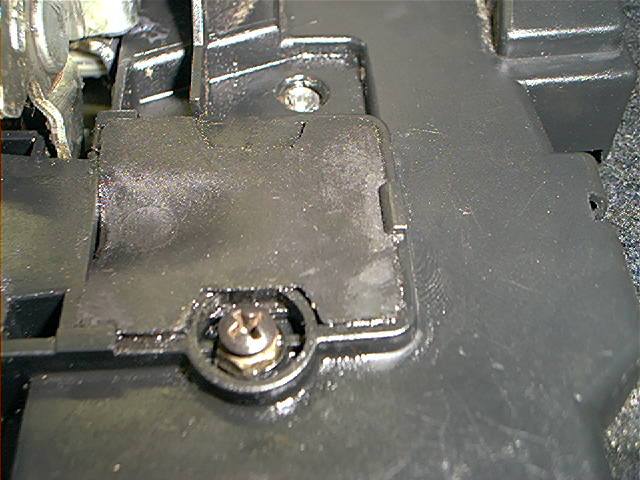
The guide rail can easily be removed, just remove this hex screw behind the door seal (remove door seal partially).
Don’t be afraid that you mess up the window alignment, that doesn’t happen:
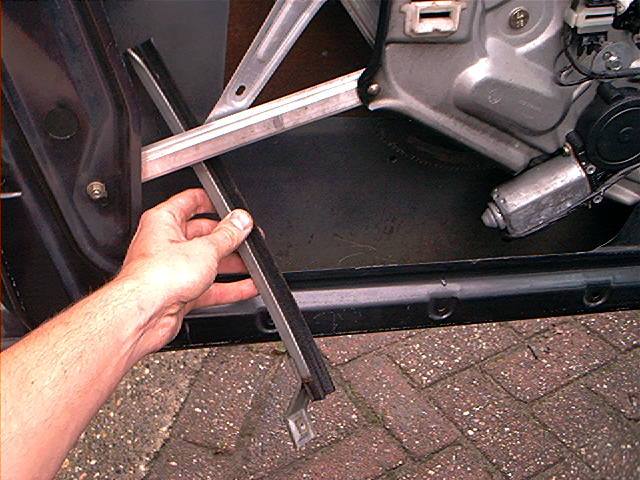
And pull the window guide rail slightly to below, now it can be removed:
This is how the window guide rail above is attached. Note that not every galvanized metal is protected against rust for eternity:
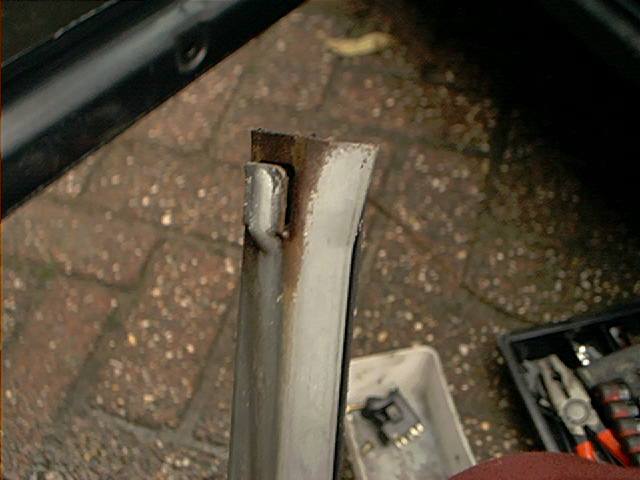
I know, three photo’s for one silly rail is a bit overflowing . . . don’t forget to disconnect the linkage from the door bracket to the door lock mechanism.
Now remove these 2 hex screws of the locking mechanism:
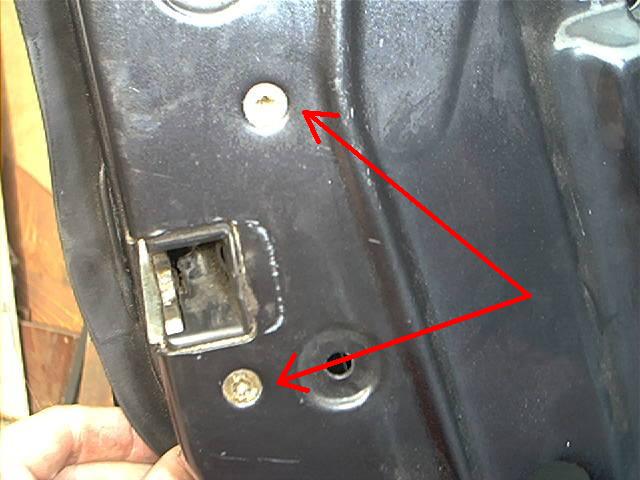
And the 3th hex screw behind the door seal, next to the lock. If you don’t know them, they are hard to find:
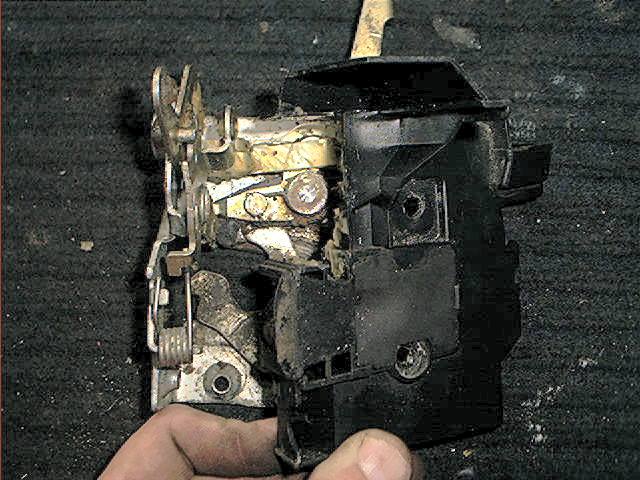
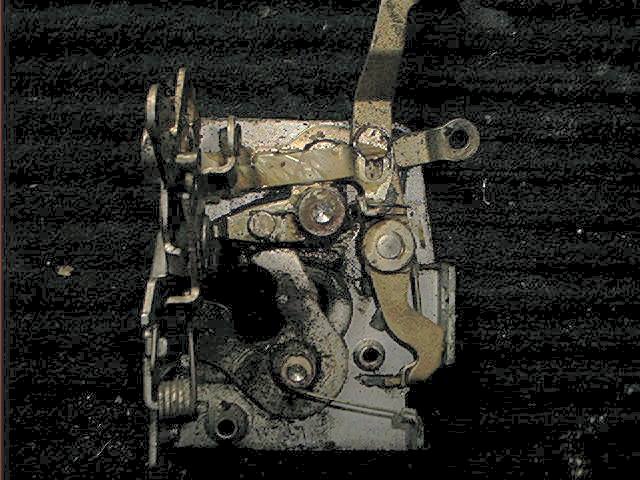
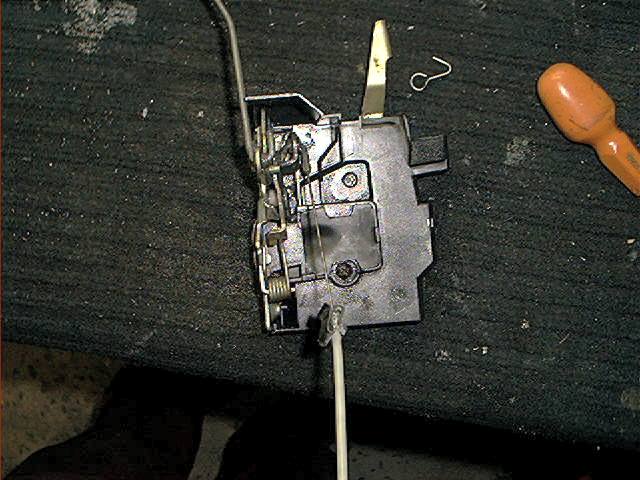
Now you can remove the lock mechanism:
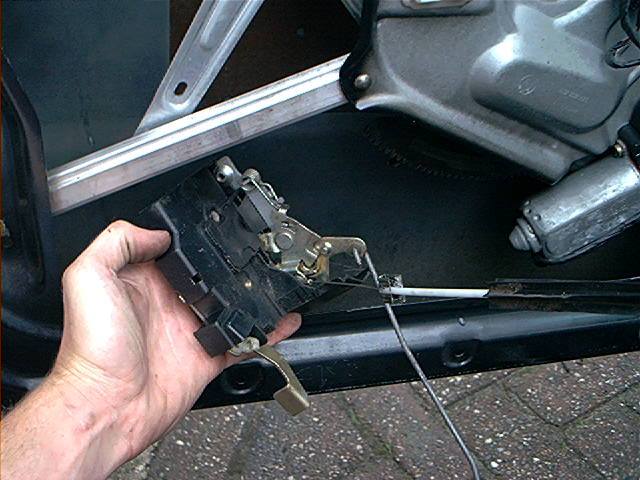
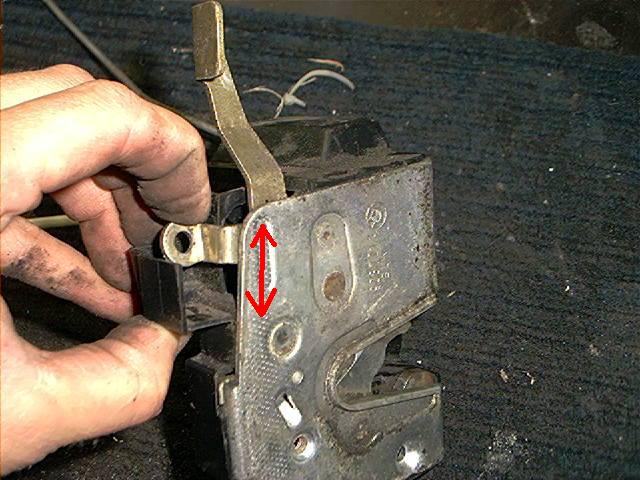
At the workbench, I tried the lock at the point where the linkage of the door bracket is connected to the lock mechanism.
At some point, there was firm resistance:
You can purchase another lock. A brand new one or one from the scrap heap. I am cheap, so I decided to take it apart.
The mechanism has a plastic cover, which unfortunately is pop-riveted:
I drilled them slightly out, just carefully remove the pop-rivet head only. I used a 7mm drill doing this:
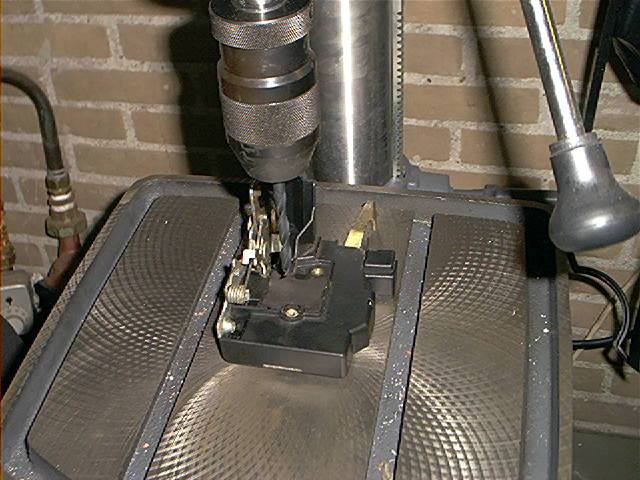
Be careful not to remove to much material.
Additionally, I drilled holes with 3mm diameter and 5mm deep into the remains of the rivets so I can use metal screws with a washer to reattach the cover:
Removing the plastic cover:
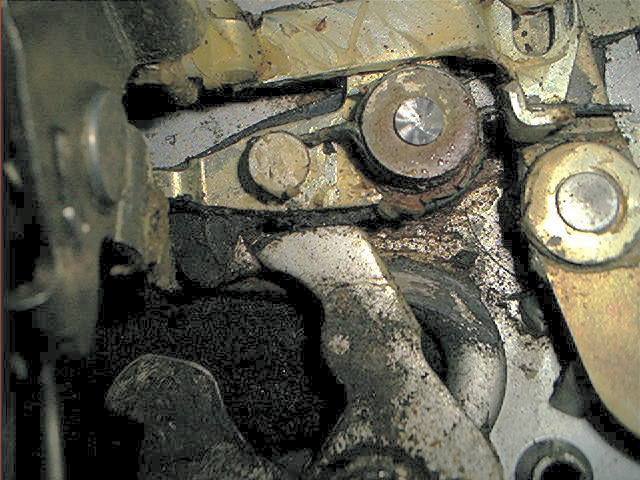
All the grease hardened during a decade of neglect and lots of dirt was sticking to the grease.
Notice the pop-rivets, now its clear that you mustn’t drill to deep:
I can’t resist a close-up pic:
I dissolved the old grease thoroughly with de-greaser (same stuff to clean brakes) and using a brush, starts already to look better now.
Note that no further parts can be removed from the mechanism:

I used a small brush with molybdenum disulphide grease to lubricate it:
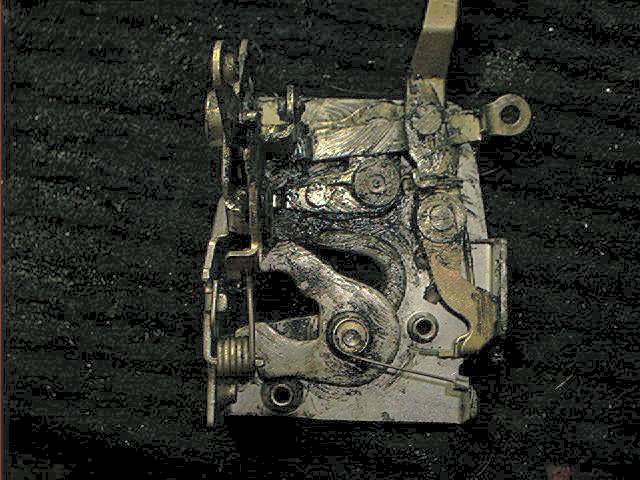
The lock immediately started to work better now. Reattached the cover plate, using metal screws.
Unfortunately, the head of the upper screw broke, so I just left it this way (with 1 screw):
Re-attached the linkages, lock is completed now:
Reinstalling is the reverse of removal. You don’t have to mess with lock adjustment and/or window alignment. Brilliant.
The lock is working much better now. I tried to unlock the car this morning and it didn’t lock itself again, so I have some confidence.
Total amount of time: 3~4 hours, depending on skills
Skills needed/difficulty level: The only drawback is that you have to drill to remove the rivet heads, and use some screws to reattach the cover.
Satisfactory level after the job done: I hope that central locking system is working for quite a while now starting from this day, because I am getting so tired of all these kinds of locking problems.
I removed the door panel for the third time within 3 weeks . . . hmmmmm . . . does anyone have some spare white door clips for me?
Remark from Sean: “After a couple of weeks: although the locking was improved, I still had the problem where the car would lock after I unlocked it.
After replacing the servo of the door lock bracket, all central locking problems finally did come to an end.”