Article by: Sean
Applies to: all e32 and e34 models
Problem : I was in a hurry, and I tried to push a large truck out of the way ending up with marginal result. That is, little result for the truck. Strangely enough now I have a dent in my fender.
And I was still late. Great.
Of course you can hurry your way to the body repair shop (I am not great when it comes to do body/paintwork myself …if you don’t believe me, take a look at the paintwork of my house).
I didn’t and waited until a nice left front fender showed up on the internet, in the exact color (diamond black metallic) of my car. I suggest you do this only when you have a common available color.
For instance, if you have a rare BMW Individual color like dark purple metallic with white dots and a gold finish . . . . it could take a while.
Background: We are all very happy people because the front fenders are simply bolted to the chassis.
Maybe it sounds normal to you, but there are some idiot manufacturers out there who are spot welding these front fenders….making you not a very happy camper when replacing it.
Essentially, fender removal is just like removing the door panel or dash….where the hell did those engineers hide all those numerous bolts, clips, screws, retainers and so on?
Lucky you, I’ll tell you. Oh BTW, the Bentley Book sucks pretty much on this subject. You’ll have a hard time unbolting the fender like they describe it.
Let’s get wrenching:
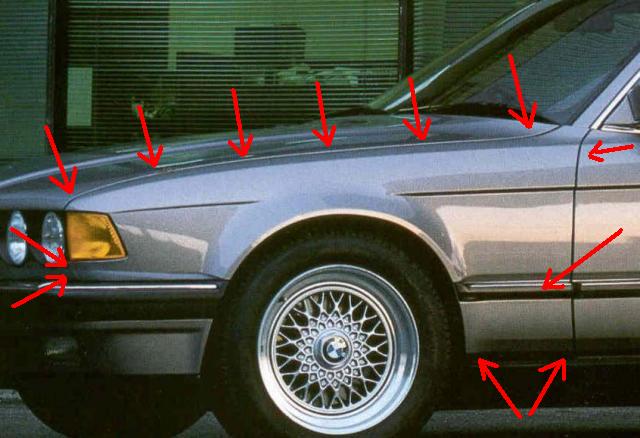
Before we start, I will give you an idea where all the bolts are hidden that must be removed (no less than 12 bolts):
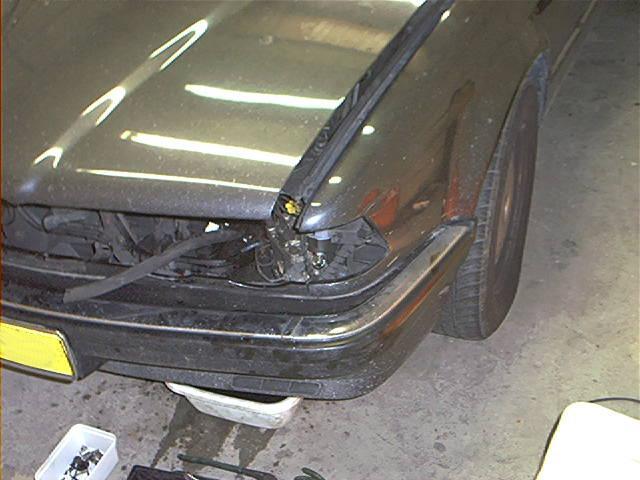
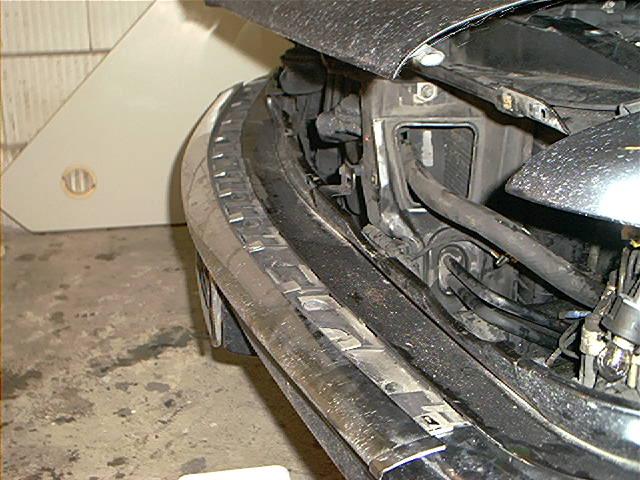
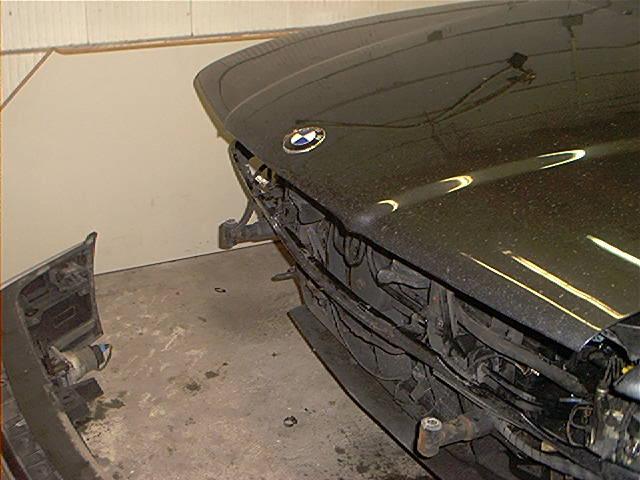
Remove complete head light set and grille. At the picture you’ll see I also removed the center grille, which proved not to be necessary.
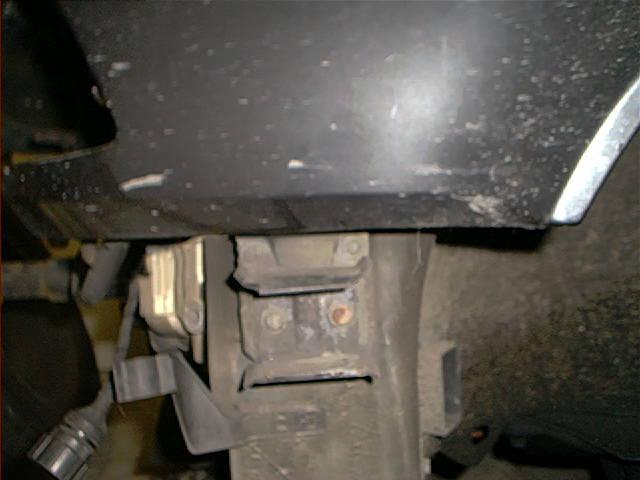
You can ignore the cowl underneath the car, that was because of some coolant leakage and not relevant for this story (one story at a time, OK?):
The not so good nine o’ clock news is that you have to remove the front bumper. That is not uncommon when replacing front fenders.
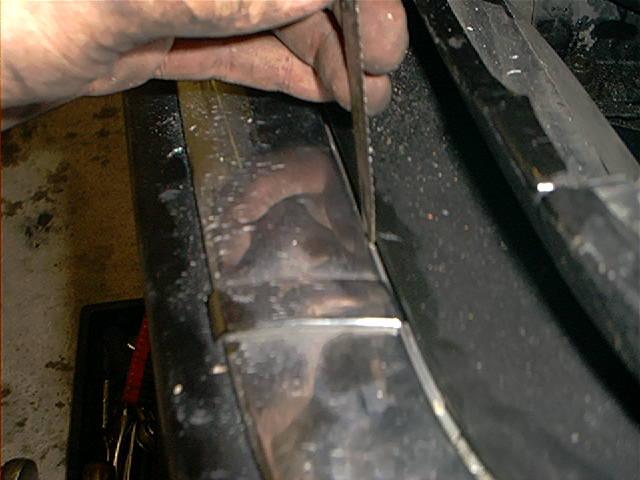
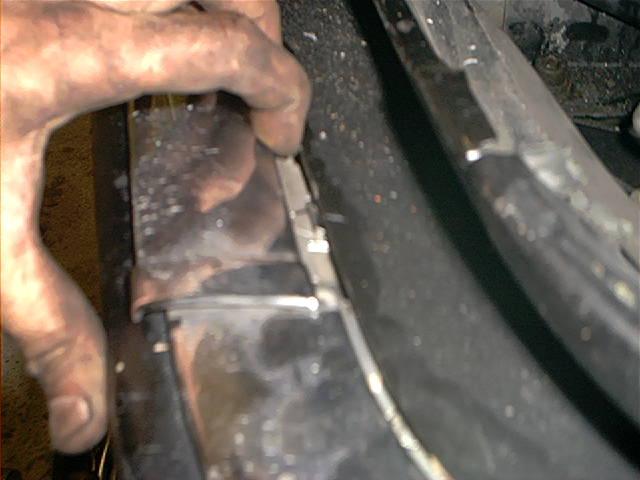
The good news is that its relatively easy to remove. First remove the upper chrome trim (only the center trim, not the trims at both sides!).
This chrome strip has 4 tabs which must be depressed. I used a small saw blade for this (Remark: if you have headlight washer nozzles you must remove them first):
Pull trim carefully towards you:
Thankfully, I didn’t break the trim piece.
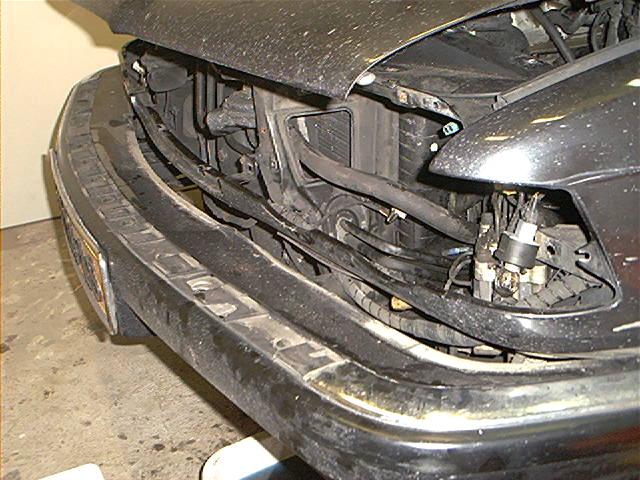
At this point you’ll see 2 large Allen (hex) bolts, holding the bumper to the impact shock absorbers:
Remove both bolts and slide bumper towards you..do mind, it’s a heavy beast:
Carefully set the bumper aside in a place where it won’t get stepped on or damaged.
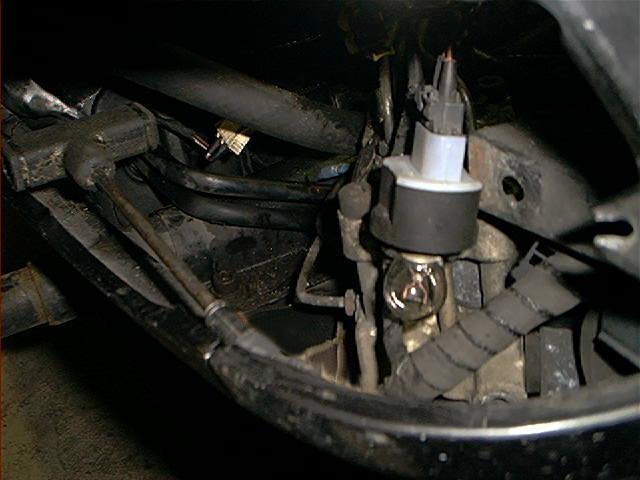
A complete wiring harness is present in the bumper, for the fog lights and temperature sensor. This particular wiring harness is connected with one large connector to the engine harness:
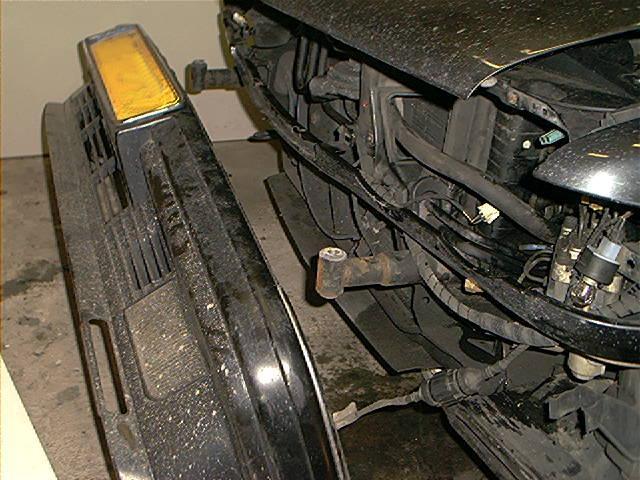
Of course the bumper collapsed when taking these pictures. A close up of this connector, beneath is the air duct for the alternator cooling visible, pay attention to the rubber seal of the duct:

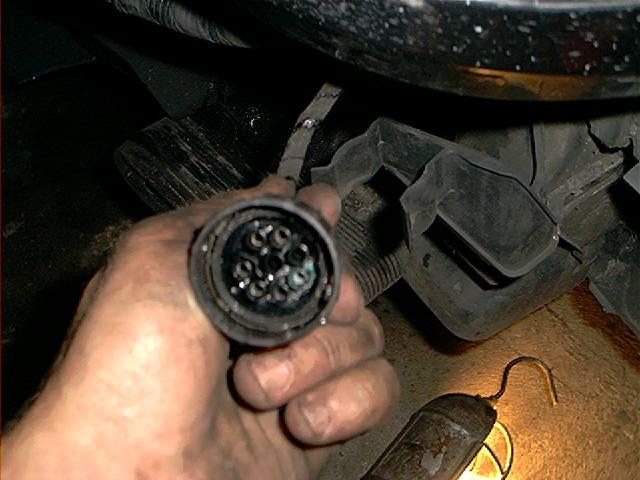
Now this was a horrible connector to disconnect! After some prying with a screwdriver and some loud curses I was able to turn it loose (you have to turn it a bit before you are able to disconnect it ) :
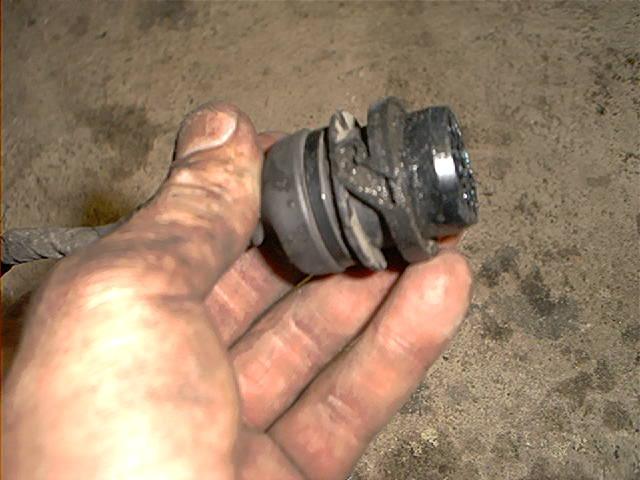
Guess I found at last my ‘OBC temp stuck at -30C error’ after 4 years of ‘BOING’ during ignition on…
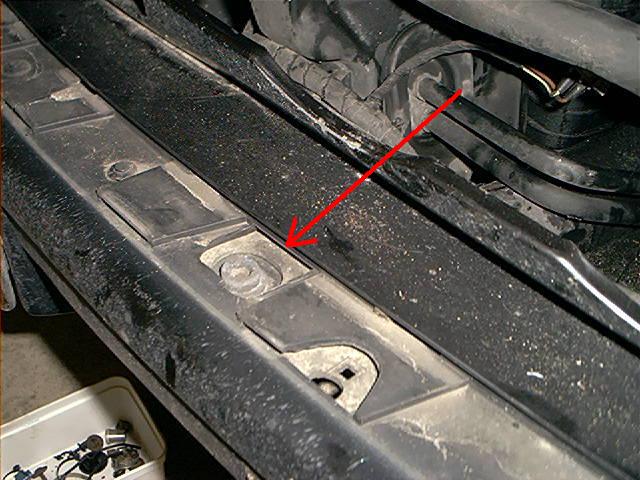
When the bumper is removed, 4 bolts are revealed. The 2 lower bolts are for the bumper side adjusting bracket.
Remove all, including bracket (tip from Sean: mark position of bracket to chassis):
Remove 2 tiny bolts just beneath the turn signal, at the front:
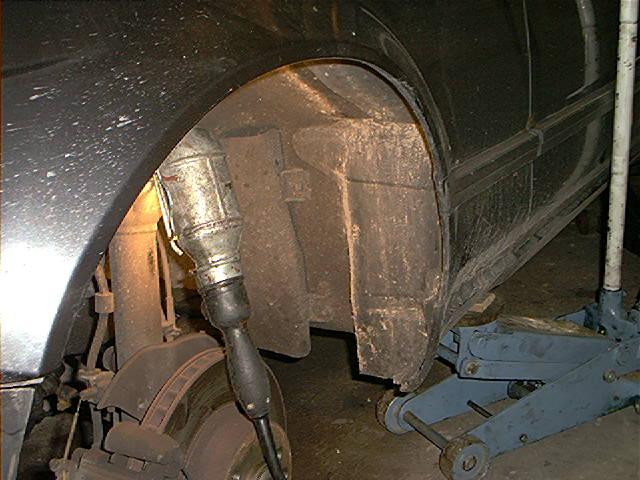
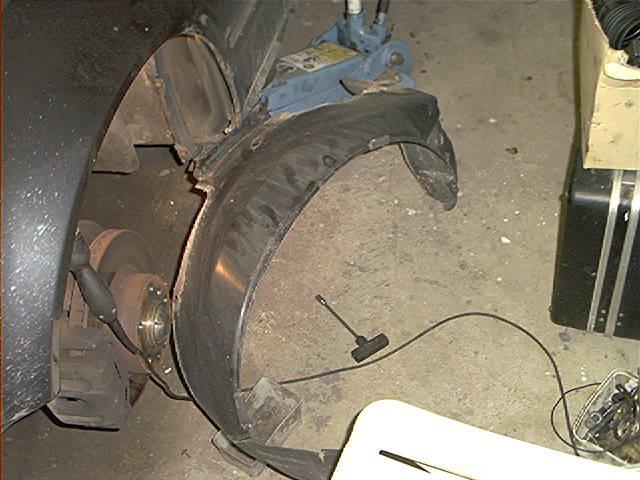
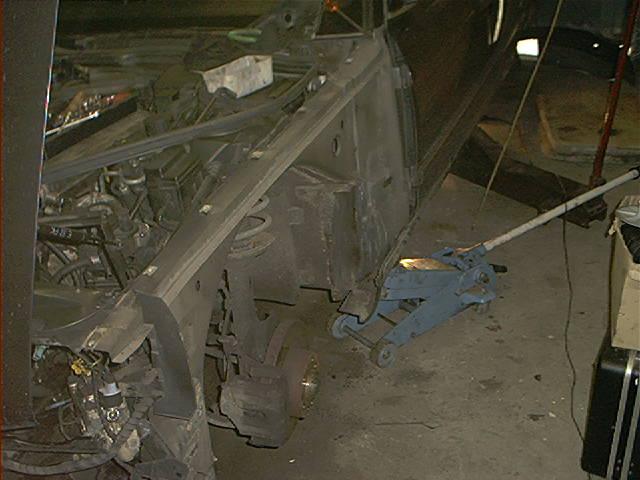
Jack car up and remove front wheel. The inner wheel well cover must be removed, just a couple of bolts:
First we remove the fender molding. Why? Because a bolt is hidden behind it. This is a somewhat strange construction.
Remove plastic nut on inside lip of fender molding:
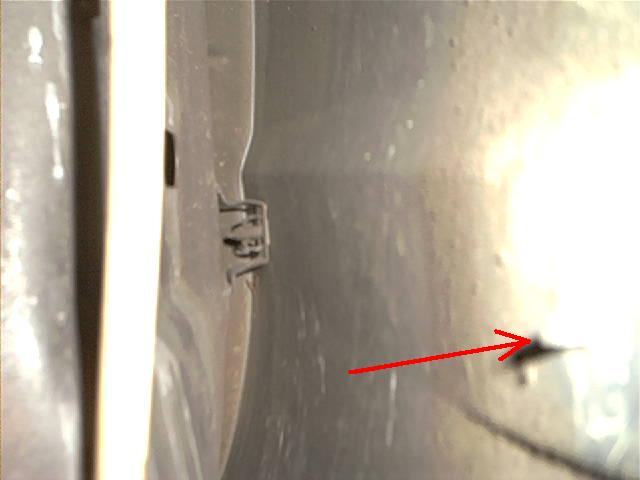
Now you are able to pull the fender molding away. At the back a plastic clip is present:
Now you can remove this tricky hidden bolt. And yes yes, my door is rusting, please don’t e-mail me 😉
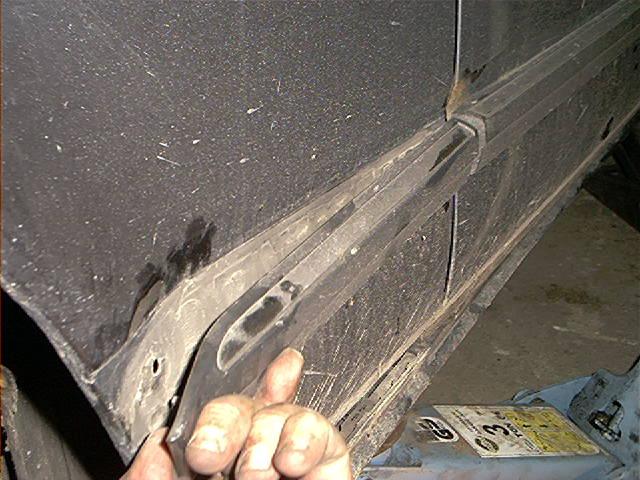
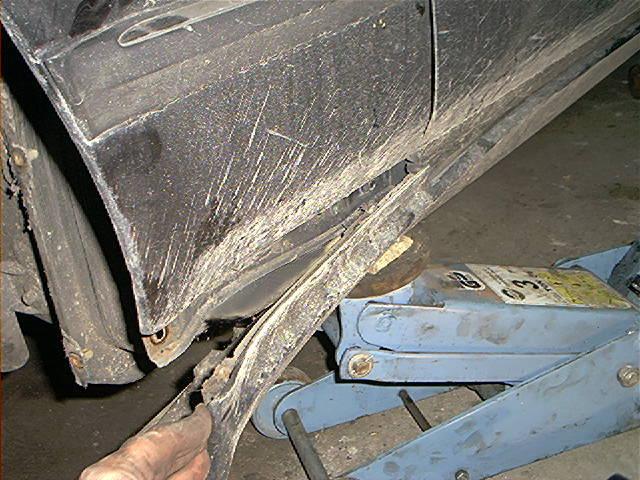
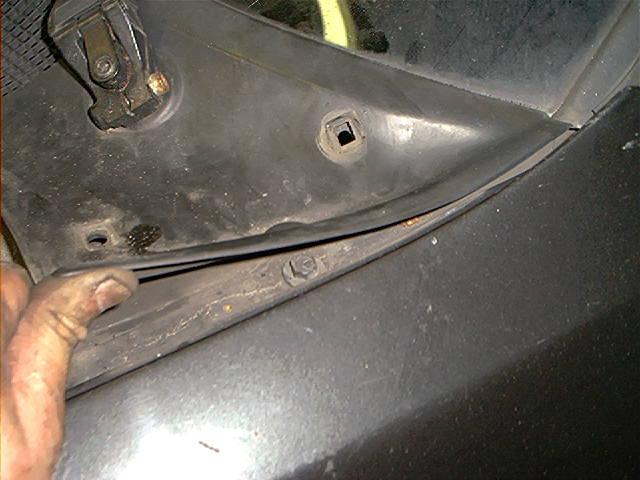
Now we have to remove the lower plastic molding. I don’t know the exact word for it, but it’s the molding that runs between the wheels, beneath the doors.
You don’t have to remove the whole molding, just at the beginning. Remove plastic nut on inside of fender:
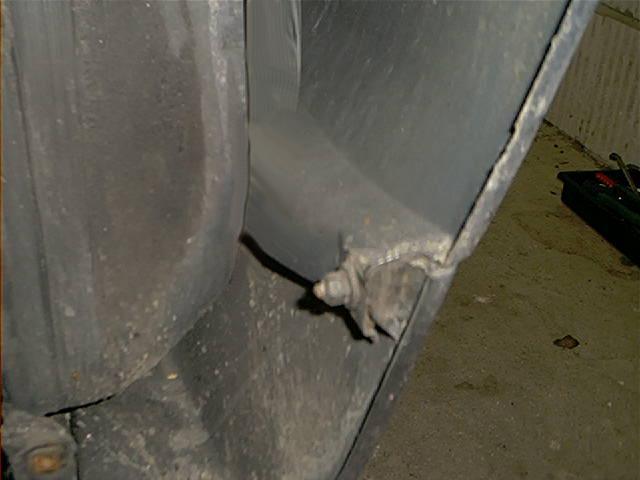
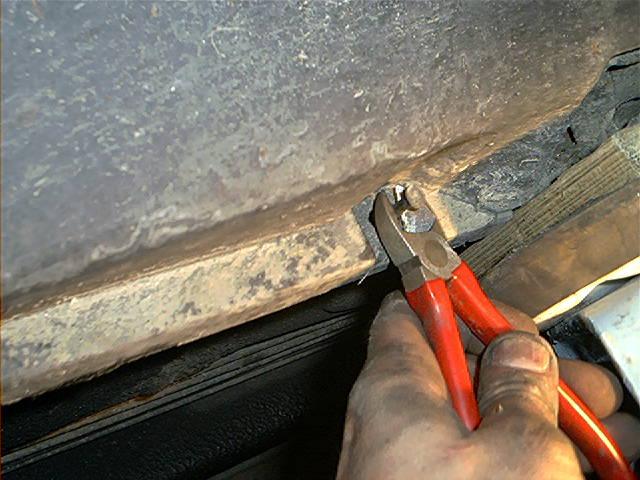
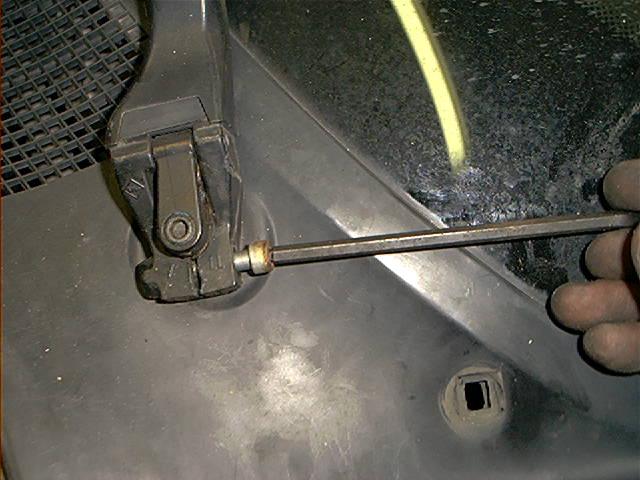
At the bottom of the molding, there are 2 tough plastic clips:
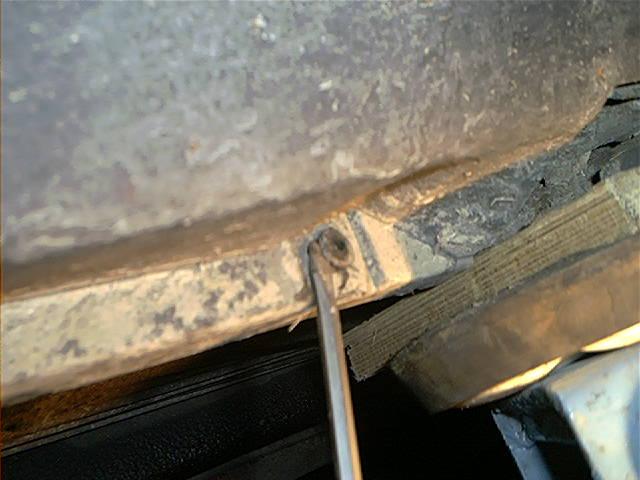
These clips have an interesting design. Pull the inner pin out (no, obviously I didn’t cut it…)
And pry the outer clip out:
Now you can pull the molding away, it’s just secured by a couple of plastic clips. Again, you don’t have to remove the molding completely:
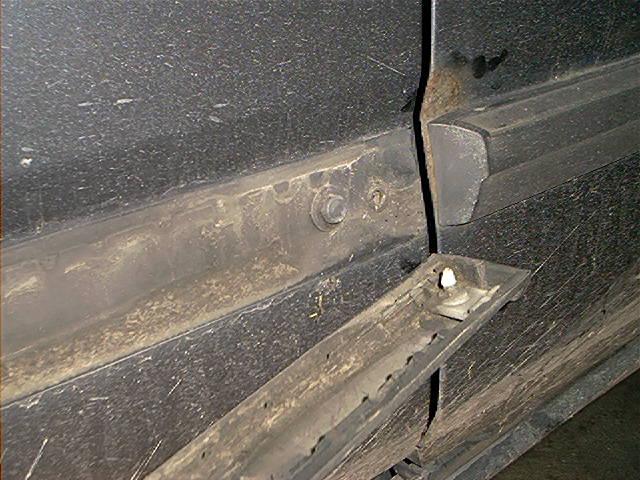
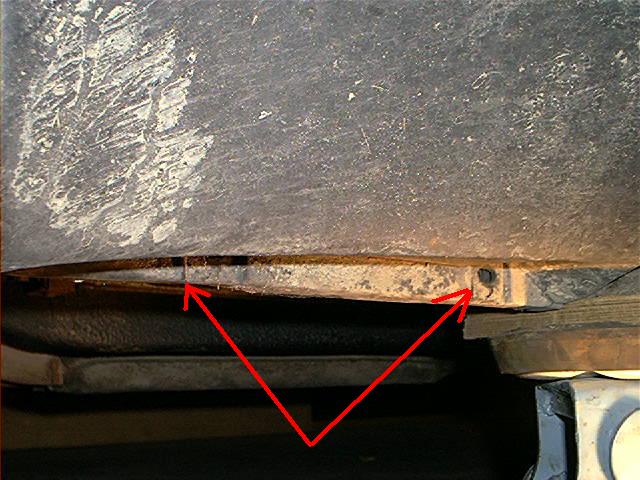
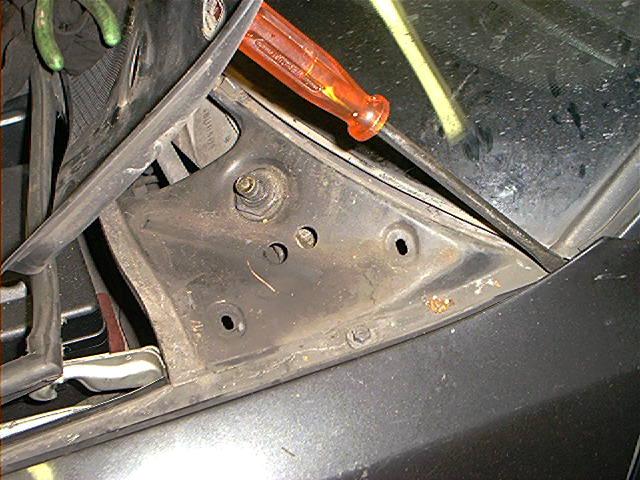
And remove the 2 bolts behind the molding:
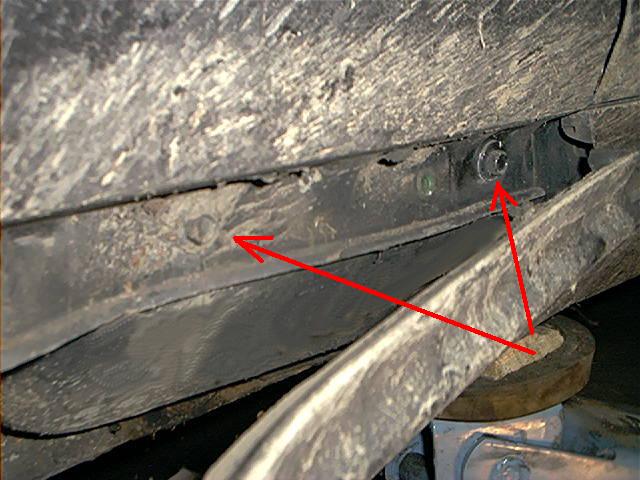
We are done at the bottom so we are moving up. Remove hood seal and unbolt bolts underneath it:
Perhaps you thought this was pretty much it. Nope, behind the plastic fascia panel is another hidden bolt:
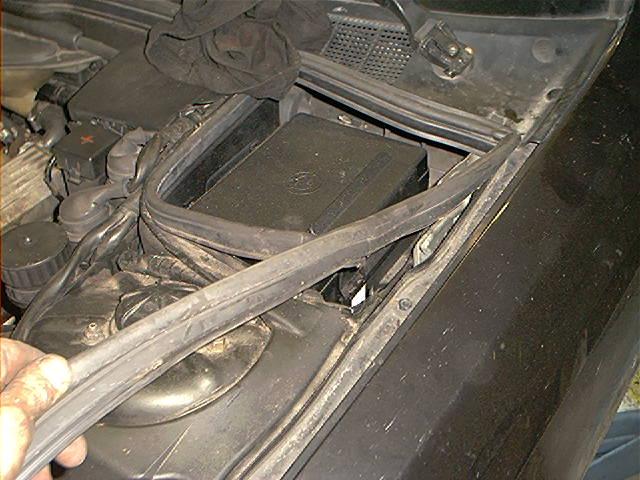
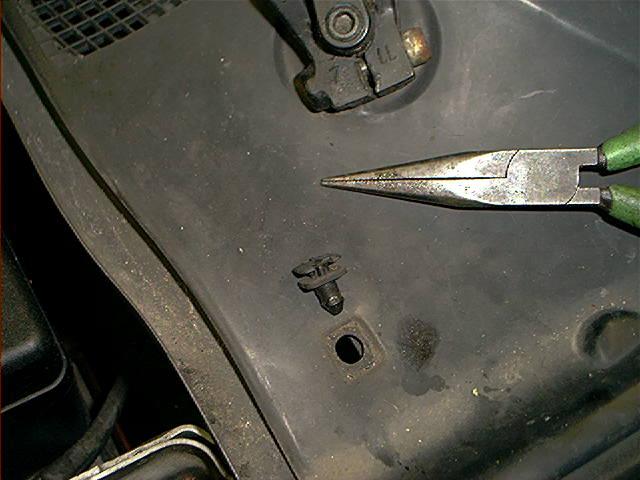
Remove the plastic clips of the fascia panel. Take a good look how the clips are supposed to be removed. . .
I’ve seen dozen of cars with ruined clips because people don’t know how to remove them properly (and it’s such a brilliant design! ) :
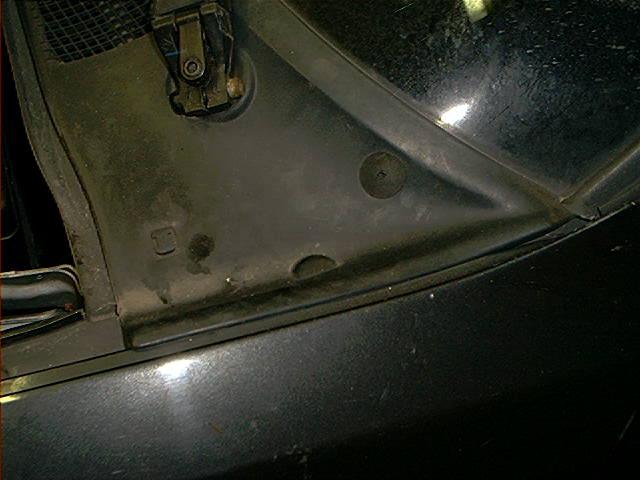
If you lift the panel a bit up, you’ll see the bolt:
I didn’t have enough clearance to get it loose (and scared the plastic panel would break) so I removed the wind shield wiper:
At last I had enough clearance to remove it properly:
And the last bolt hidden behind the A pillar (remark: in despite Bentley says, there isn’t a second lower bolt ) :
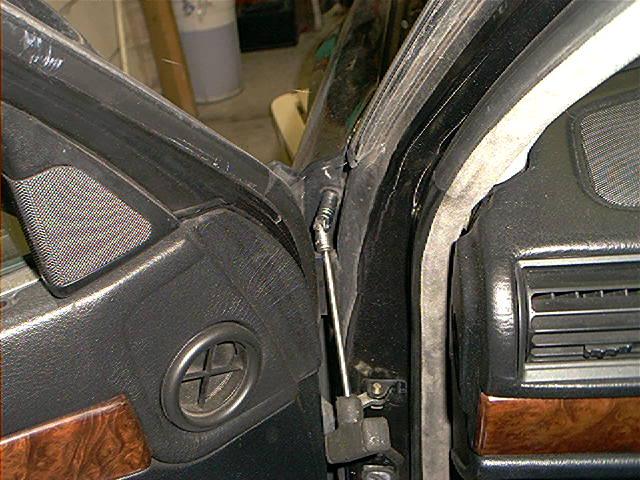
We are finally there:
When installing the new fender, it must be properly aligned with the hood AND the door, which can be a time consuming job to do (especially when using aftermarket fenders…these never fit quite right, as it seems).
The way I did it: align fender with A-pillar and tighten A-pillar bolt. Align fender with hood and tighten upper fender bolts.
At last, align fender with door and tighten the lower bolts. But maybe somebody else has another opinion.
Total amount of time:
About 4 hours, because I had to search for some hidden bolts without breaking plastic clips (I am allergic to broken plastic thingies, I guess).
Skills needed/difficulty level:
Don’t underestimate the alignment job. This took me longer than the actual fender removal.