Article by: Sean
Applies to: all e32 and e34 models.
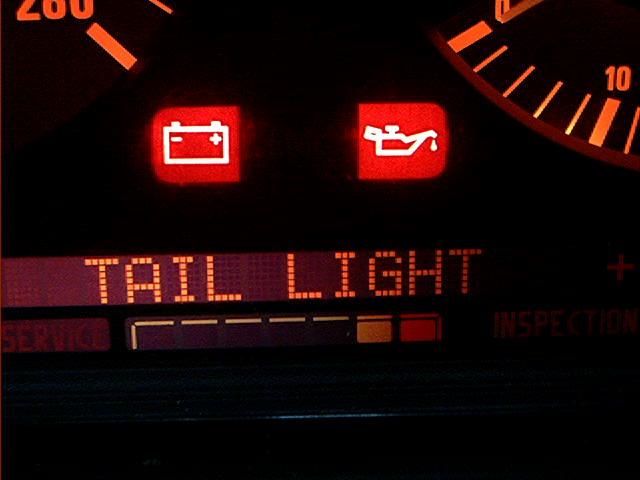
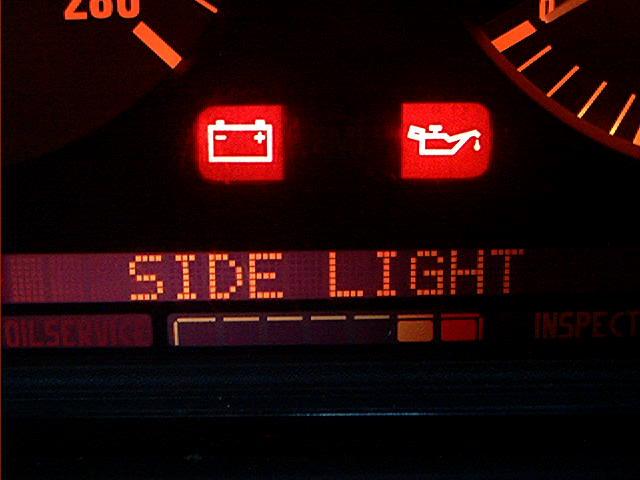
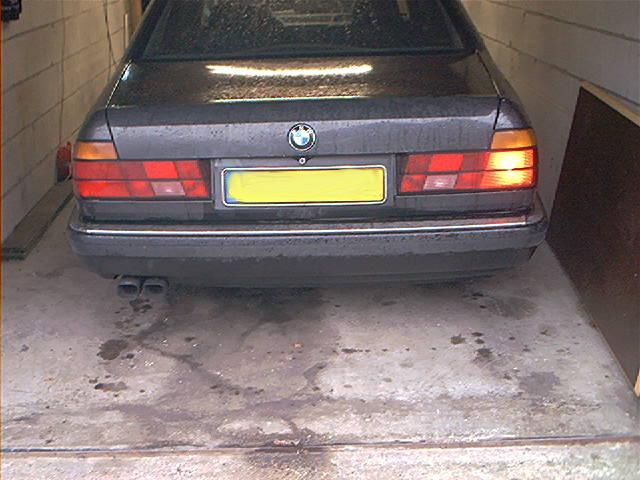
Problem : Front parking and/or rear tail light out on 1 side of the car only, causing OBC warnings.
Sometimes intermittent and erratic, so you get the impression these are false warnings.
This only happens when lights are on. Changing the bulbs doesn’t seem to solve this problem.
Strange enough, in most of the cases the left side (driver side) goes out.

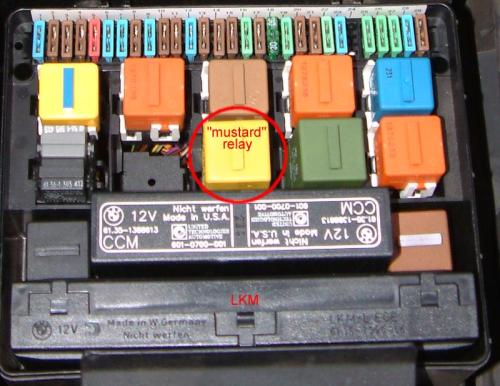
Additional information: both the e32 and e34 communities can confirm this problem is due to the infamous mustard relay.
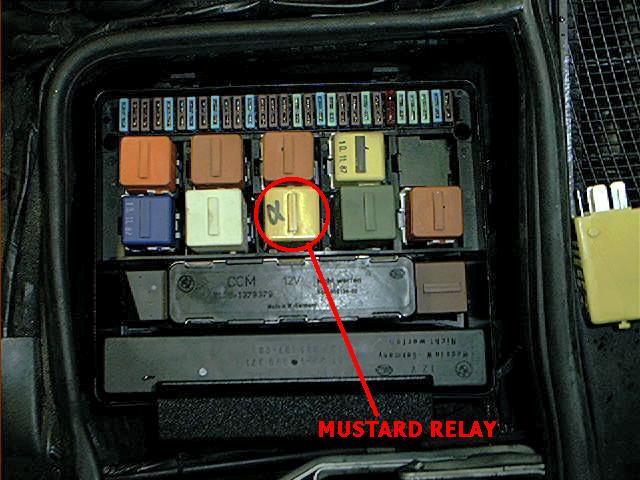
This relay is identified by it’s color, some dark yellow mustard color (what a surprise!).
Virtually every e32 or e34 will suffer from this problem sooner or later, a very common fault.
It’s located in the fuse box under the hood. It’s one relay module with 2 integrated relays for controlling the left and right side bulbs.
After ’92 the design changed and the relay was integrated into the LKM module.
Of course you can buy yourself a new relay but they are expensive, about 60 bucks.
A used one isn’t recommended, I recently bought a 750il for parts and the first thing I did was simply swap the mustard relay.
Unfortunately, the other relay suffered from the same problem so now I have 2 bad relays.
But it’s easy and cheap to fix by yourself because the problem is caused by weak solder joints inside the relay.
All you need is a soldering iron and some soldering skills.
So let’s get soldering:
First identify the correct relay inside the fuse box. You can simple remove it by yanking it upwards:
This is the correct relay, with SKM stamped into it. It’s an original HELLA component:
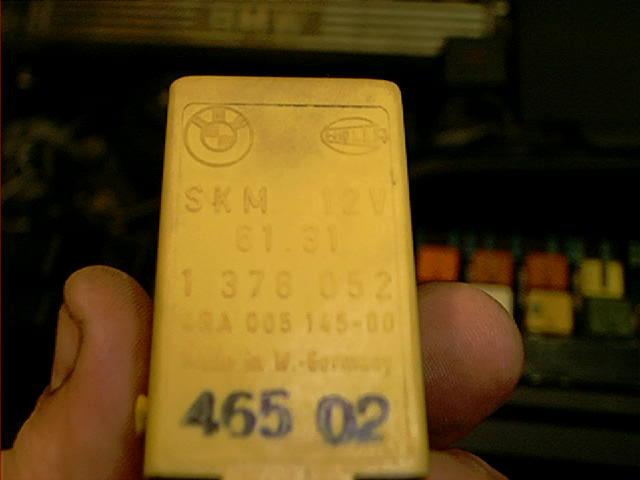
The relay has 3 tabs underneath:

First pry out the upper tab, a small lid will open:
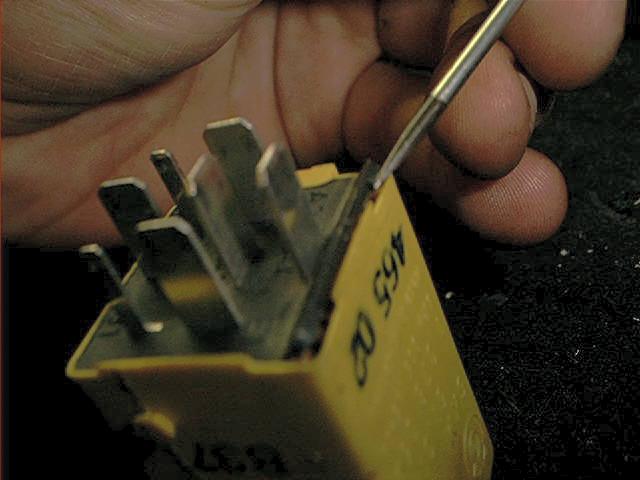
Then pry out the 2 tabs at the side. I used 2 small flat screwdrivers for this:
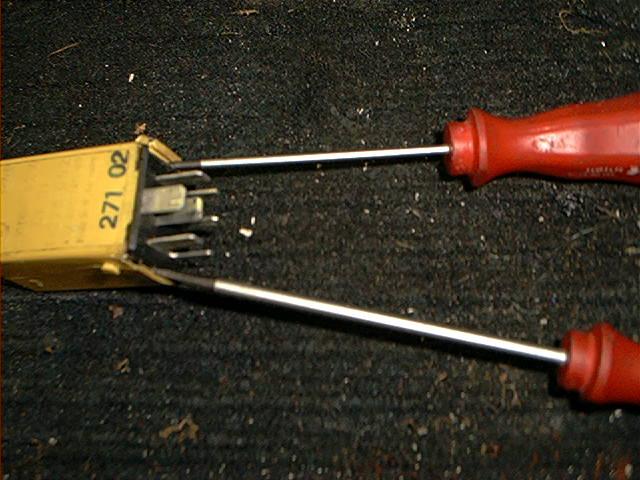
Now pull the relay apart:
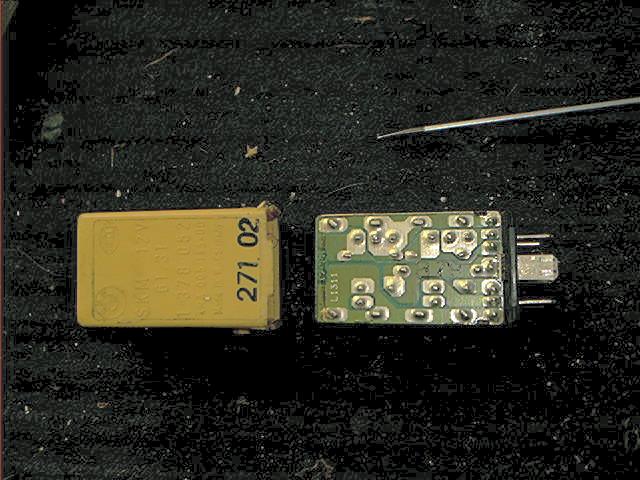
Carefully examine the surface:
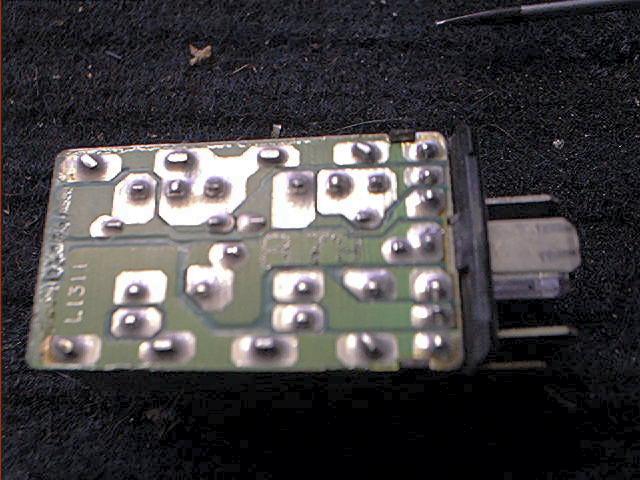
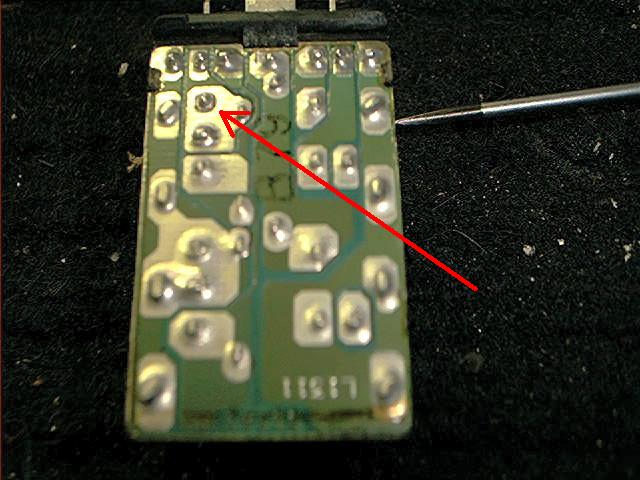
Soon I discovered some bad points. Sometimes it needs a experienced eye to see this:
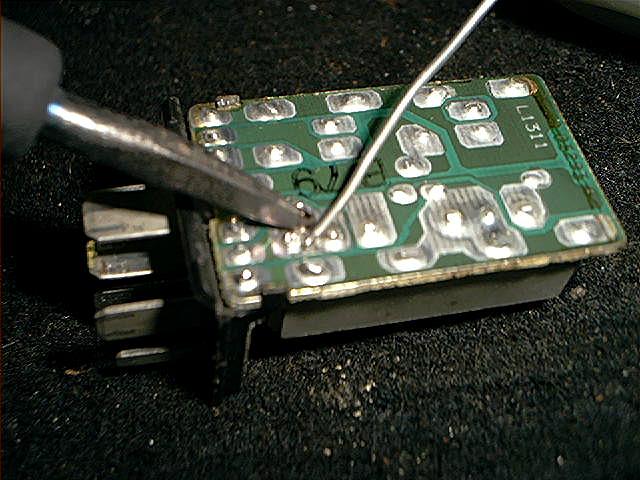
If you are in doubt, re-solder the whole printed circuit board like I did:
Keep in mind that when you refit the PCB into the case, there is a slot in the case. It fits in one position only.
Total amount of costs: None! We want more of these easy-to-fix and cheap repairs.
Skills needed/difficulty level: it helps to have some soldering skills. You don’t want to solder the solder pads together.
That will lead to unpredictable behavior like blown fuses, wiring harness meltdowns and so on.
Here is some additional input from Jon Evans:
I started getting warning messages about the tail lights and sidelights, when there was nothing wrong with them. These are classic symptoms of dry joints in the mustard colored relay.
Step 1 – Open the fuse box – it is located near the windscreen on the left hand side of the car.
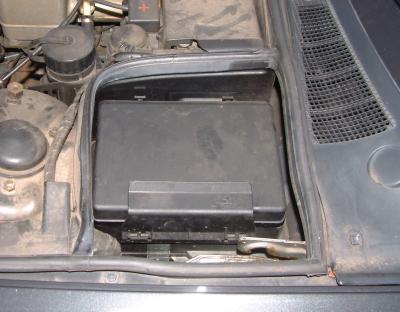
Step 2 – Locate the mustard colored relay in the centre of the fuse box and remove it.
Step 3 – Ease open the three clips around the bottom of the relay and pull off the plastic lid.
Step 4 – Examine the circuit board. You will no doubt find many bad solder joints. The easiest thing to do is re-solder all of them. I used a 25 watt soldering iron, my 15 watt wasn’t up to the job.
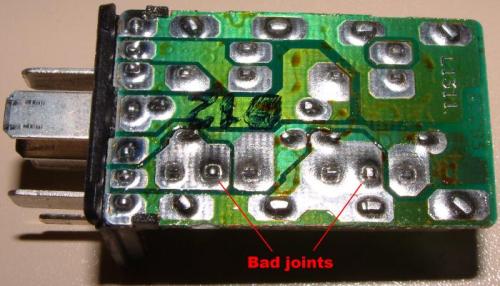
As you can see, most of my solder joints have gone bad. I’ve labeled a couple of them.
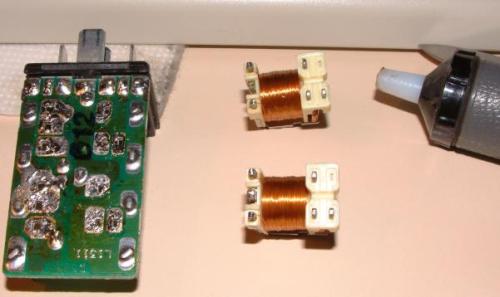
If you really want to do the job properly, de-solder the relays first to remove all the old solder. This step is strictly optional!
Step 5 – Clip the relay back together and return it to the car.