Article by: Sean
Article applies to: all e32 and e34 models, and also applicable to the front brake pads.
Note: the ’90->’94 750 and the euro e34 M5 have double piston calipers in the front calipers.
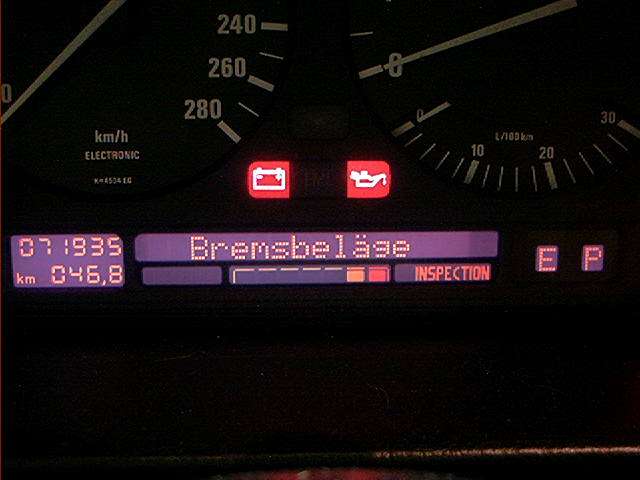
Problem: OBC says ‘BREMSBELAGE’ or ‘BRAKE LINING WARNING’.
As earlier said in section ‘brake caliper rebuild‘, this time my rear brake pads had to be replaced.
This isn’t mentioned in the Bentley Book. Procedure is the same, but obviously you have to push back both pistons instead of one.
Background: as usual, the brake pads can be replaced without bleeding the brake system. Replace the pads always in pairs on one axle.
The 7 is equipped with brake wear sensors, one on the front-left side and one on the rear-right side.
Depending on the wear of the brake wear sensor (depends how quickly you change your pads. . .
If it’s slightly before or right after the ‘BREMSBELAGE’/’BRAKE LINING’ message you have a good chance the sensor is still all right) otherwise you will need to change the sensor.
The message is shown either two ways:
1) if the sensor comes in contact with the rotor (closed circuit to chassis ground)
2) if the sensor wears through (open circuit)
Sometimes this message comes up with good pads and good sensors. If this is the case, probably your one of your sensor wires is somewhere broken.
A comment on this by Mark750iL:
“The sensor wires are very small gauge, and can easily be broken over time. I got the Brake Lining warning last week, got pads this week, and started the front job yesterday.
The pads were fine, and the sensor checked out OK (no resistance).
Went to the back, and immediately noticed that one of the sensor wires was broken.
These are rather easily fixed: the connector pin/plug pulls out of the connector body (its just rubber/neoprene) and the wire is crimped/soldered onto it.
I soldered a new length of wire onto the pin, put it back through the connector, and pulled the pin back into place in the connector.
In doing so, the OTHER wire broke, so I repeated the process on the other pin. After getting both pins back in, I soldered the splices and used shrink-wrap to protect.
Turned on key: no Brake Lining warning!!!”
In this case, the fault could easily be found. Some others reported tracing back a broken wire almost into the engine harness.
Let’s start unbolting parts:
Raise the car, place jack stands, remove the wheel etc. If this doesn’t sounds familiar, don’t do the job 😉
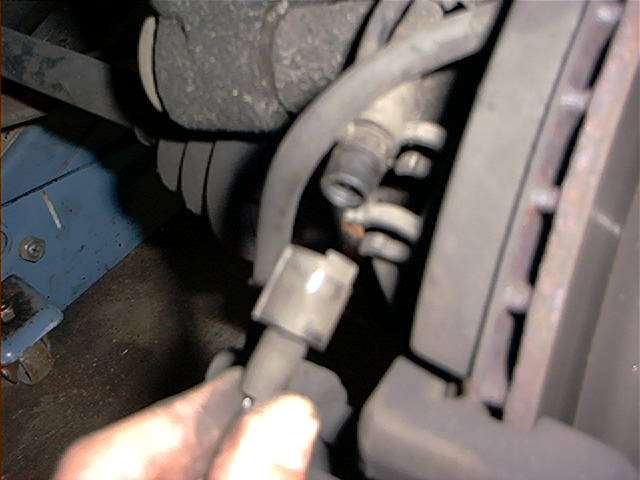
Disconnect the brake pad wear sensor:
Remove the anti-rattle clip, pry it away with a flat-blade screwdriver:

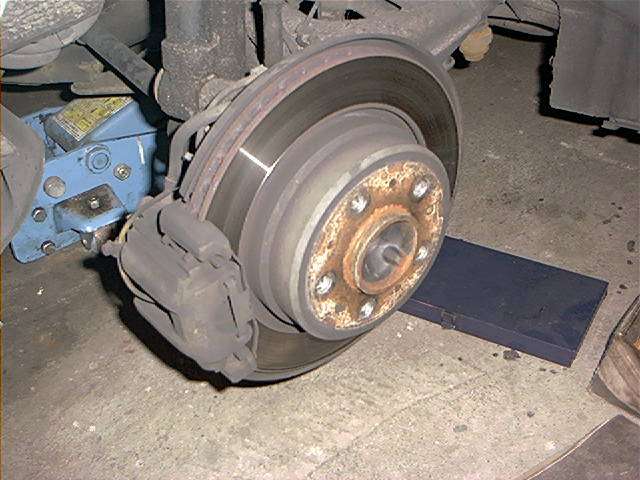
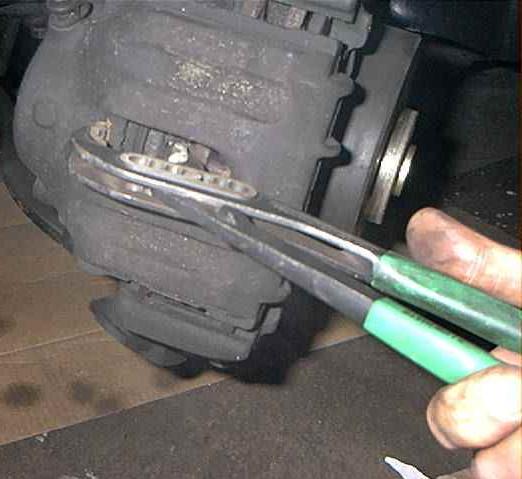
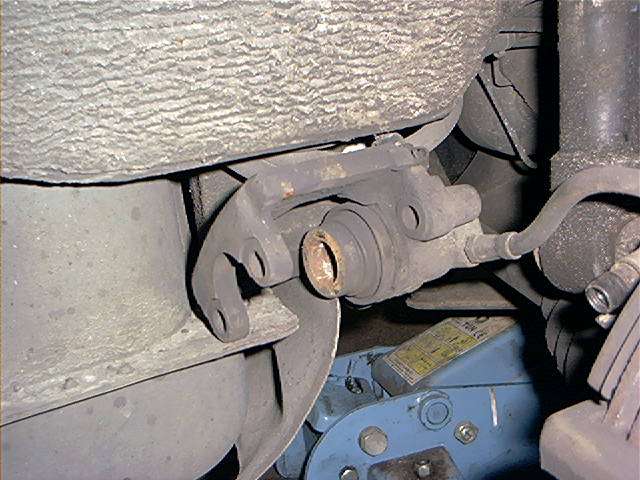
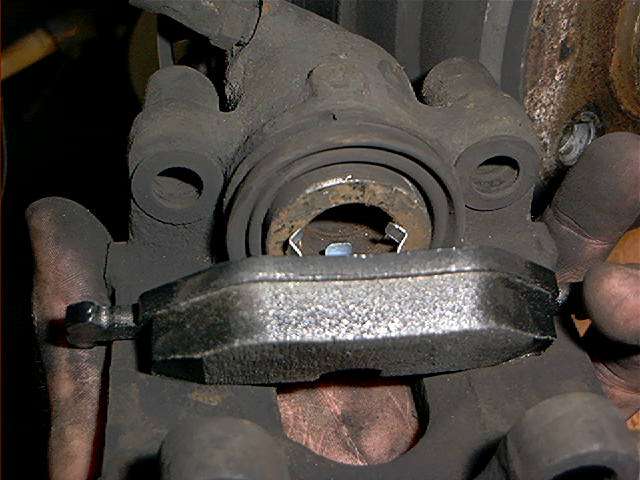
If the rotor has a ridge, and if you don’t have brand-new rotors, it’s a good idea to push the caliper piston a bit back into the caliper with water pump pliers, by pressing the pad closest to the piston:
Now remove the brake caliper. Remove the 2 plastic caps, showing the guide bolts.
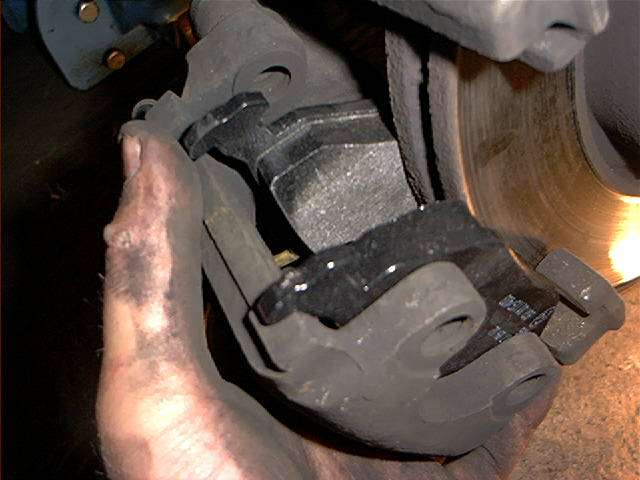
The caliper is mounted to the caliper carrier with 2 hex guide bolts (photo is showing the caliper from behind):
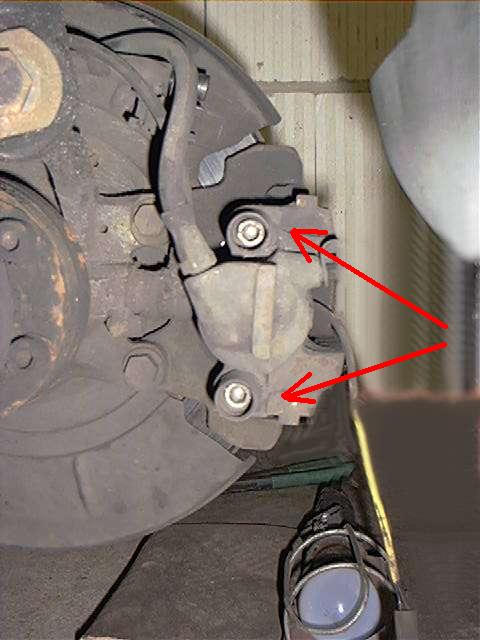
Remove both bolts:
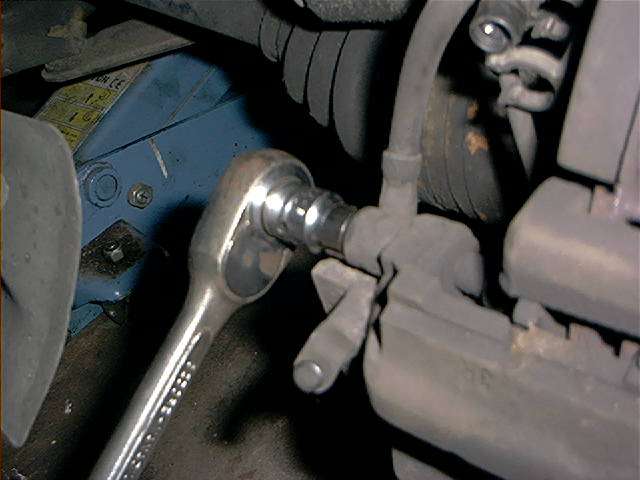
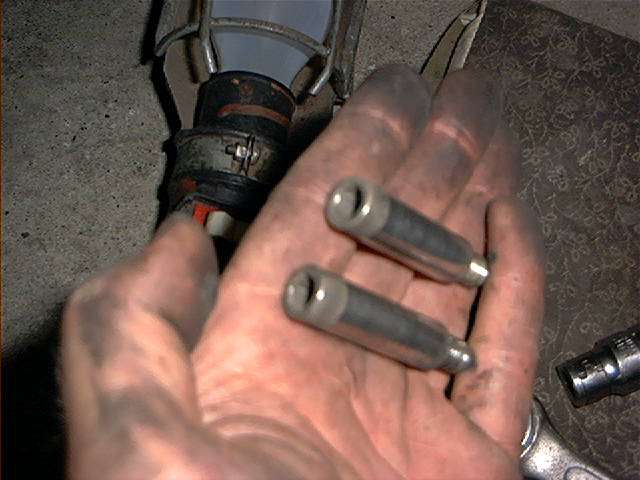
Pull the caliper straight off the rotor, remove both pads and place the caliper on a safe place, don’t let it hang loose.
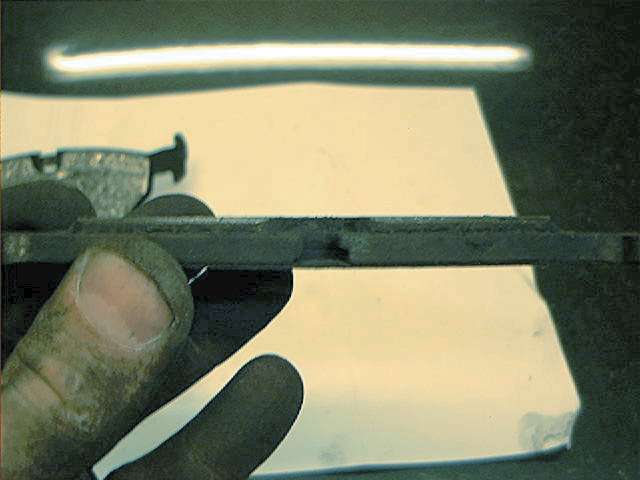
Inspect your dust seal while your at it, a damaged dust seal will eventually result in replacing your caliper = (too much $$):
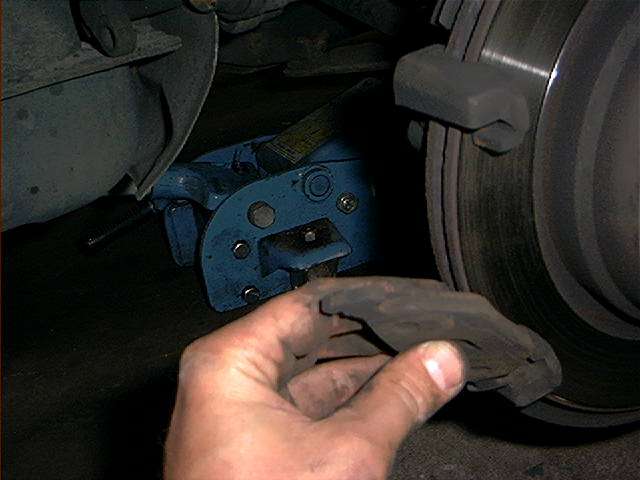
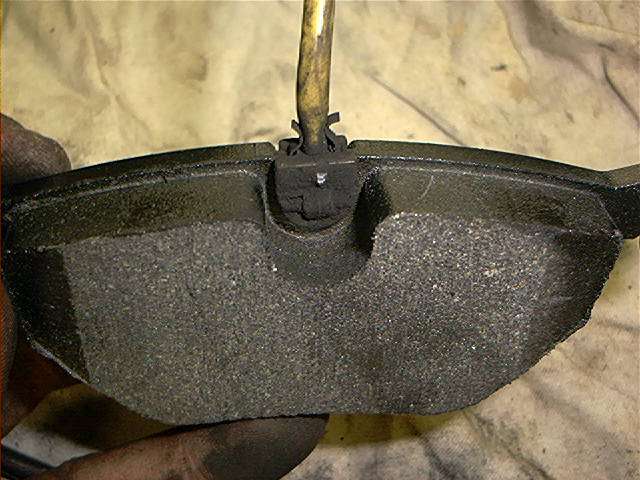
These definitely needed replacement:
If you are planning to use the old wear sensor, pry the wear sensor from the pad using a screwdriver. Be gentle, it can easily be damaged:
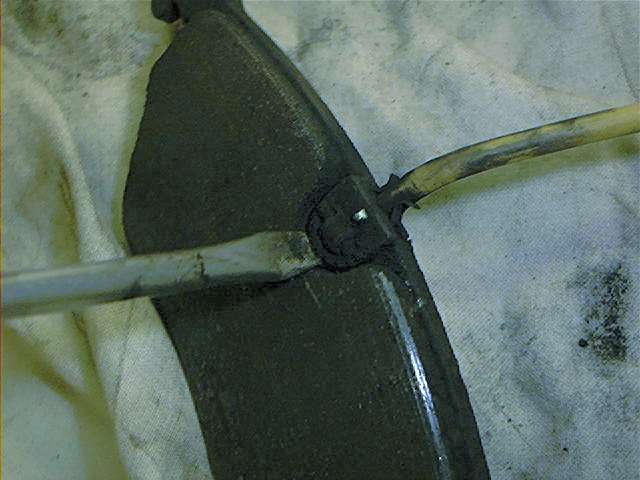
And reinstall:
Now you have to push the piston back into the brake caliper.
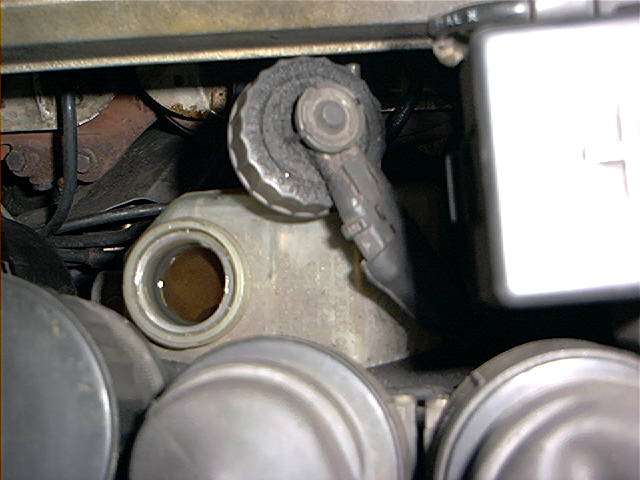
It’s important that you keep an eye on your brake fluid level while doing this, to prevent spilling brake fluid in your engine bay and onto the floor.
The reservoir level will rise while you push the piston back into the caliper (didn’t a Greek fellow named Archimedes invent something like this?):
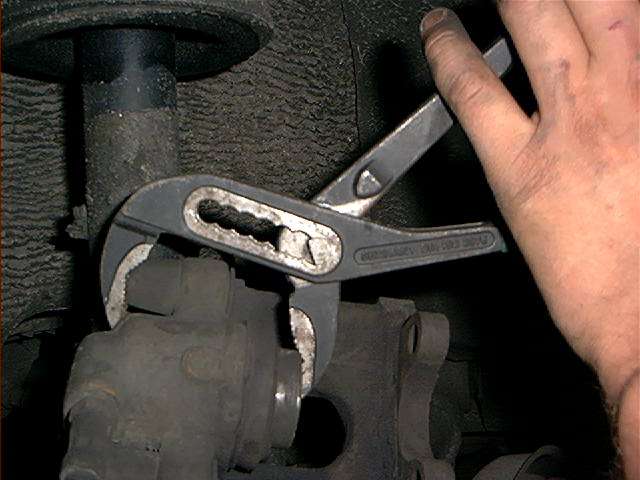
There are some pretty sophisticated tools for pushing the piston back, but I usually use large water pump pliers for that (sometimes resulting in skinned knuckles, so beware).
You can use it 2 ways, showing here:
Or the safest way:
Install the new pads:
Put the caliper back on:
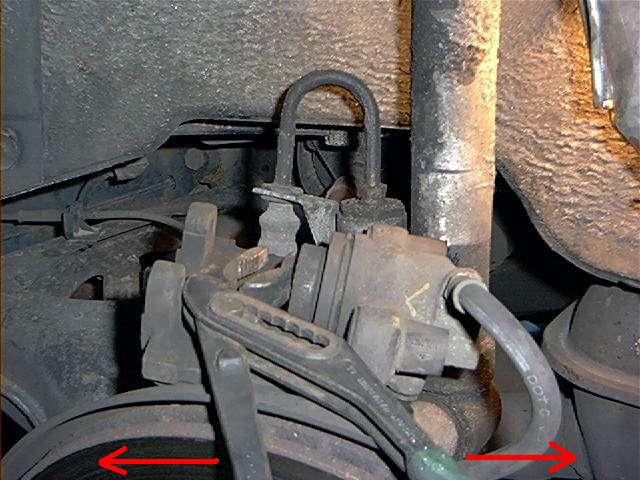
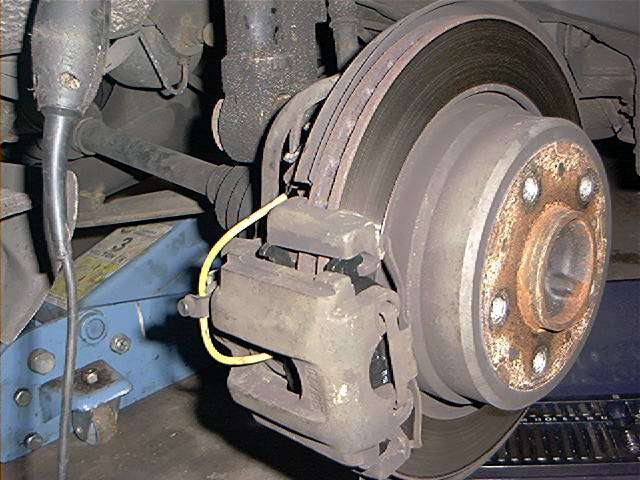
Reinstall the guide bolts, reconnected the wear sensor and anti-rattle clip and it should look something like this:
Reinstall wheels, remove jack stands etc. That was about it. A pretty straightforward procedure which can be done easily if you take your time.
Depress the brake pedal a few times before you take it for a test-drive, the pistons must press the pads sufficiently against the rotors, seating the pads.
Take it easy the first 100 kilometers/miles, the pads have to run in to the surface of the rotors.
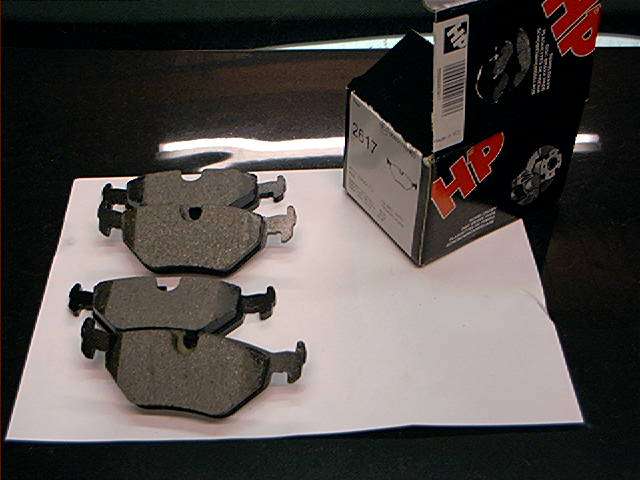
Total amount of parts and costs: 50 Euro/US Dollar for the front pads, 40 Euro/US Dollar for the rear pads.
The original BMW pads where IMHO expensive (about 80 Euro/US Dollar), so I used aftermarket brand, HP.
My experiences with Ferodo pads are usually bad, so I used another brand as an experiment to see how quick these are wearing out.
Total amount of time needed: 1,5 hour
Skills needed/difficulty level: taking the pictures was the most difficult part . . .