Problem : typical problems are the infamous 80-100 km/h (50-60 mp/h) shimmy, strong vibrations during braking (not always, sometimes the braking goes well, it seemes to depend on the steering wheel position). If you encounter any of these problems, suspect these bushings. It's a common problem. In fact, I find the front suspension underdesigned for these heavy cars. I prefer some sort of wishbone construction.
Background: the upper control arms are connected to the lower strut assembly. You can use a tie-rod puller to remove the ball joint, but I used another method. The old bushings must be pressed out and the new ones obviously pressed in. You can use a press for that, but I don't have a press and neither do you. So you can look for a shop with a press.....but I don't like that because I want to do things myself. So I invented a way to press the bushings myself, also known (from now) as the Sean's method...:)
I suggest that you always use new 750 bushings, also if you have an 730/735/740. There stronger, give a firmer suspension feel and fit without modification.
Let's
start unbolting and removing parts: First you must figure out how you gonna
remove the ball joint, connecting the upper control arm to the
lower strut assembly:
As said, you can use a tie-rod puller for this and that is the best option. But it's hard to reach and I ruined my tie-rod puller lately (when replacing my ball joint boots....) so I used another way. I must make a serious comment here: this is a dangerous procedure, not for the faint of heart and only for the experienced backyard mechanic.
Undo the 22mm nut and leave the
nut on the last couple of threads, so it can be removed by hand.
Place a block of wood underneath the upper control arm so it's
supporting the arm, the steering wheel must be turned slightly to
support it fully:
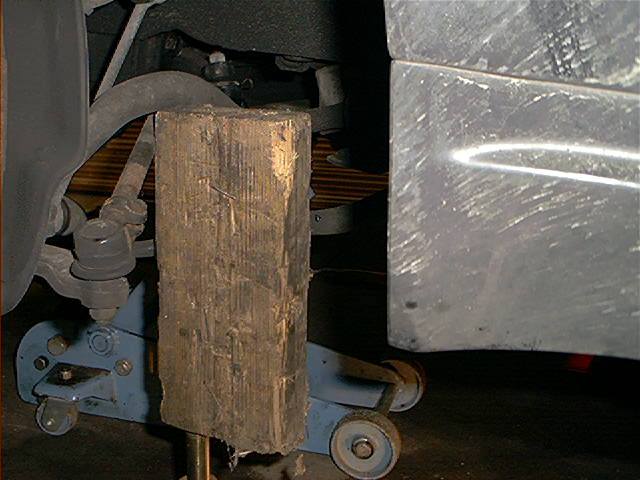
Now carefully lower the car a couple of centimeters, so you're applying a lot of upward pressure to the control arm. Take a hammer and give some serious, powerfull wacks with a hammer onto the lower strut assembly/ball joint carrier (between the 2 ball joints there is just enough space). Sometimes a few wacks on the 22 mm nut will also help. It will come loose. Definately. Again, perform only this procedure if you know exactly what you are doing.
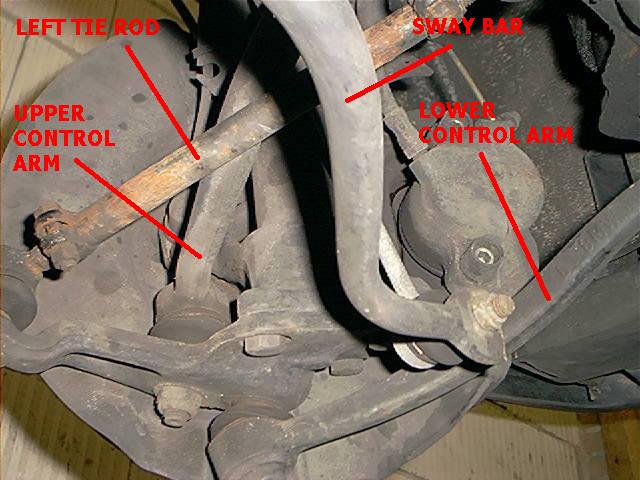
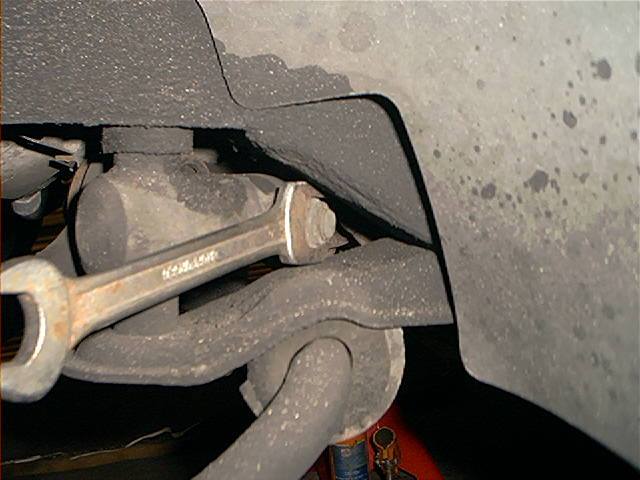
At the other side the control
arm is connected to the subframe by a large 22 mm bolt. But it
isn't the bolt that is giving trouble, it's the unreachable nut
(showing the inside of the left front wheel well):

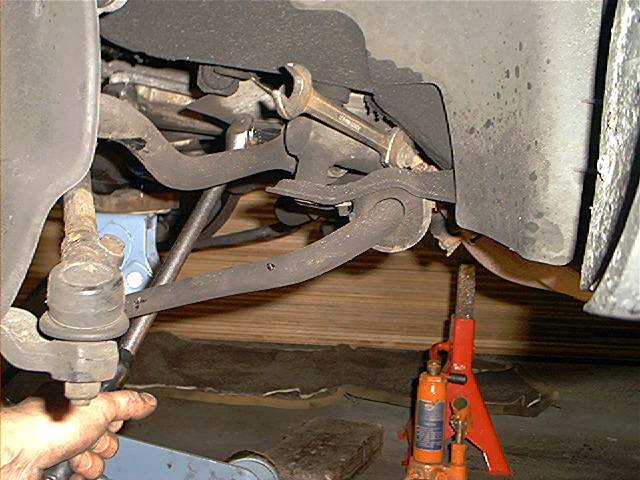
BMW uses a special tool to get
at the bushing nut. There are basically 2 options now: you
fabricate your own special tool, or you loosen the cross member
mounting bolt and the sway bar mounting bolts (just loosen them a
few turns, do not remove them entirely) and drop the sway bar
bracket enough to put a normal wrench on the nut. Remark here:
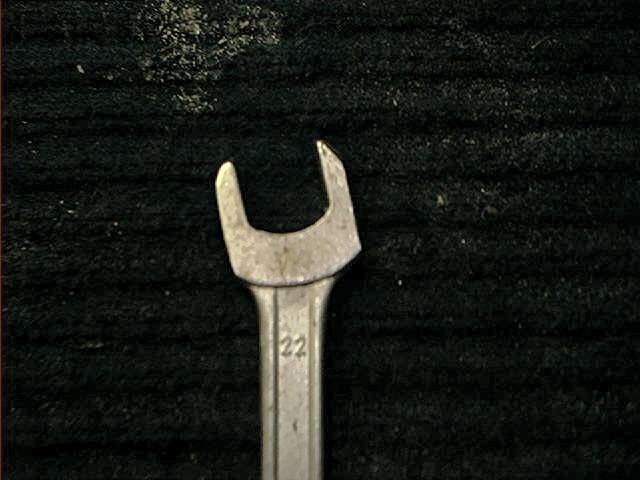
these bolts are very tight. I choose the first method and made my
own tool from and old cheap 22mm wrench:
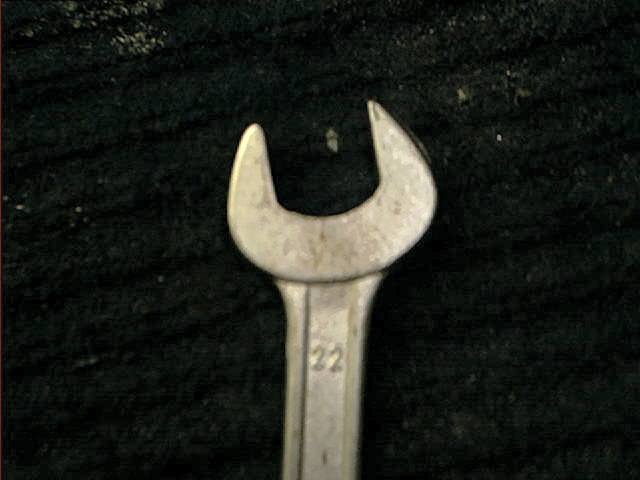
And after some grinding:
We are getting somewhere:
I just bended the heat shields
(blocking the big bolt) out of my way. Now unbolt this big bolt
(this may take a few grunts):
Victory at last:
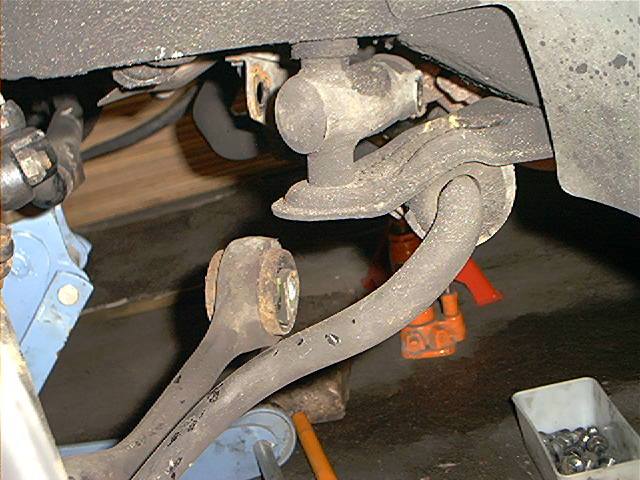
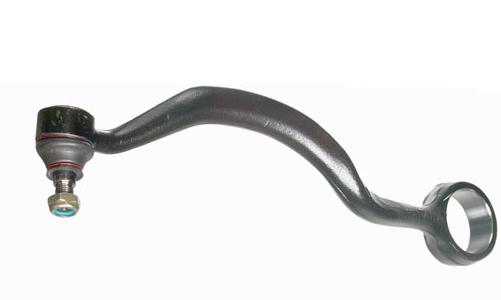
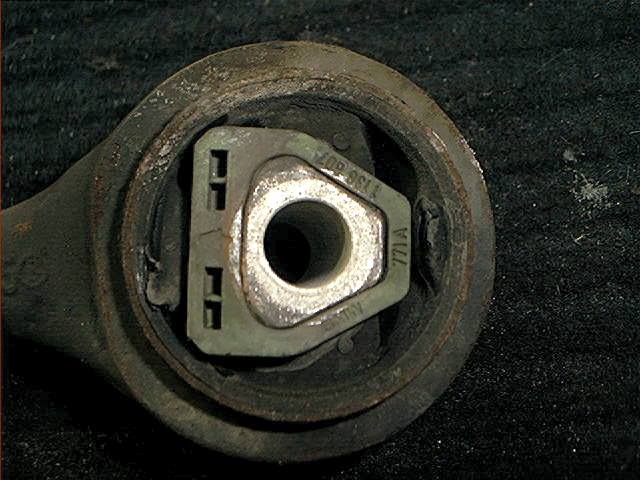
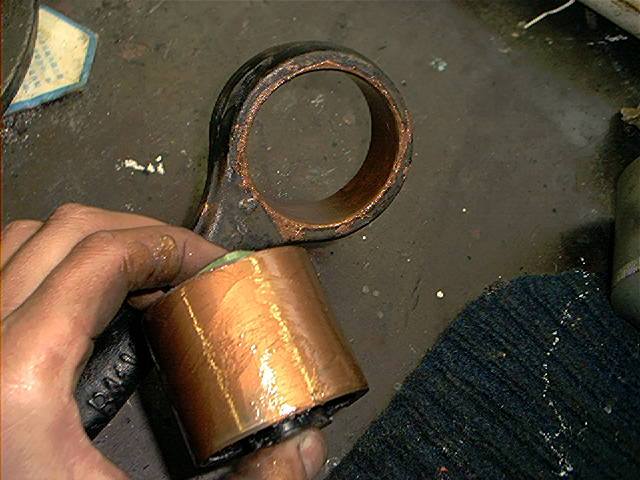
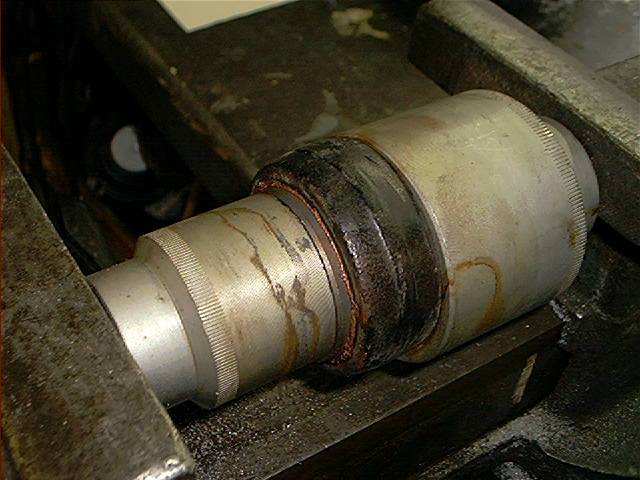
A close-up of the old worn
bushing, noticed the damaged rubber:
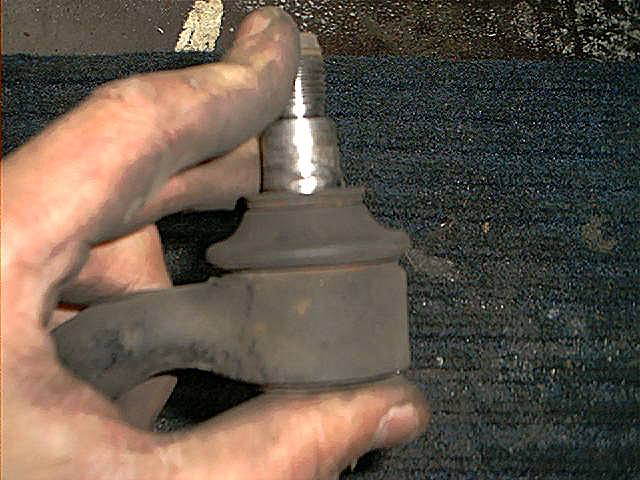
Check the ball joint for play.
If your bushing is severly cracked and torned, there is a chance
that youre ball joint didn't survive the abuse. In that case,
replacing the control arms is the only solution:
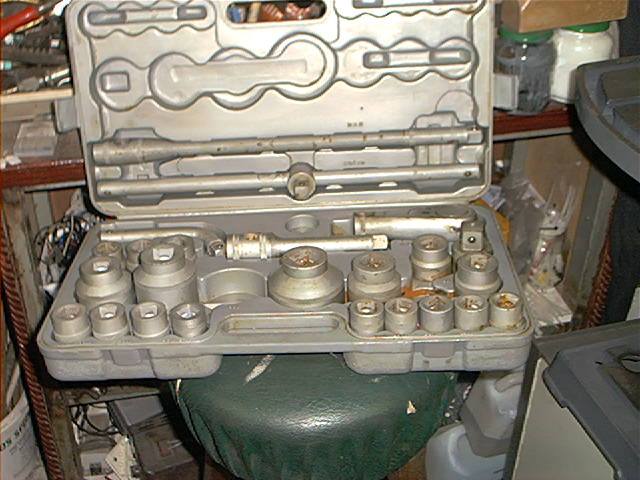
Nice story until now Sean, but
how did you remove and reinstall that bushing?? For this trick I
used an oversized bench vice and 1" socket set with sizes
starting from 32mm to 70mm. I bought this used set for 75
Euro/USdollar, always nice to have if you are planning to replace
wheel bearings or restoring a bulldozer:
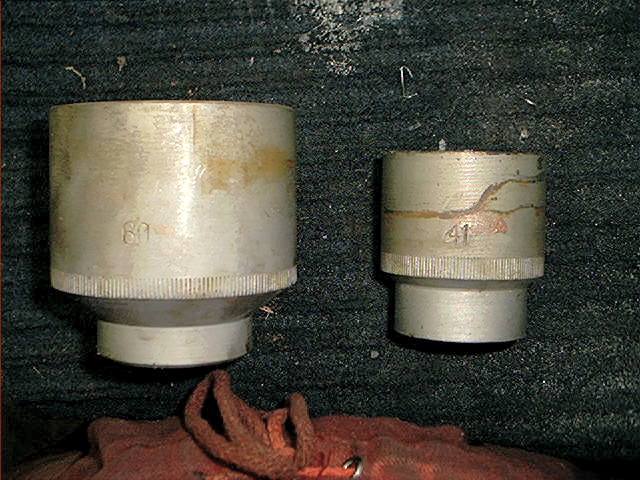
Select socket 60mm and 41mm:
I forgot to take pictures of the
removal, but its the same as the installation. If you have some
serious problem removing them, you can heat up the end of the
control arm with a propane torch. The installation goes like
this: lubricate the new bushing and the inside bore of the
control arm (I used copper paste):
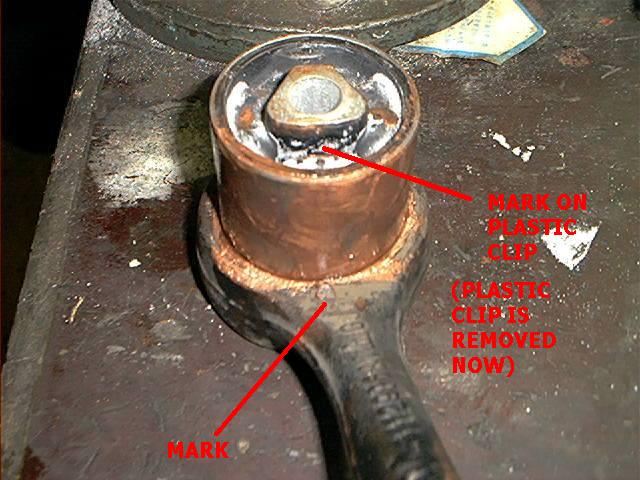
Put the bushing into the bore of
the control arm, use a hammer to slightly insert it (make sure
the bushing goes straight into the bore and mind the marks of the
bushing and the control arm, they must be aligned properly)
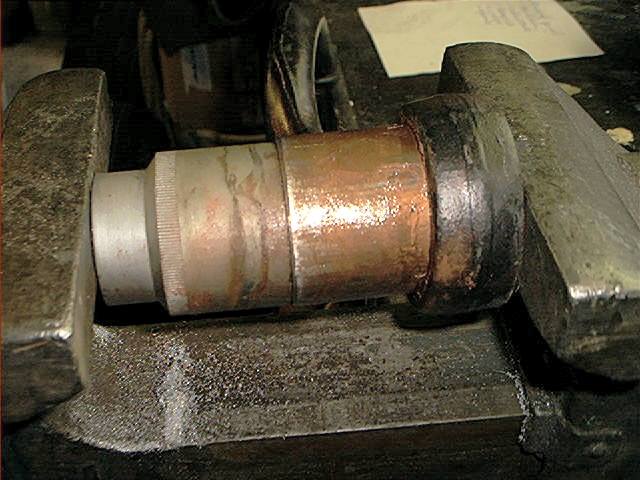
Using the 41 socket and the
bench vice (and a large metal pipe) I pressed the bushing into
the control arm:
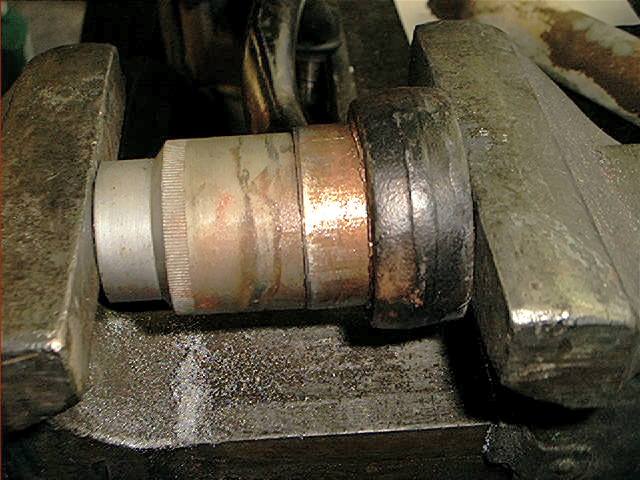
Now the bushing is partially
inserted, so I used the 65mm socket now (or use a piece of metal
pipe with same diameter) to fully insert it:

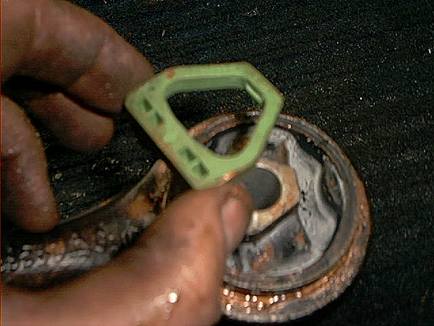
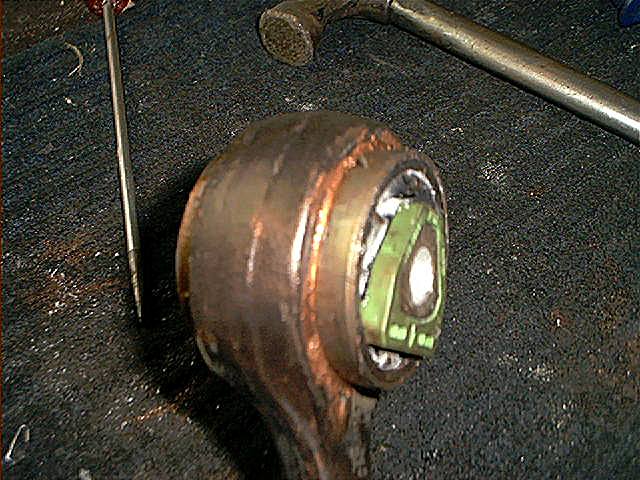
The bushing must potrude the
same amount on either side, so check frequently while pressing. I
temporary removed the plastic green clip because socket 41
wouldn't fit nicely, now reinstalling it:
And there you go, one installed
bushing and one to go:
If while reinstalling the control arm the ball joint turns when tightening the nut, use a large groove joint plier to hold the ball joint to the lower strut assembly. Don't tighten the 22mm bolt holding the arm to the crossmember all the way, the nut must be tightened under load. So lower the car, drive it up ramps and finally tighten the nut.
Total amount of costs:
| BMW partnumbers | part description | price per piece | amount |
| 31 12 1 136 607 | 750 bushing | 48 euro/USdollar | 2 |
Total amount of time : it took me all morning, including some investigation.
Skills needed/difficulty level : make sure you have a good bench vice. This is a good quality check for it.
Satisfactory
level after the job done : the car drives better now, no extreme
vibrations/shaking anymore during braking, handling is improved.
Though some light shudders while braking is still present, so
maybe my rotors are also warped. Some things never come to an
end.
Story by Sean750.
If you would like to add any comments, remarks and/or corrections to this procedure, feel free to email Mike Oswald and we'll put it on our site. Share your experiences with us so others may benefit from it.