Article by: Sean
Article applies to: all BMW models with the M70 V12 engine.
Problem : those Germans can’t build decent water pumps and if you see them, you can tell Sean750 said so.
Throughout the years, I replaced dozens of pumps on lots of German cars, sometimes a couple of times on the same car.
No matter how designed, they always leak after a few years. When it comes to my car, this will be at least the third water pump from ’88 til now.
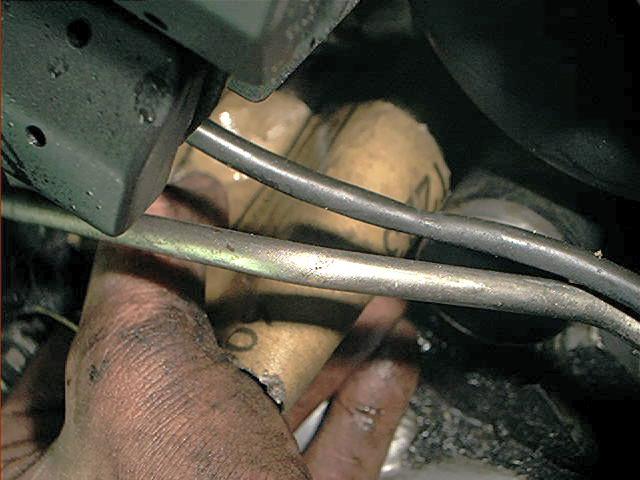
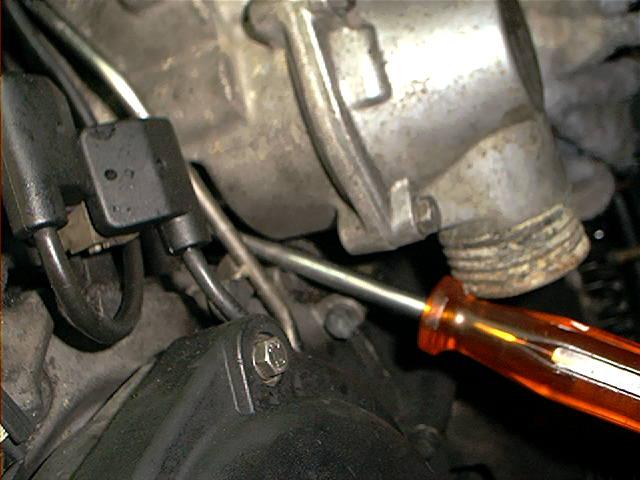
The troubleshooting is easy: in front of lower oil pan runs a hydraulic hose. If this particular hose is covered with sweet smelling coolant (sometimes drips on the ground), there is a good chance the water pump is shot.
If you pull the belt and feel the water pump shaft for play, it’s ready to be replaced.
(picture by Ed from Roadfly)
If it leaks, you can take your time because it will run surprisingly long with shaft play.
I kept a close eye at the coolant level, topped it off on a regular base and drove it for ten thousands of miles before I finally decided to replace the pump.
But maybe you shouldn’t take the risk I took.
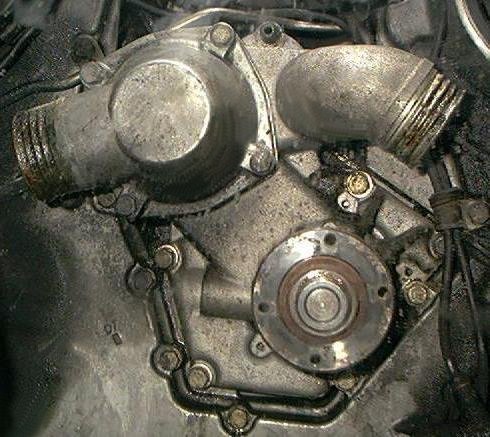
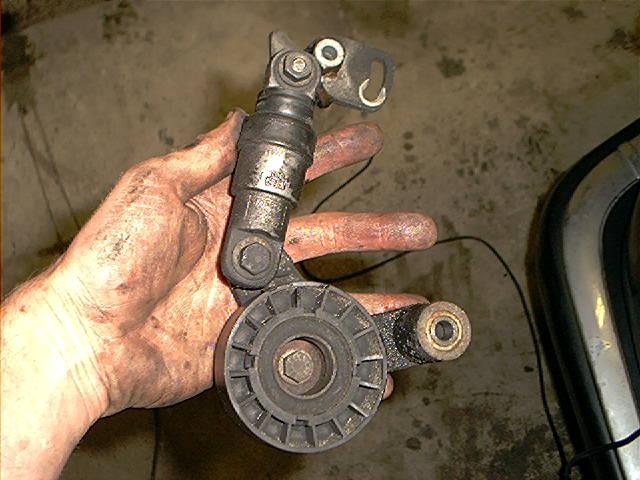
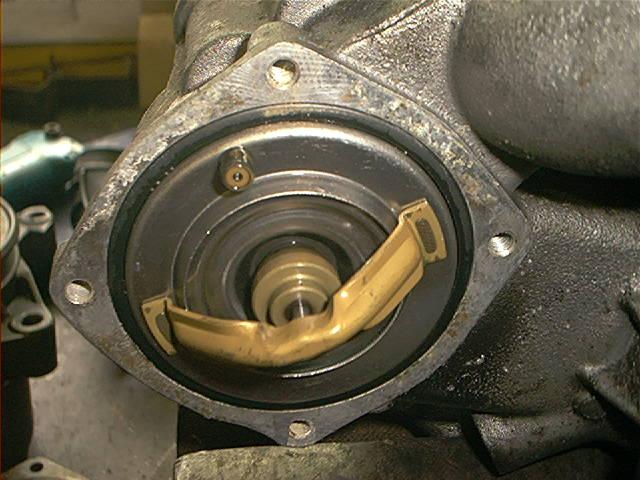
Additional information: the pump is mounted in front of the engine and driven by a belt. The thermostat is enclosed in the pump housing, but can be replaced separately.
The pump has a normal standard impeller based design.
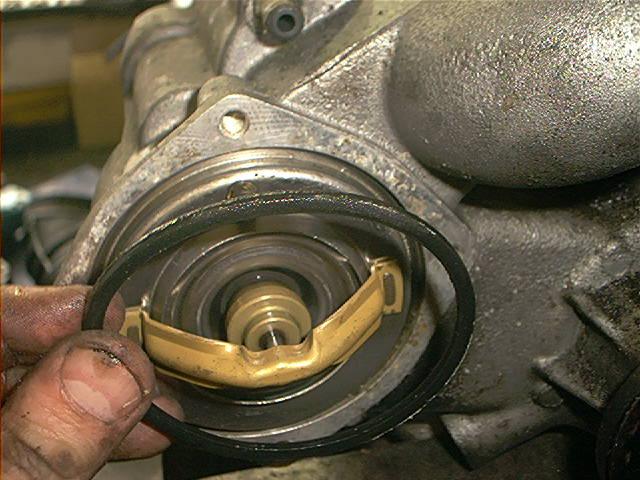
Keep in mind there are 2 types of pumps: the old style pump has a bleeder screw (worthless design btw), the new style pumps have a hose nipple in place of the bleed screw.
If you replace an old style pump for a new type, you’ll need an additional Y-hose to connect the hose nipple to the radiator/expansion tank connections. The new style pump automatically bleeds air from the system.
And, as with most parts of the v12, the pump is hard to reach and there are a couple of traps on the way you should be aware of.
First, the pump has an unusual design when it comes to how it’s bolted to the engine. Therefore, it needs to be removed in a very particular way.
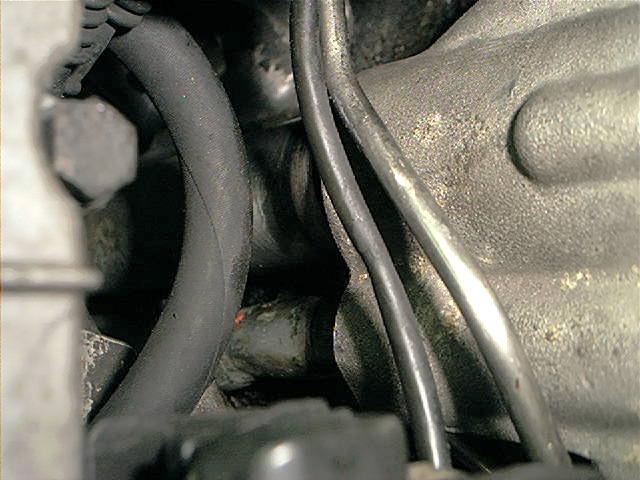
Second, it doesn’t use plain paper gaskets but O-rings to seal. And third, be aware of the coolant pipe plumbing in the valley between the cylinder heads that connects to back of the pump.
I’ll be explaining those items in detail.
Let’s get wrenching:
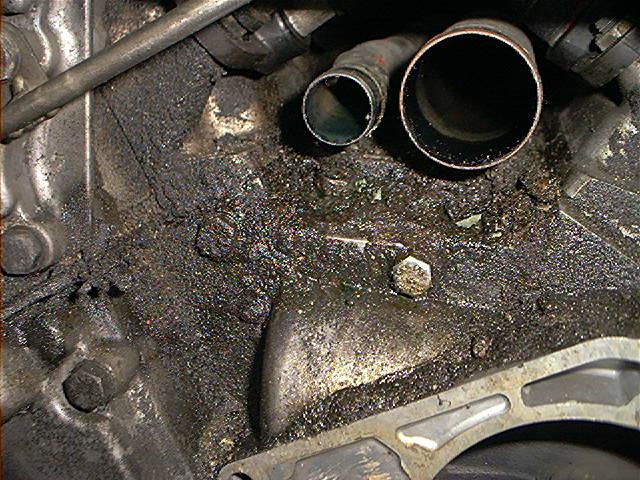
It’s a good idea to drain the rad first. The engine itself has 2 additional drain plugs, hidden below the left and right exhaust manifolds. Impossible to reach, so not an easy option.
The engine will drain coolant when removing the pump, therefore no big deal.
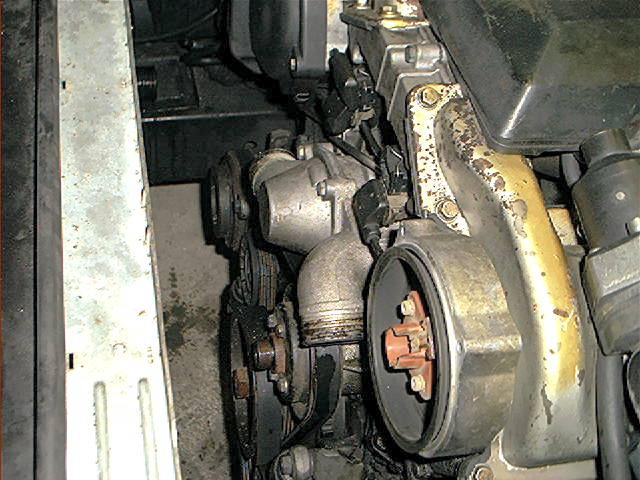
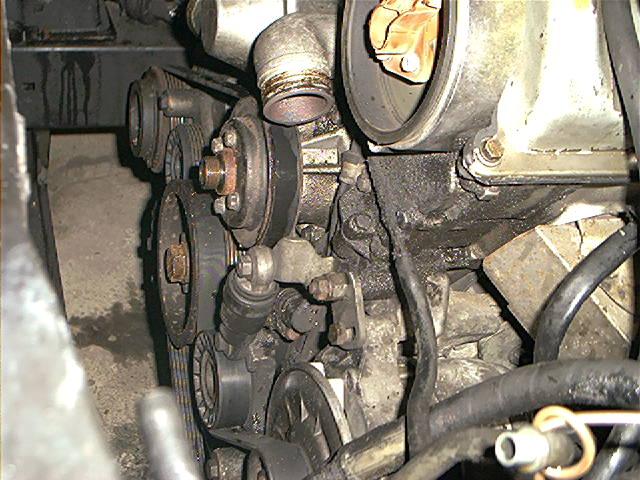
Remove viscous fan (32mm open wrench, left hand thread and a large flat blade screwdriver jammed between the pulley bolts):
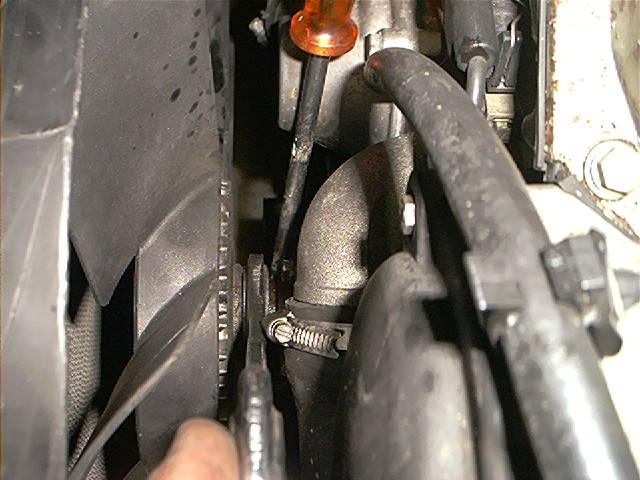
Removing fan shroud and bleeder hose from pump to rad. I also removed left upper air filter box, MAF, intake boot and distributor cap to get easier access to parts, but that isn’t really necessary:
Upper radiator hose removed:
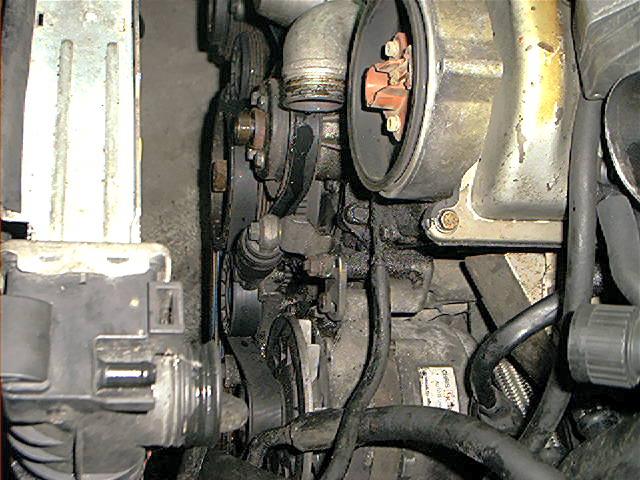
A bit hard to see, but lower radiator hose removed. The thermostat is located behind the hose connection cover:
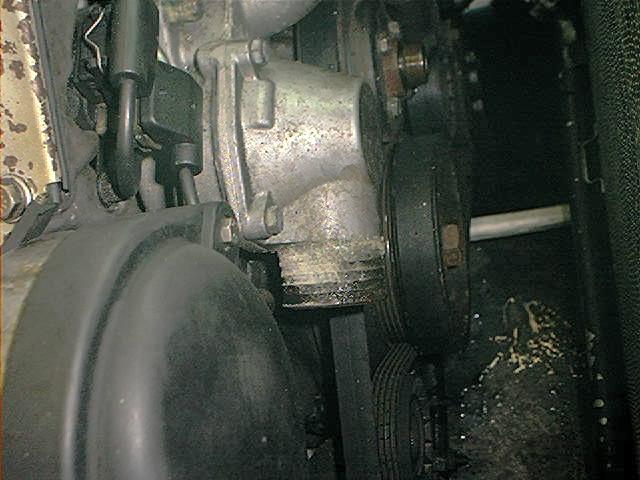
Loosen the pump pulley bolts one turn, but do not remove them yet:
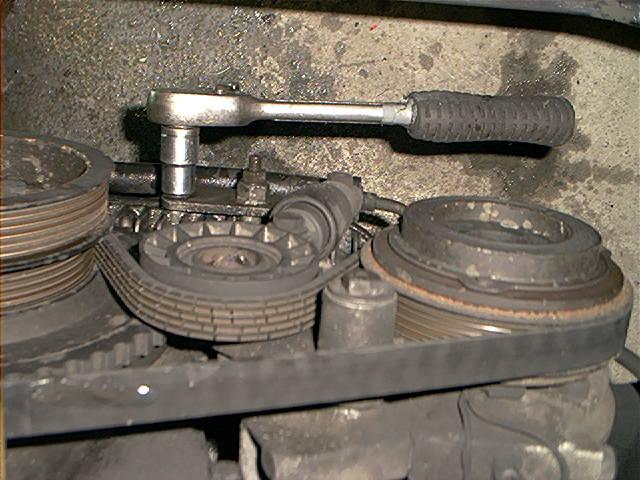
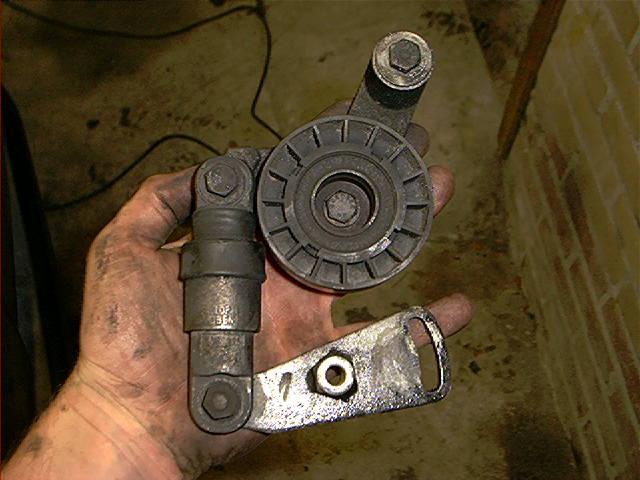
Next step is to remove the belt tensioner of the primary belt (dedicated to the alternator and hydraulic pump), visible in the center of the photo:
Next step is to remove the belt tensioner of the primary belt (dedicated to the alternator and hydraulic pump), visible in the center of the photo:
Move the tensioner to the minimum allowed by the slot in the wheel bracket by loosening the upper alternator bolt. Remove bolt entirely, this will not affect position of the alternator (has 3 bolts):
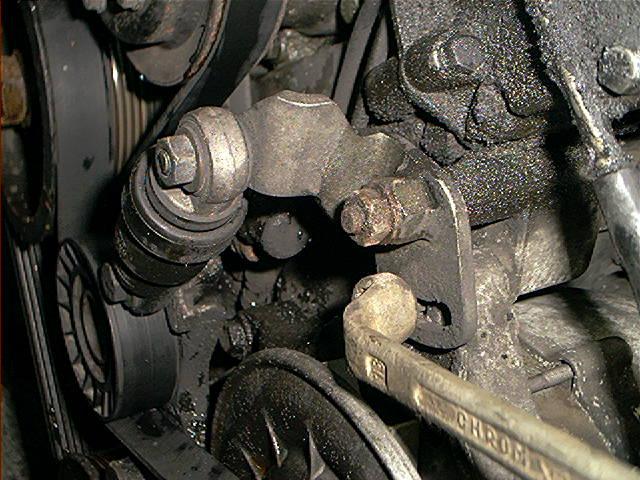
Remove nut of tensioner:

Remove belt:
Remove lower bolt of tensioner
Showing entire tensioner assembly. This is an automatic tensioner, the spring in the tensioner put the proper tension on the belt:
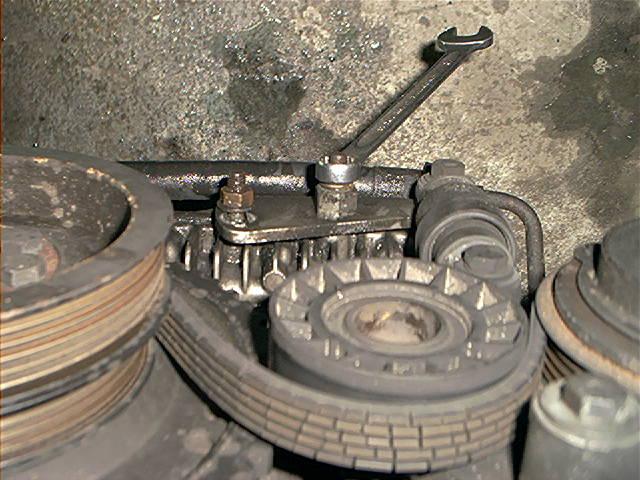
We also have to remove the secondary belt. Because the tensioner of this belt is located at a difficult position (hard to take photographs), next photo’s are taken from the top of the engine looking down.
Unbolt slot bolt:
Unbolt locking bolt:
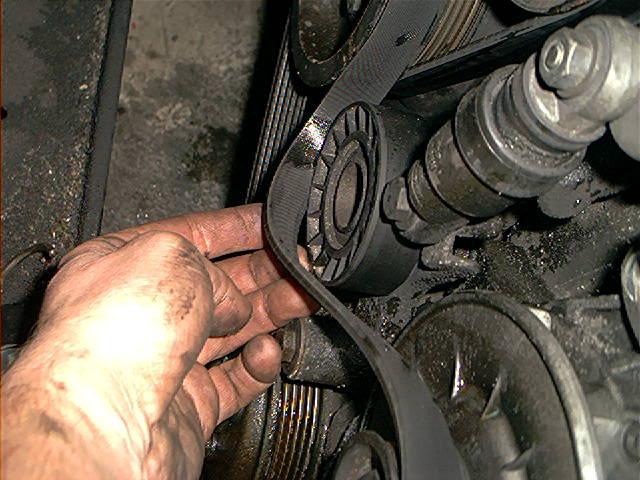
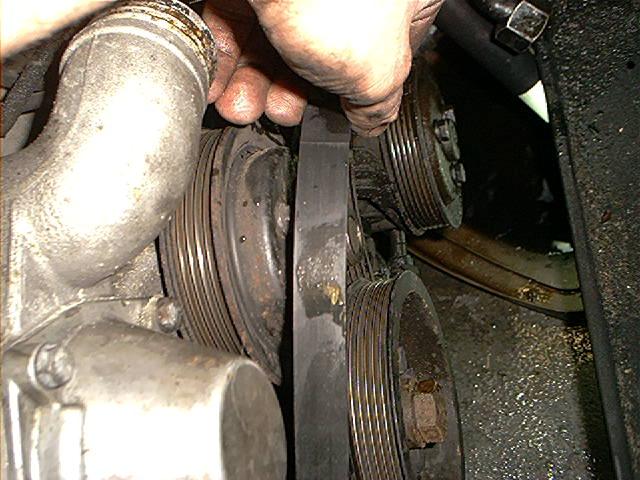
Remove belt dedicated to the water pump and A/C compressor:
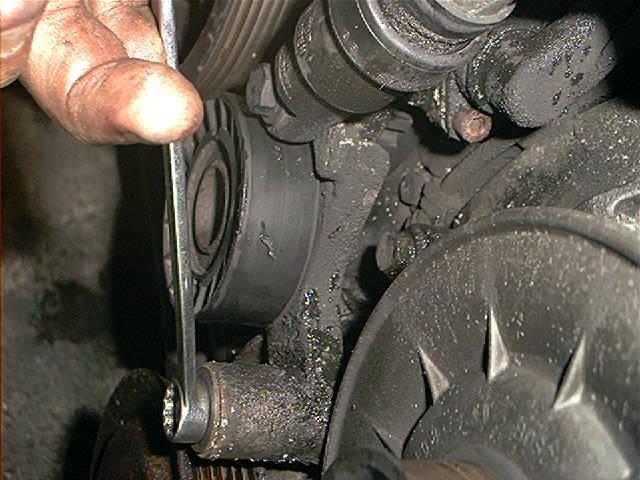
Unbolt tensioner from block:

Notice the lower tensioner has a different design:
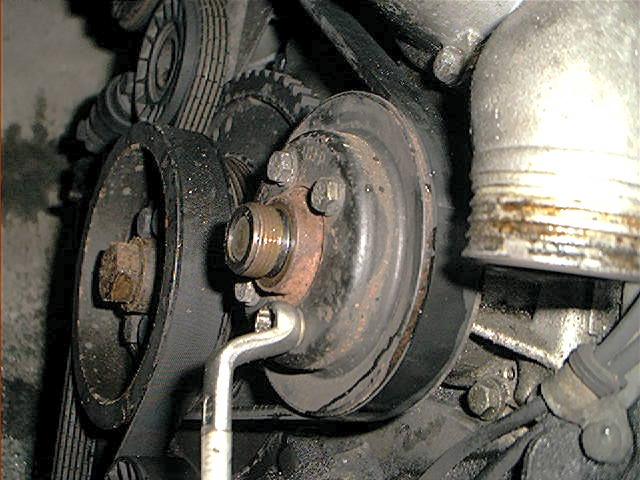
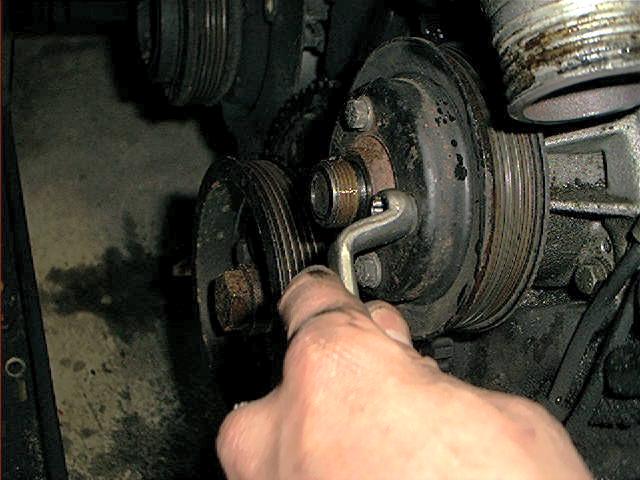
Now you can unbolt the pump pulley bolts and give yourself time to think why Sean750 advised to loosen them one turn before the belt removal:
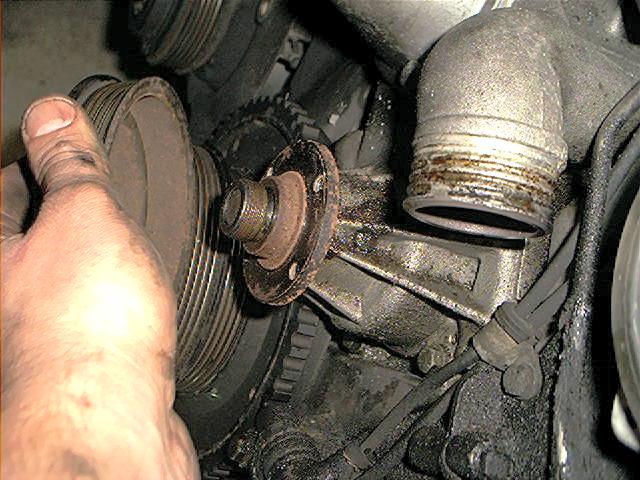
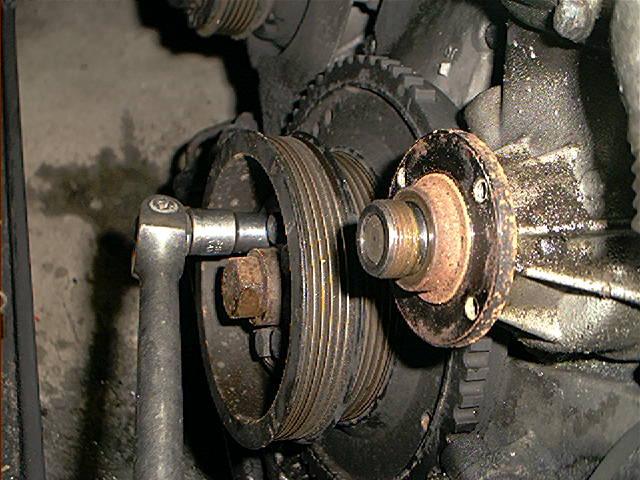
Pulley removal:
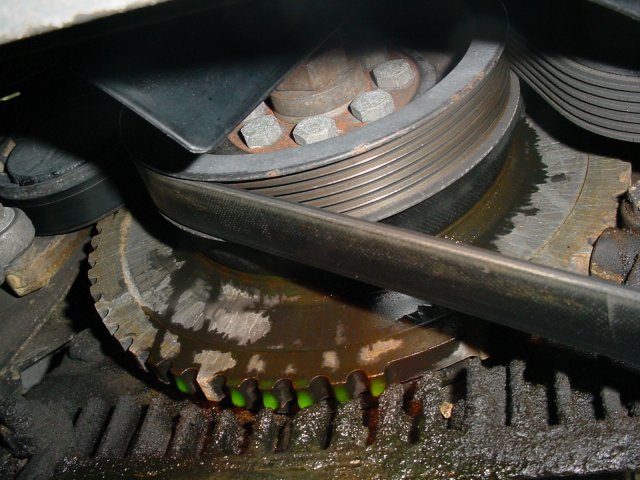
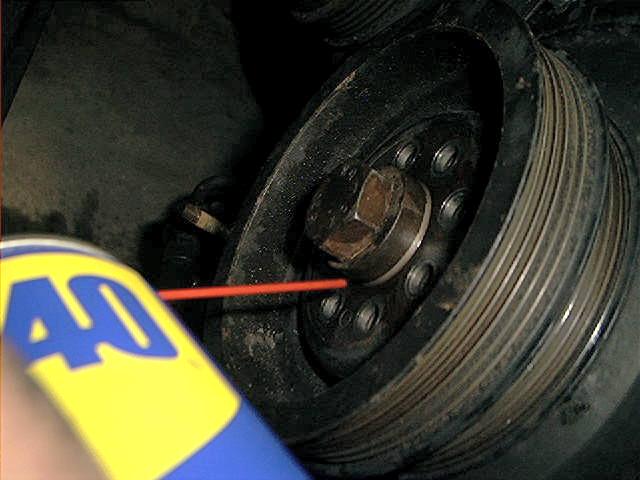
Next step is the crank vibration damper removal. Ok, there are alot of questions regarding the removal of this stubborn thing.
First: YOU DON’T HAVE TO REMOVE THE BIG CENTER BOLT.
And thank those Germans engineers for it, because you will have a *really* hard time unbolting this center bolt (there is even a good chance you won’t succeed in unbolting it at all).
Just remove the 8 (!) bolts next to the center bolt as shown here:
When all bolts are removed, you probably won’t be able to remove the damper from the crank.
The resistance is just from accumulated grime (and a bit rust) on the shaft. But you don’t need a puller. First, some spraying with WD-40 will help:
Use 2 long, wide blade screwdrivers, wedging the blade between the damper and the timing cover and then twisting.
Only thing to watch out for is that the aluminum timing cover has limited strength..so don’t use excessive force!

There are other ways. John reported: ‘prying the damper away from the block with a pry bar.
Gently working the damper this way through several rotations of the crank with the big center bolt did the trick.’
A little rocking and twisting..do mind, it’s a heavy beast. Don’t allow it to drop onto the floor:

Do not worry about marking the location of the damper as it has a index mark/key. It will only go in one way:
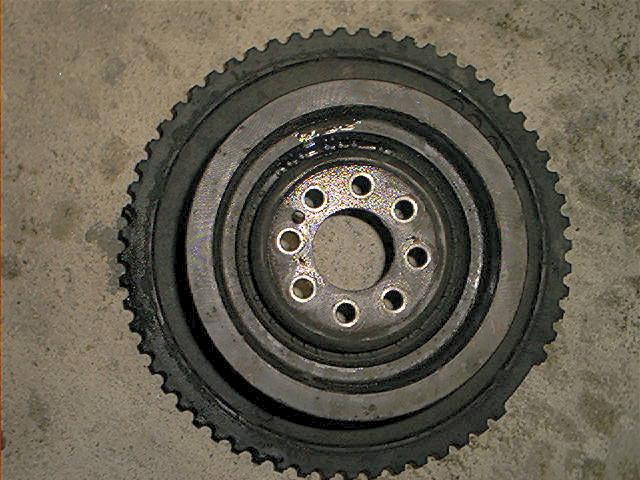
Photo of the shaft/crank. Also visible is the front crank seal and one of two crank positioning sensors:
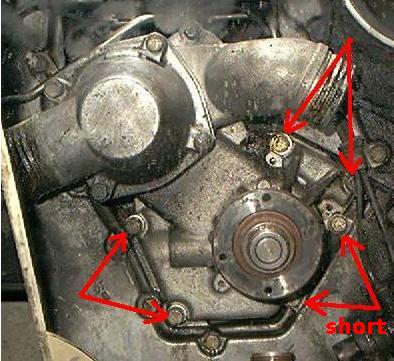
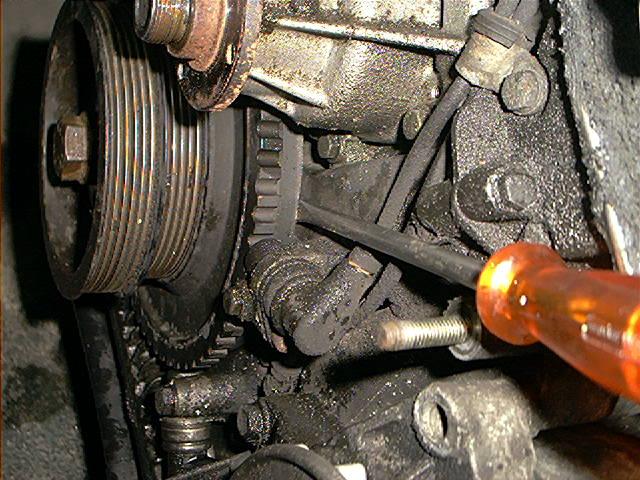
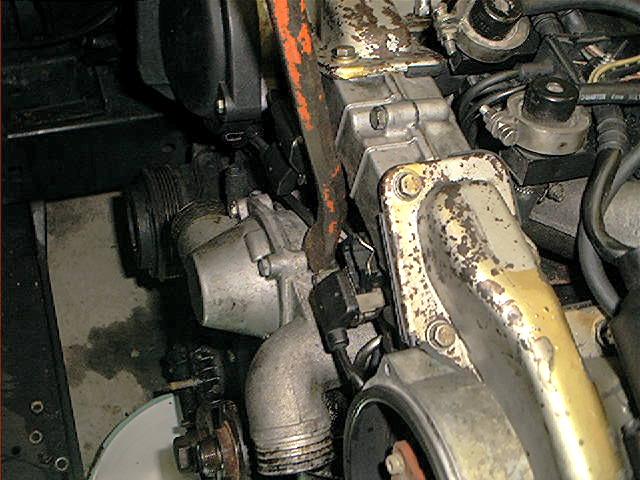
The pump is bolted to the block with 6x 10mmbolts, 4 of them very long and 2 short. The 2 short ones are located right next to the shaft:
I had to remove a wiring bracket of the crankshaft positioning sensor, for easier access to a bolt hidden behind it:
Now, Sean is not a small person. And not a scared one either.
If anyone will to try to harm me or my close relatives, I suggest he put on his boxing gloves.
But loosening those long 10mm pump bolts scared the bejezus out of me, because they easily snap off. Several people reported this, so do no try this at home.
This made me a nervous wreck when loosening them. Of course you think now: c’mon Sean, that gotta be BS. Just turn those buggers loose with a few grunts.
We’ll, I’d managed to snap a bolt at another 750iL (Aaarrrggghhhhh!!) no matter how careful I was so I know what I am talking about.
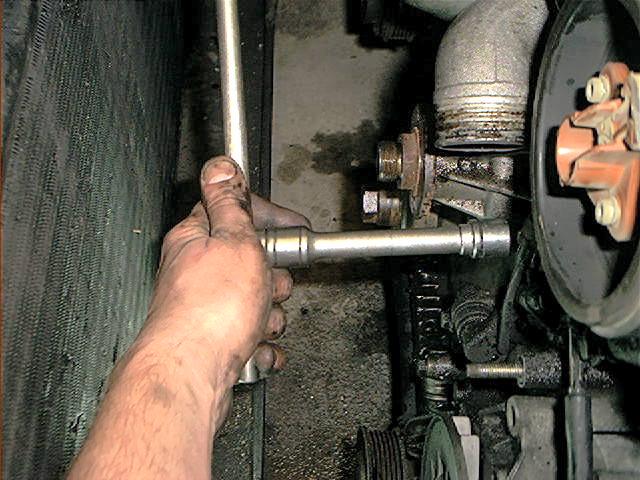
I usually use the following procedure for this: first I give the bolts a few whacks.
Then I loosen the bolts 1 turn each all the way around to relieve torsional stress from the bolts. If I have a hard time loosen the bolt 1 turn, I turn the bolt slightly back and forth:
This shows the removed bolts and how incredible long those tiny M10 bolts are:

Ok, so one or two snapped. How on earth are we gonna solve this? Well, keep in mind the actual sealing is done by the rubber O-ring and not a gasket.
As long as the O-ring stays seated, the pump will seal. And re-drilling is very hard, because the drill will dig into the soft alloy instead of the tough iron of the snapped bolt.
So don’t drill, don’t tap. Just mount the pump with the other bolts. At least two 750’s I know of are driving quite happily around with this solution without any problems.
Let me rephrase that. They do have their share of problems, but not related to their water pump mounting.
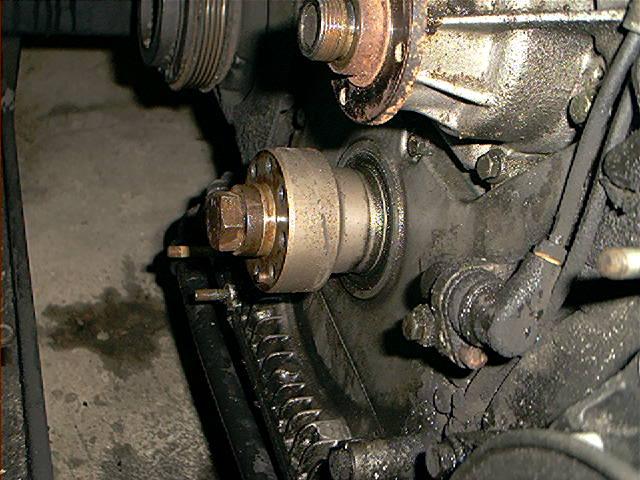
Back to the removal. With a normal pump, you should expect to simply yank it away from the engine block. But not with this design.
The pump is still firmly attached. In order to assist with removal, the pump body has small threaded holes into which one must insert bolts.
The bolts can be turned until they contact the crankcase. At that point by continuing to turn the bolts one can force the water pump off its mount.
You’ll need 3 x M5 bolts with a minimum length of 40mm (2 inch):
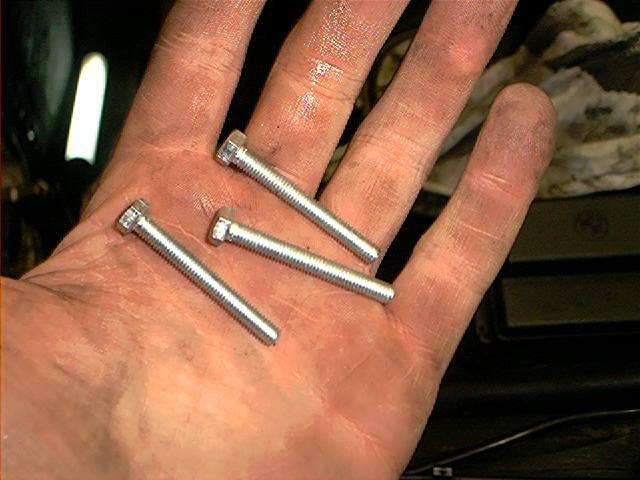
You’ll need to find the three threaded holes that will accept M5 bolts:
I cleaned the threaded holes with some compressed air and applied some WD-40 to the threads.
Those M5 bolts are very tiny bolts and can easily snap off so you have to be careful:
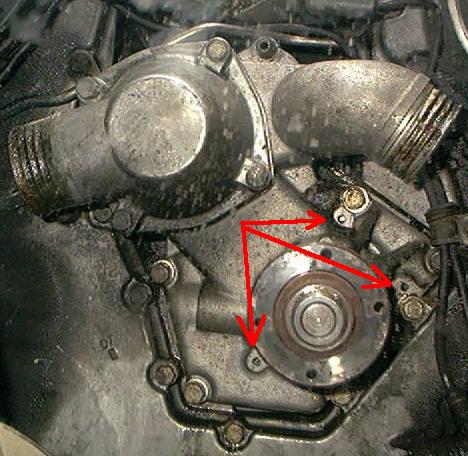
By tightening the bolts equally, they will together push the water pump against the engine block to move the water pump forward and eventually out of the tight quarter:
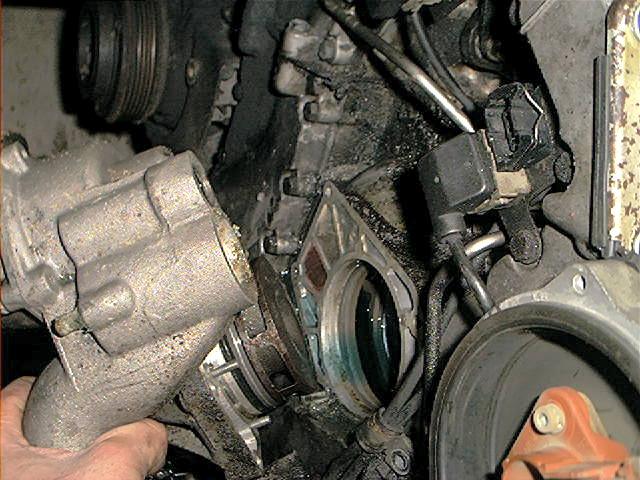
Sometimes the pump is really stuck to the 2 water pipes that go into the rear of the pump, a pry bar will help (gently!):
I certainly hope the coolant pipe from the water pump to the rear coolant cross pipe does not unseat while pulling the pump.
There is no good way to avoid this. 2 coolant pipes that are fitted into the back of the water pump and one ‘may’ pull out of the back of the engine when the water pump is pulled from the engine.
Johan about the notorious coolant pipe between the pump and cross pipe: ‘you have the pipe connected on both ends. the water pipe that fits in the back of the water pump with the o-ring. It also fits on the back of the engine via o-ring.
I somehow unseated mine and it took a while to figure out where my leak from behind the engine was coming from.’
Someone else in deep sh*t: ‘Well, all put back together today (6 hrs later)and more $%&#$@ problems………my worst fears are realized, as I filled up the rad the coolant started pissing out the back of the motor. I’m guessing the coolant pipe from the water pump to the rear aux manifold is unseated or the o ring is shot. I really DON’T want to have to remove the intake manifolds just for a rubber o ring…………wish me luck….’
Moto_x_man: ‘I replaced the water pump and now it looks like I have a leak from the large coolant pipe that sits in the cylinder valley which leads from the water pump to the rear of the engine. It seems that the pipe was pushed back into the housing when I installed the water pump. I removed it a second time and pulled the pipe forward out of the rear housing, but, again the pipe pushed back into the rear housing and is leaking where the pipe enters the water pump. It looks like the pipe pushes back about 1/8″-3/16″.’
As far as I know, when the rear O-ring is unseated, you have to pull the intake manifolds…
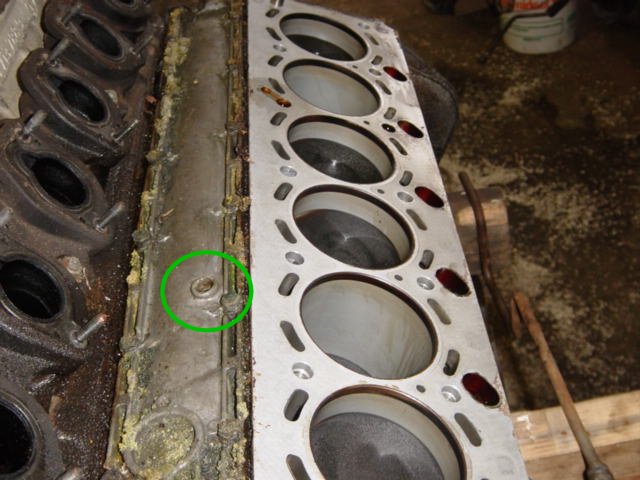
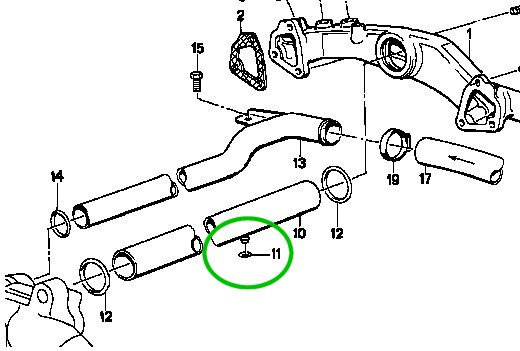
But recently, Xavier Z. told me this: ‘Reading your page about water pump replacement on M70 engine makes me remember something about avoiding the rear of main pipe to unseat. When I changed cylinder heads gaskets, a few years ago, I noticed a small air bleed pipe at the bottom of main cross pipe (see 2 pictures below). For pump removing, if this little pipe stays engaged, the rear of main pipe can’t unseat and when refitting, you just have to take care not to pull the pipe upward, then you can be sure the main pipe stay in place when you push the pump backward.’
So far the dreadful unseating of the center pipe. Because I didn’t drain the engine, a lot of coolant will drain when pulling the pump so use a cowl to catch the coolant:
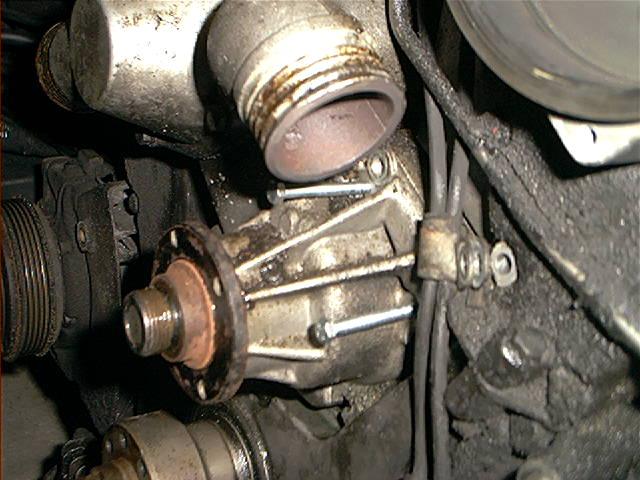
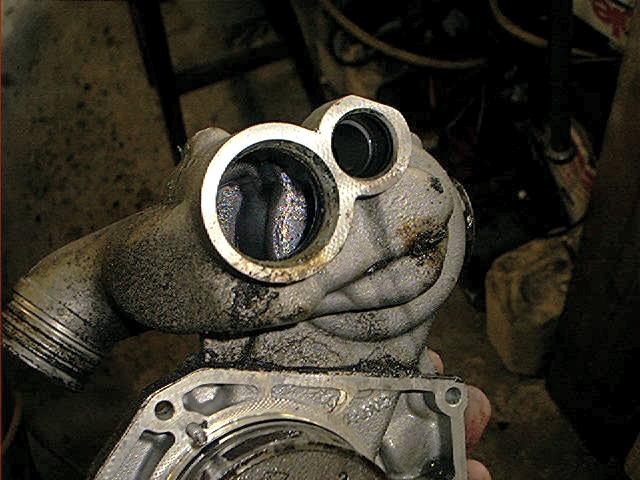
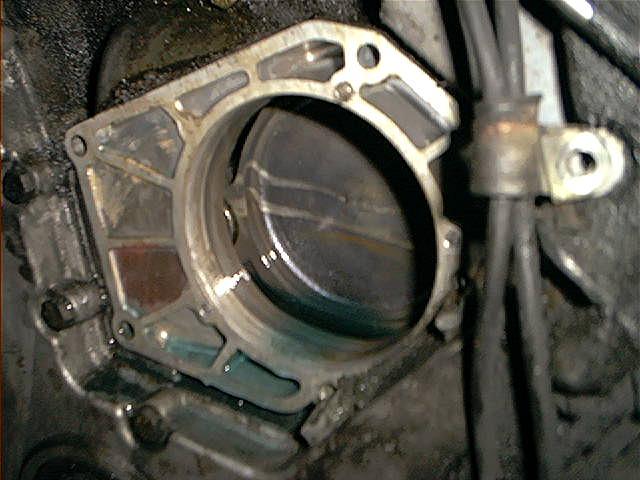
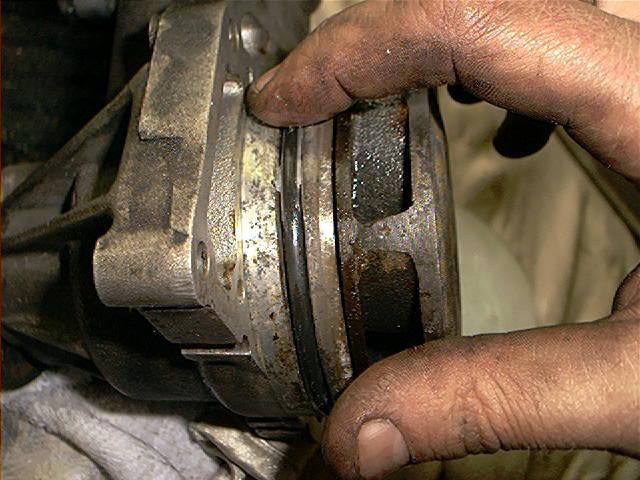
Pump removed. Notice the big O-ring that the pump uses to seal and notice also the m5 bolts (still attached):

Showing the back of the pump, where the 2 coolant pipes connects the pump. The inner O-rings are barely visible:
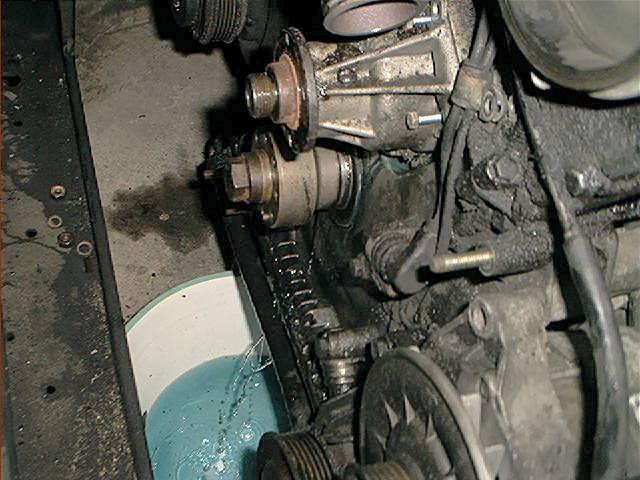
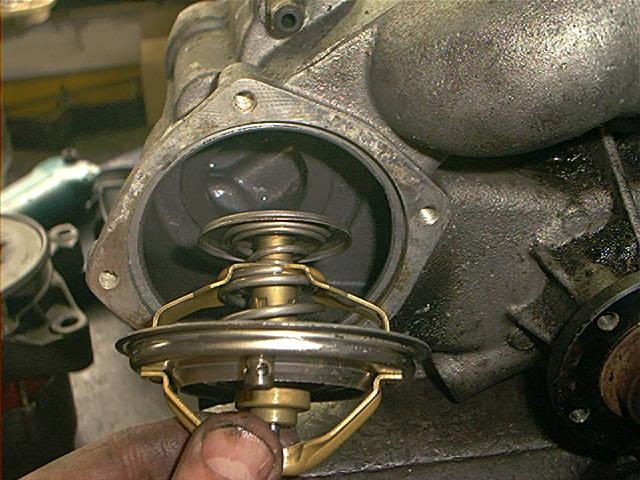
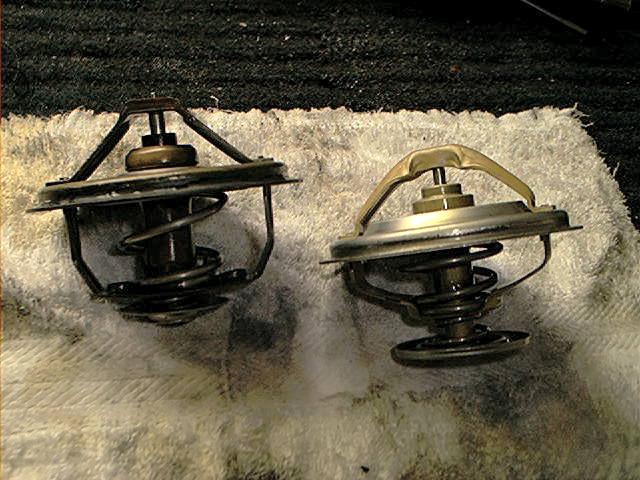
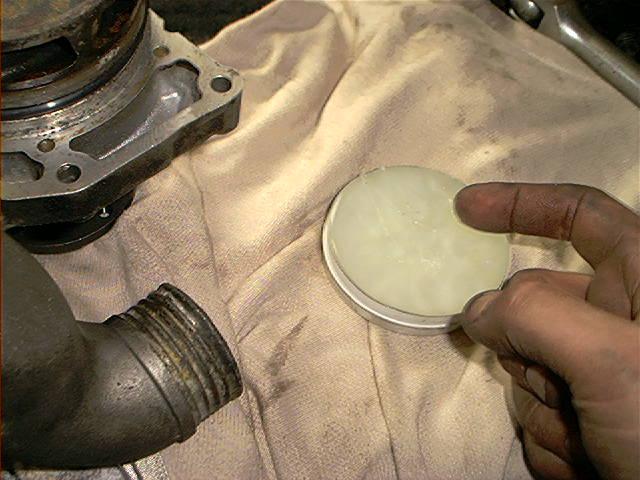
2 pumps on my workbench, one removed and one ready to install. Yes, I installed a used pump:
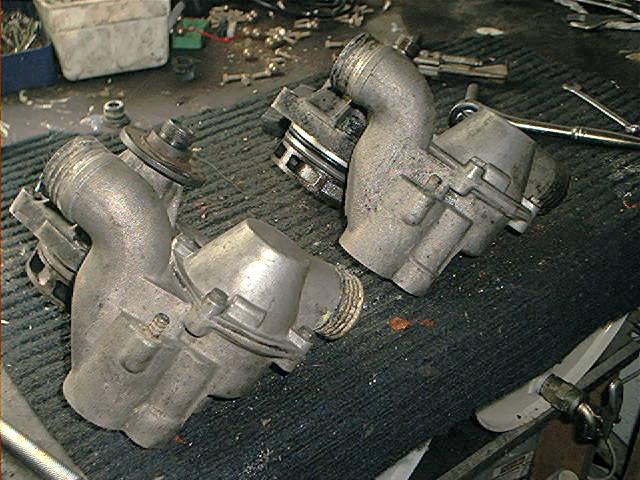
I transferred also my thermostat because I knew mine was working properly:

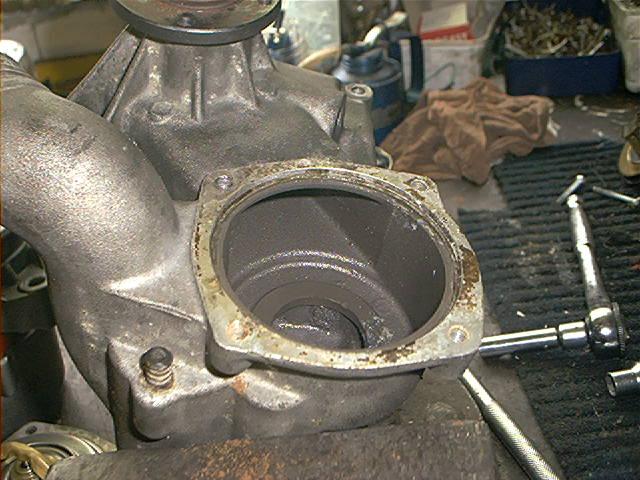
Clean the surface:
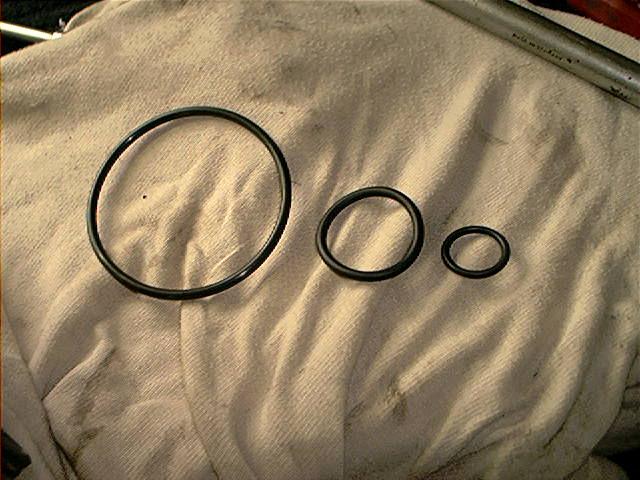
The new O-rings, don’t reuse the old ones:
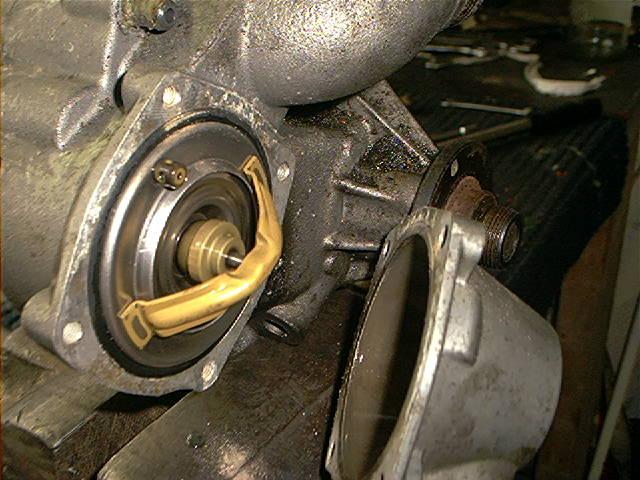
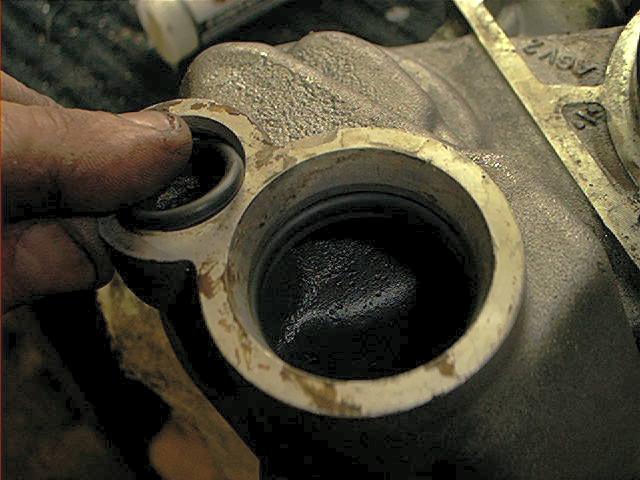
Installation of the seals:
The new O-rings can easily be damaged while pressing the pump into the block.
Jim Derrig about this: ‘If there’s no grease, and even when there IS grease, it is possible to damage the o-rings with the sharp edges of the water pipes. Liberally greasing and careful fitting of the pipe minimizes this possibility.’
Use Vaseline to coat the O-rings:
Liberally coat the O-rings:

This picture shows both coolant pipes. The large one has the risk of unseating it at the back of the engine.
Also, both pipes needs to be as clean as possible, 600/800 grid sandpaper does the trick. After that, I also lubricated the surface of the pipes:
While installing the new pump, make sure both pipes are aligned so they press into the pump. Then, be patient when offering up the water pump to the pipes.
Keep backward pressure on the two pipes, you don’t want to pull the large pipe out of its rear connections.
Since there are two pipes, you really can’t twist the water pump to try to get them to seat, you can only move it sort of side to side.
Just try to feel when they’re seated. Proper alignment is also key, I used a large screwdriver to align the small pipe:
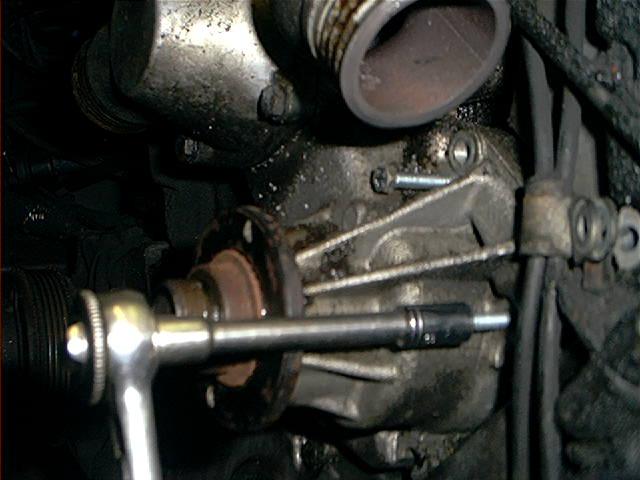
Some tapping with a soft hammer will help. Use the 6 bolts to pull the pump to the block until it’s seated:
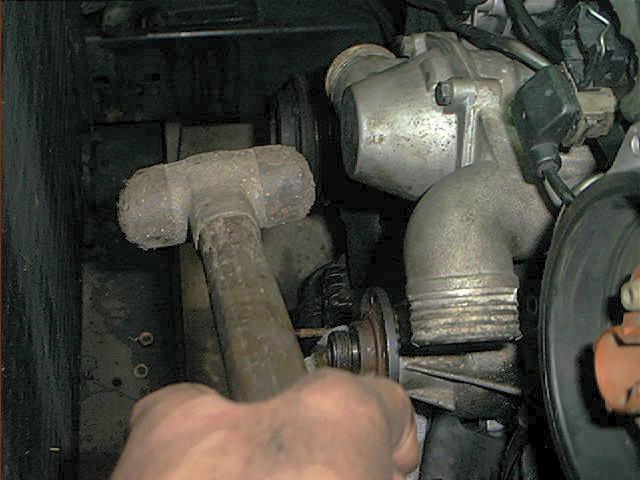
Illustration of work in progress 🙂
If you don’t reuse the coolant like I did, you’ll be needing app. 8.5 liters of coolant. So don’t go out buying a single 5 liter barrel . . .
Check coolant level after a few days of driving. Air bubbles leaving the system will drop the level.
Total amount of time:
About 6 hrs.
Skills needed/difficulty level:
Only for the experienced DIY’er..
Comments after a few weeks of driving:
No leakage. Yeah!