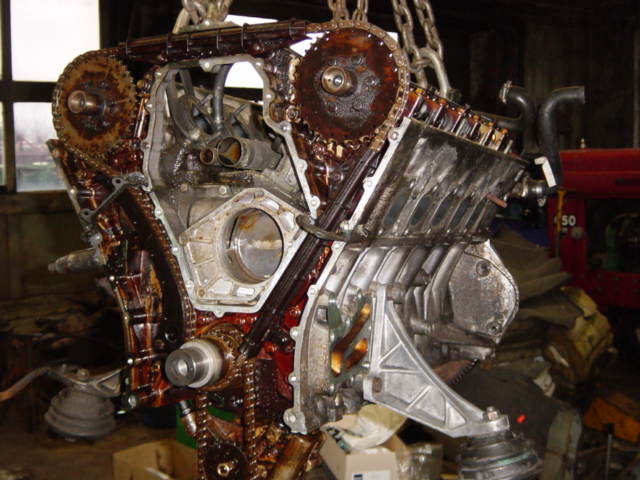
A truly magnificent photo. Upper
and lower timing case covers removed (if you look closely you can
see the gaskets between the removed upper and lowers case covers
hanging loose), upper oil pan removed. You can see cleary the
primary timing chain and the secundary oil pump chain:
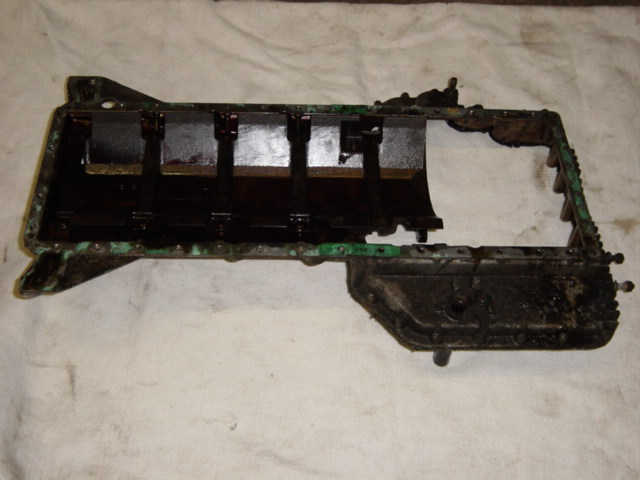
Upper oil pan, quite dirty:
A beautiful close-up of the oil
pump, timing chain removed. This chain can be simply adjusted
(more on this later):
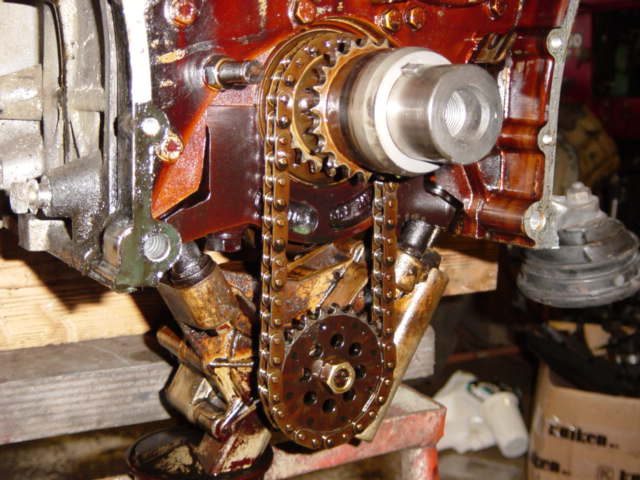
Cor about the oil pump: 'I took the pump apart and it was full of debris. That was not good. Not good at all.'
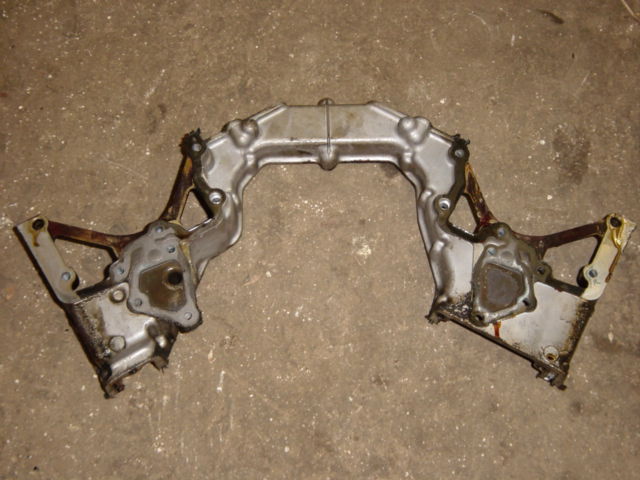
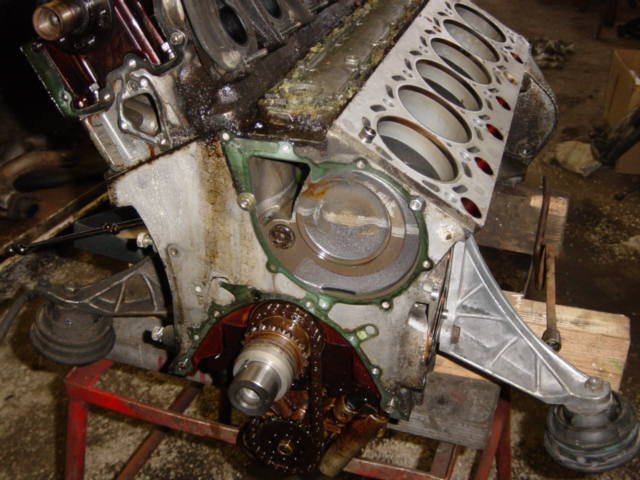
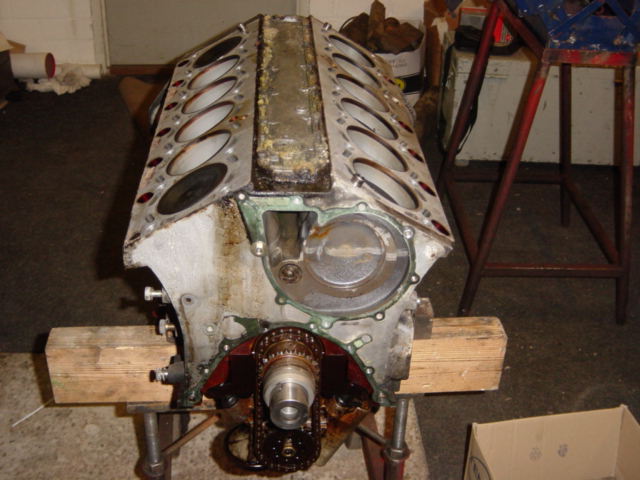
Beneath is a very rare picture
that you won't see often. This is the front of the engine, with
timing chain and sprockets removed. Also the back cover of the
upper timing case cover is removed. This is very rare, usually
people don't remove this. So the upper timing case cover exist
out of 2 parts, the front cover and the back cover connected by a
myriad of 10mm bolts. I was surprised to look at the coolant
connections at the front of the engine. It seems that the coolant
cross-over pipe could also be at the front of the engine (same
connections, same bolt pattern). This is because the cylinder
heads have the same castings. So left and right are identical.
Furthermore look at that unusual high cam towers:

The backside of the removed back
timing case cover, you can see clearly the covering of the
coolant channels:
Left cylinder head removed to
remove the broken piece of the head bolt:
The left cylinder head with old
gasket:
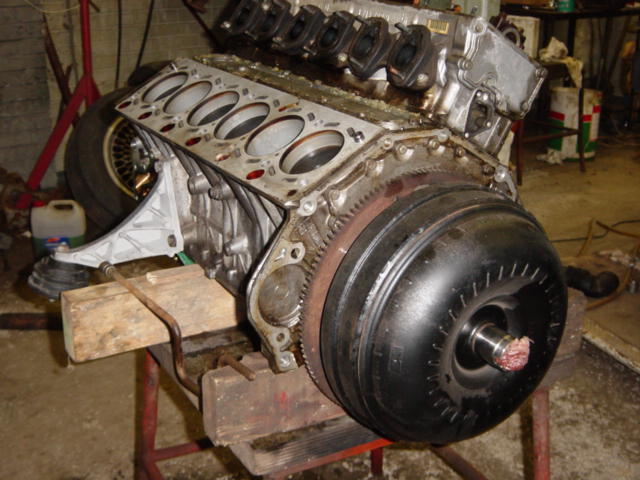
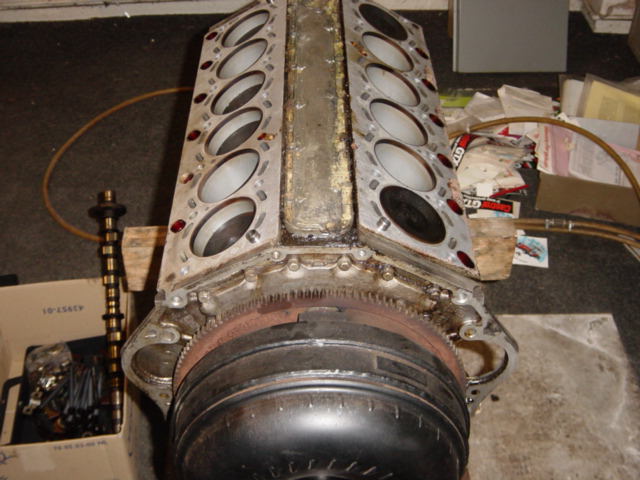
An overview:
This is a remarkable photo. The
back part of the lower timing case cover can be removed:
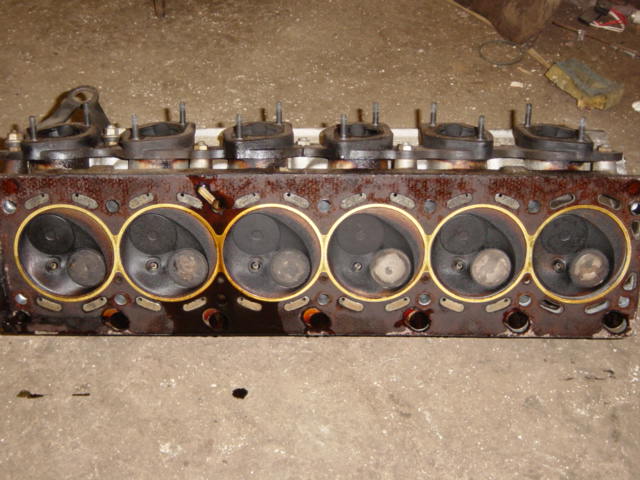
Examination of the cylinder
walls. Normally you have no signs of wear, tear and grooves.
These silicon hardened cylinder walls have an extremely tough
surface. At the bottom the remains of the broken head bolt:
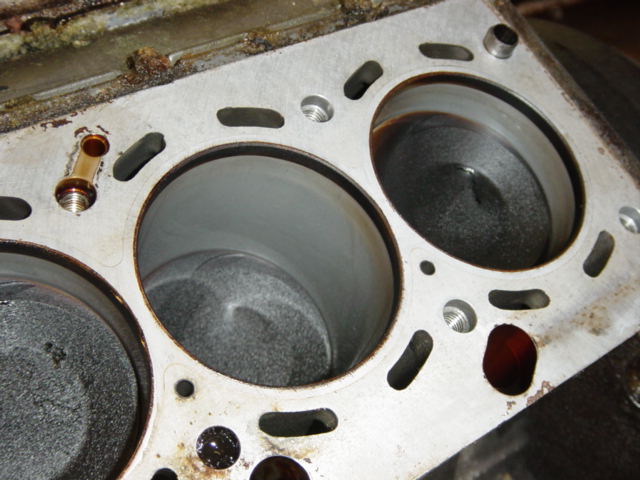
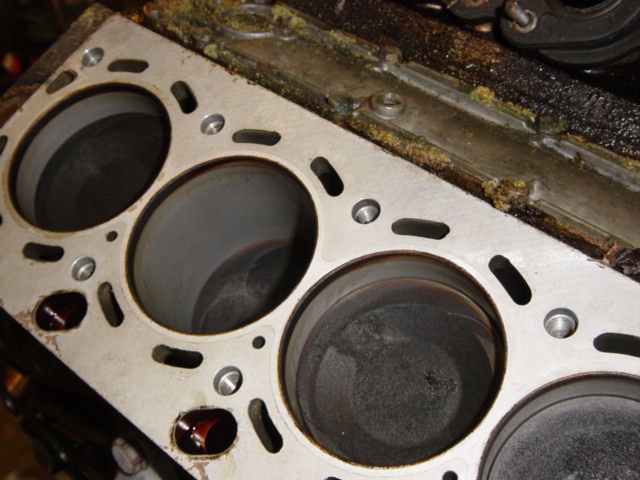
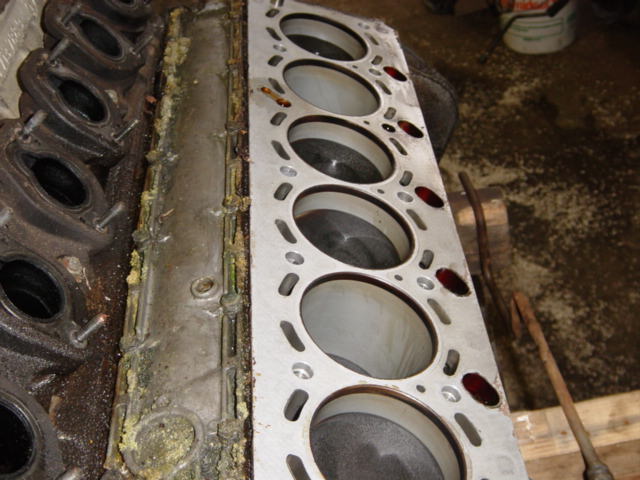
Cor about the 3 pictures above:'the cylinder walls didn't have edges, scratches, sign of wear and tear and looked like brandnew. I didn't do a thing about them'.
Close-up of the remains of the
broken head bolt:
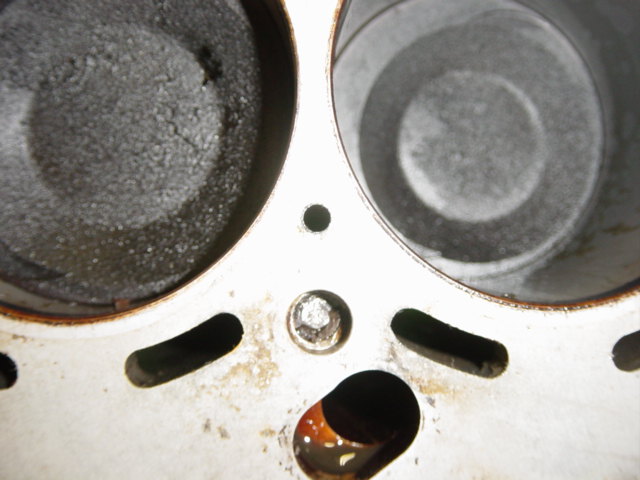
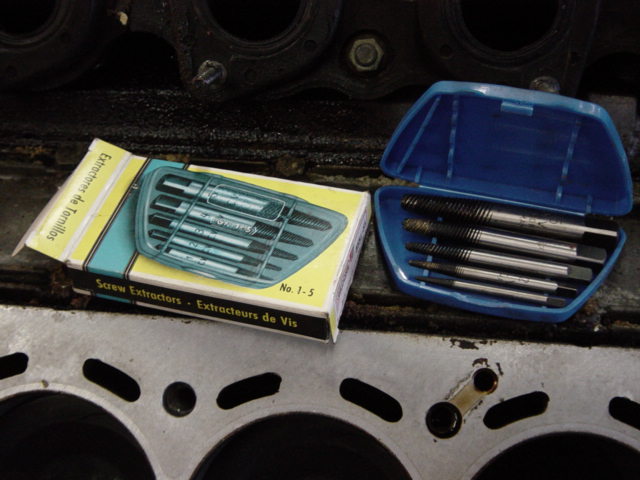
You need a special tool for
this, Cor used left-handed screw extractors:
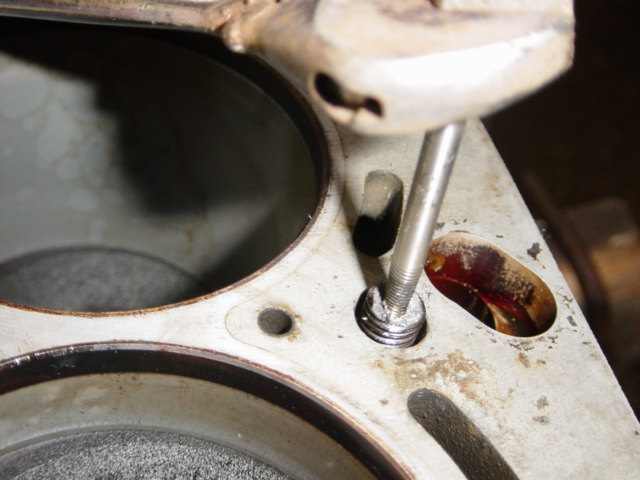
Covering the coolant and oil
passages (I personally would cover also the cylinders) to prevent
debris falling in while drilling. A hole is drilled in the center
of the stud:

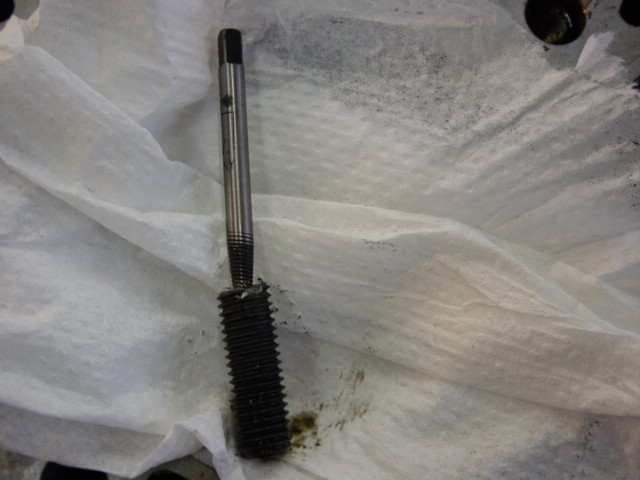
Removing the piece:
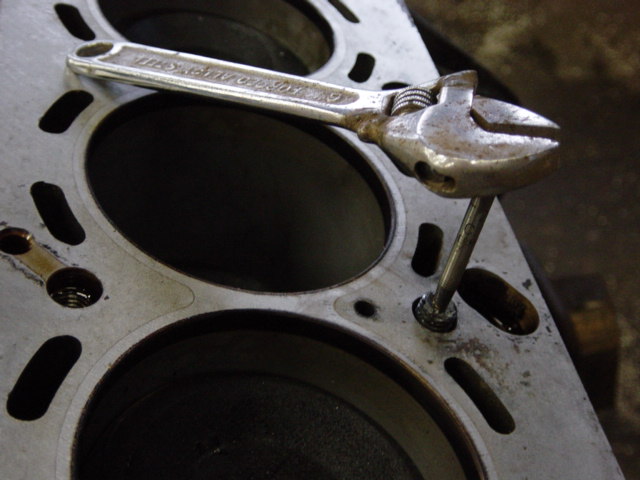
Operation succeeded:
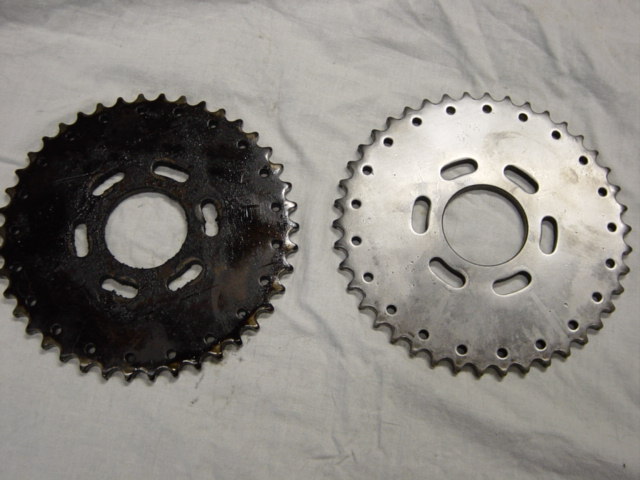
1 cleaned sprocket versus the
other. Cor didn't replace them, the local BMW dealer told him the
chain and sprockets looked fine:
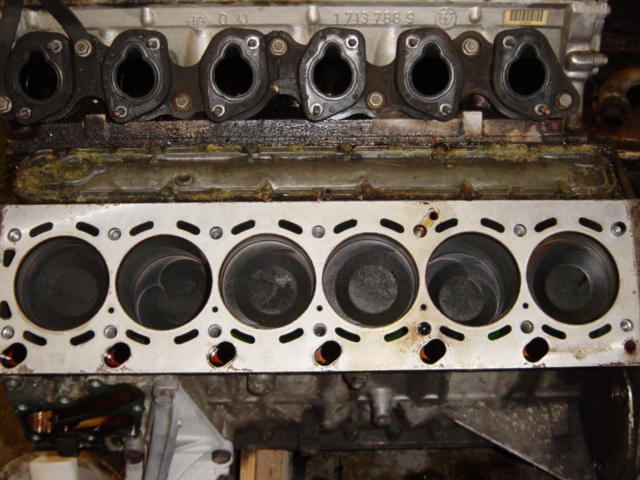
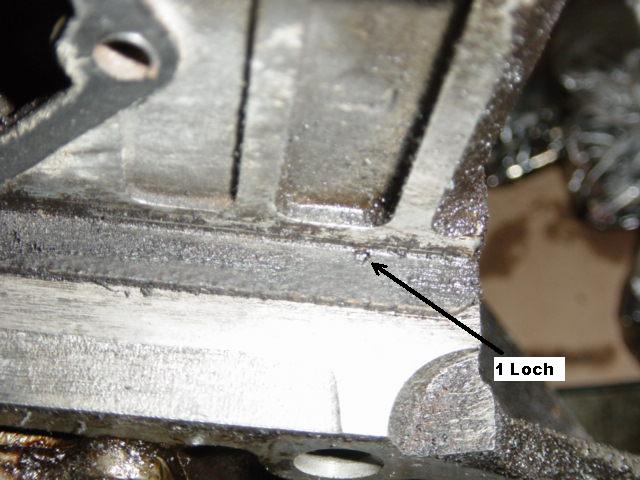
The other cylinder will be
removed. First he identified the thickness of the original head
gasket. There are 2 types of thickness, identified by a small
hole in the head gasket. The 2 hole version is thicker. This is
visible without removing the head (1 loch means 1 hole). Cor
about this 'this
is important. The thickness of the headgasket has influence on
the size of the timing case cover gaskets.':
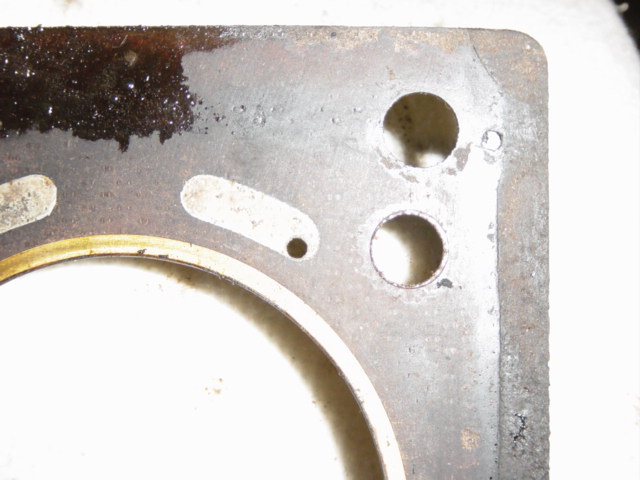
Removed head gasket with the
small hole. This is important when replacing the head gasket and
order a new one:
Disassembling more parts:
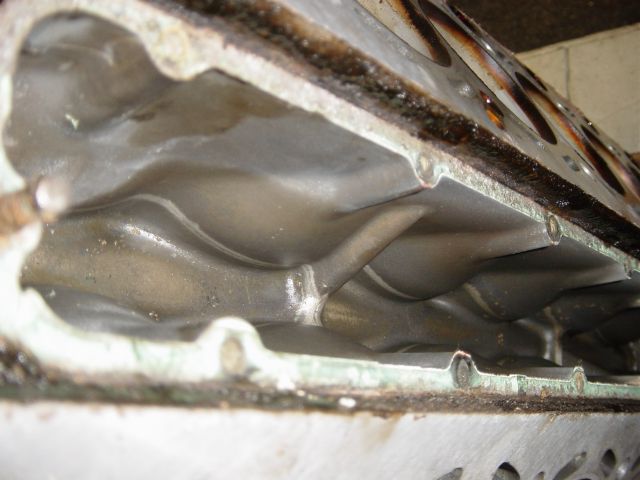
Both heads and central gallery
cover are removed. The coolant is pumped from the waterpump
directly through this central 'channel' to the back of the
engine:

So lots of coolant will be
flowing through this:
If you would like to add any comments, remarks and/or corrections to this procedure, feel free to email Mike Oswald and we'll put it on our site. Share your experiences with us so others may benefit from it.