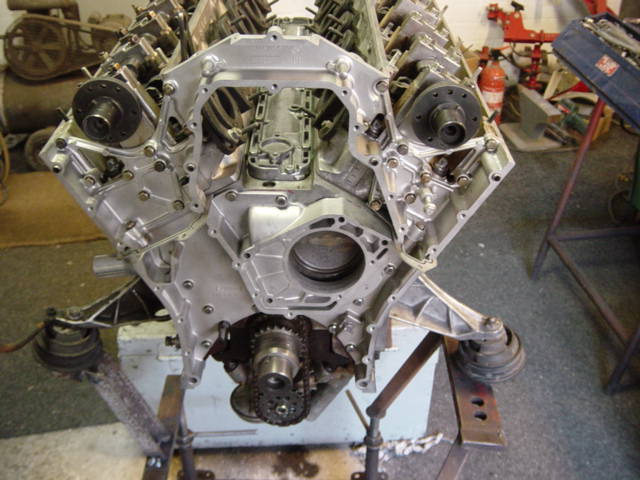
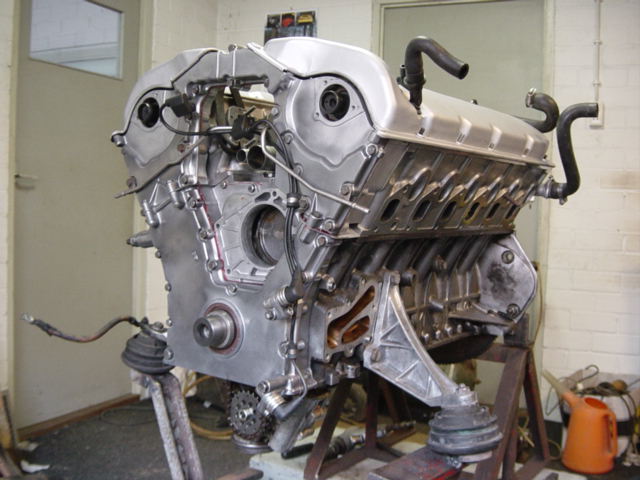
After this, the timing case
covers could be installed. The lower back timing case cover is
already installed, ready to install the waterpump, and the upper
back timing case cover is installed. Notice the gaskets to seal
the front upper and lower case covers:
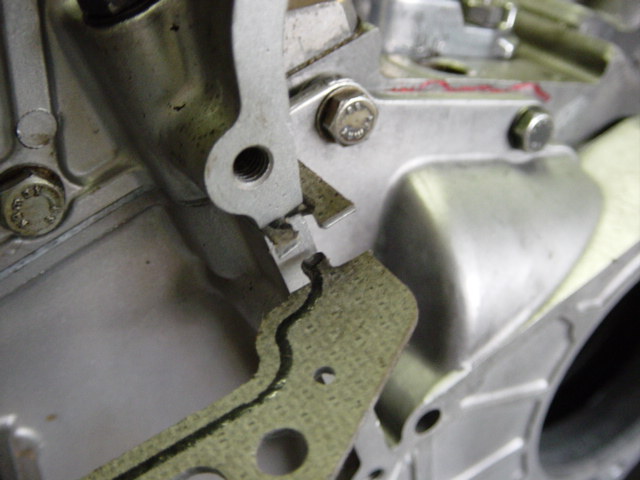
The gaskets are actually fitting
like a jigsaw piece into each other. Now why is this? Because now
you can R&R the timing chain without pulling the chain apart
(or the gasket):
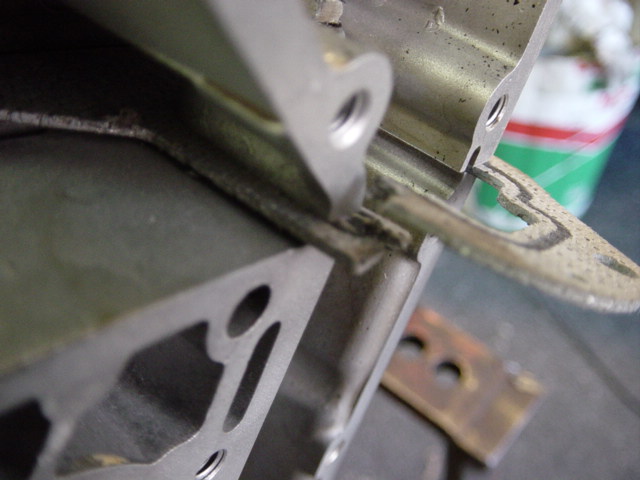
These are the gaskets between
the front upper and lower timing case covers and back upper and
lower covers:
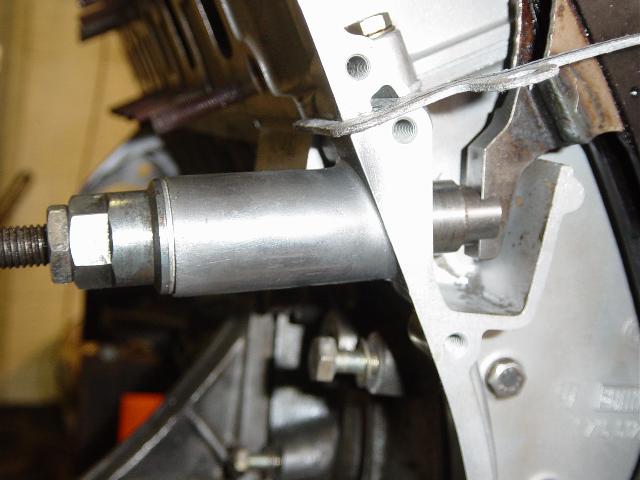
Installing the timing chain
tensioner:

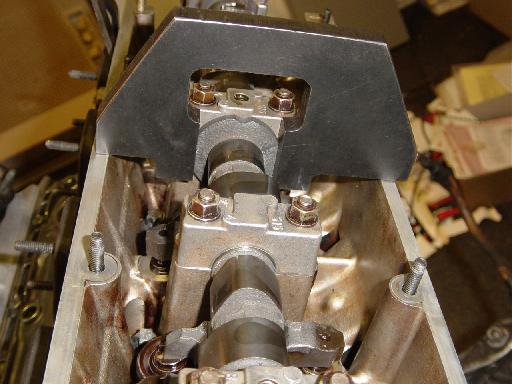
To adjust the timing, you must
first lock the crankshaft at TDC. After that you lock the
camshafts using a special tool (oil spraying bar removed for
better understanding):
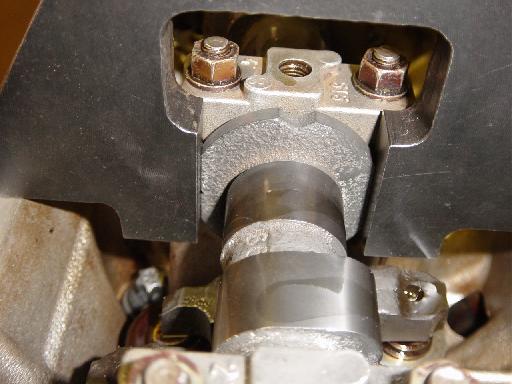
Tighten the cam sprockers just
finger tight (notice the slotted holes):
Measuring and adjusting the
timing chain slack by turning the timing chain tensioner:
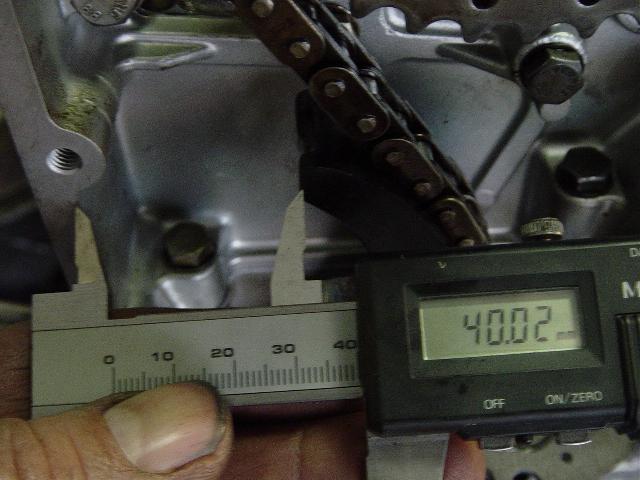
After this, tighten the cam sprocket bolts. First the left, than the right. Cor: 'it looks like an easy job but it surely wasn't. After turning the engine by hand for several times, the timing adjustment was again incorrect so I had do this over and over again until the timing was right.'
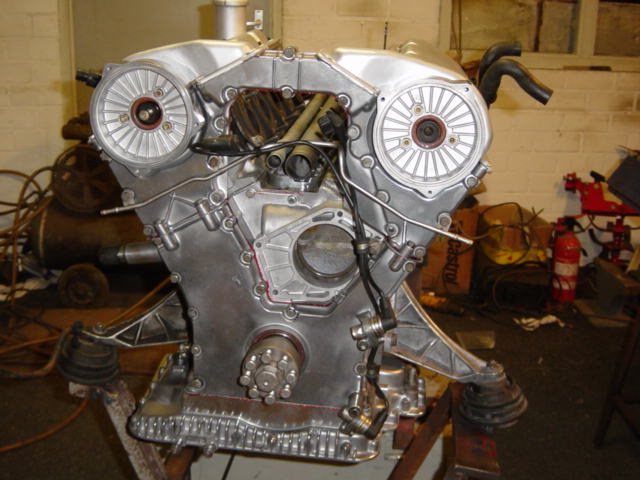
This is a truly magnificent
picture. All timing case covers installed, valve covers
installed, nice and shiny alloy:
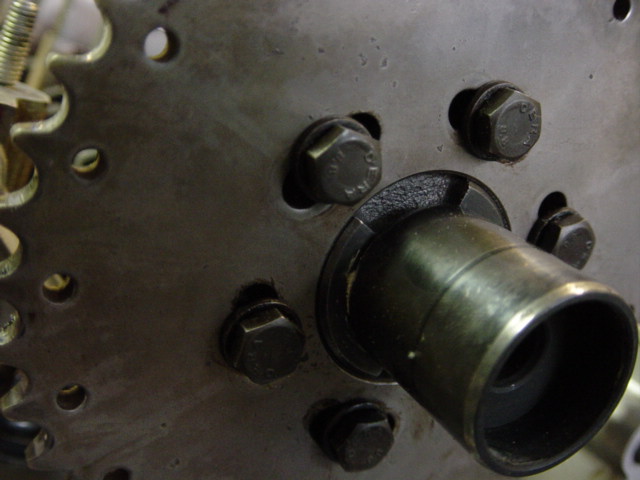
Upper oil pan installed and
crankshaft hub installed, notice the crankshaft sensors:
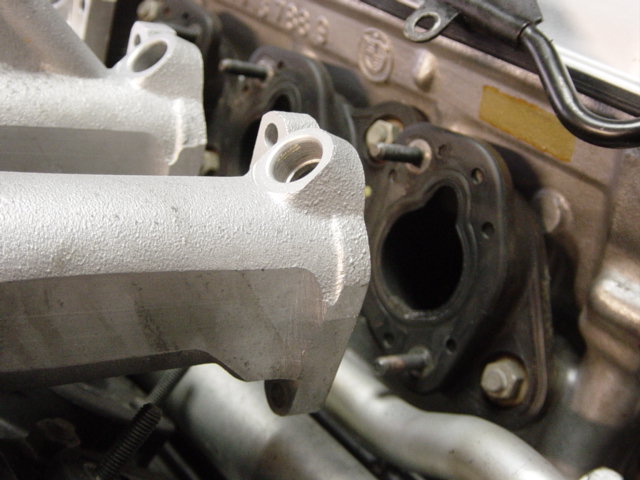
Remember Cor used the old intake
gaskets? He did used some sealant between the gaskets and intake
manifolds (and used some on new gaskets):


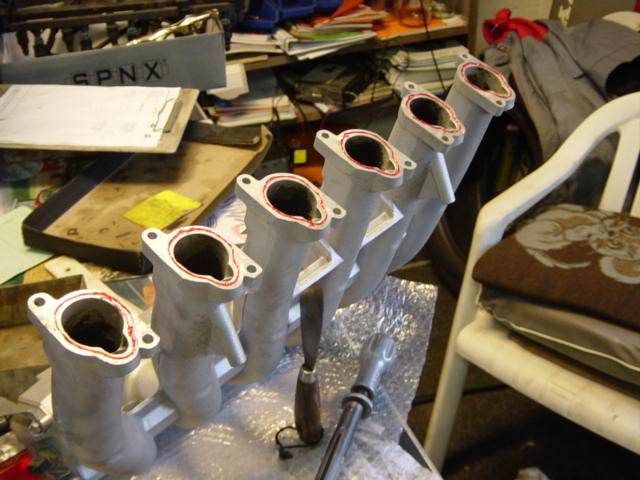
Installing the manifolds, looks
like a piece of art eh?:

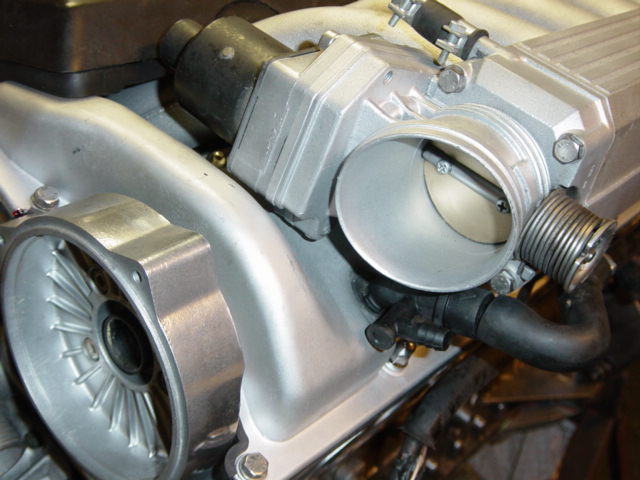
Installing the throttle bodies:
If you would like to add any comments, remarks and/or corrections to this procedure, feel free to email Mike Oswald and we'll put it on our site. Share your experiences with us so others may benefit from it.