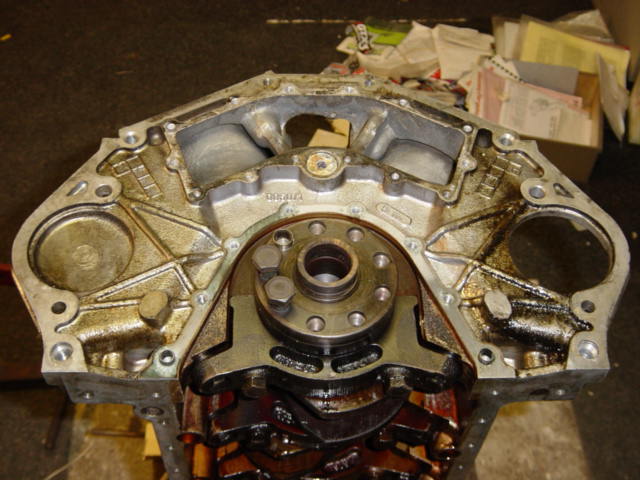
At the rear of the engine,
removal of the rear main seal and rear coolant channel cover. Now
you can see that the crankcase is symmetrical and the starter
could also be mounted at the other side of the engine. This is
actually the case where people use to drive at the wrong side of
the road. Look at the block casting, you can actually see the
outer cylinder walls castings and the hole of the central coolant
channel:
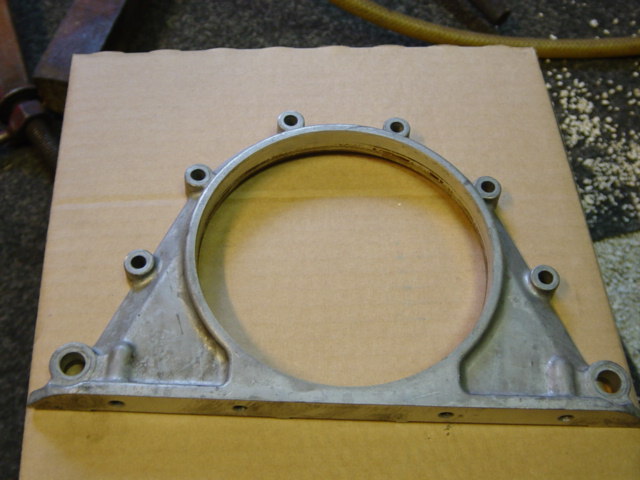
Removed case of the rear main
seal:
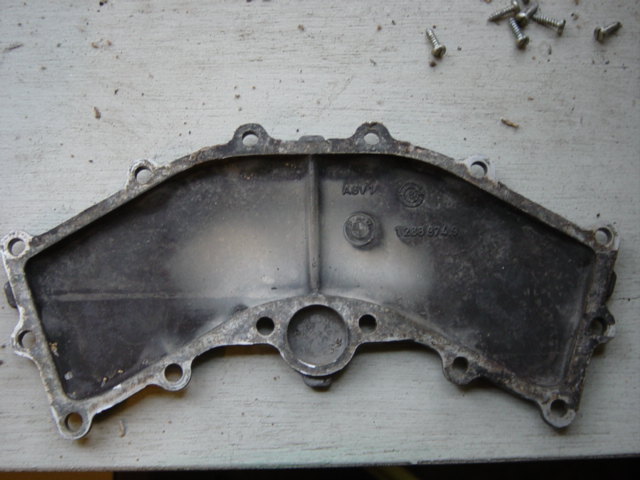
Removed cover of rear coolant
channel:
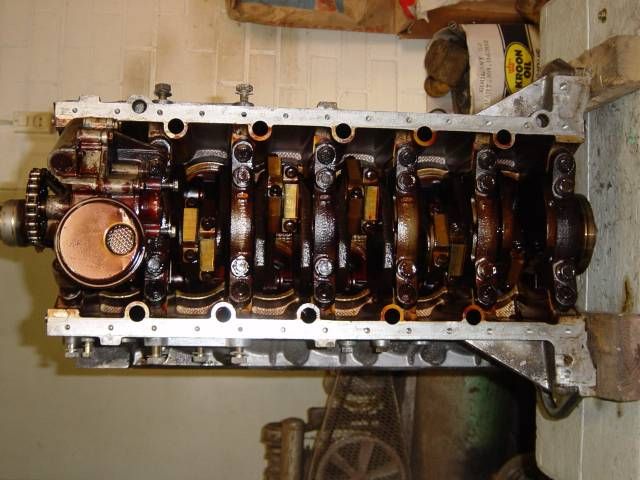
The engine from underneath. This
is a highly interesting picture. You see that 2 pistons are
sharing the same crank journal and that its actually a four bolt
main block (you look at the main bearing caps). Obvious the
reason why the bottom-end is so very strong. It almost never
needs a rebuild:
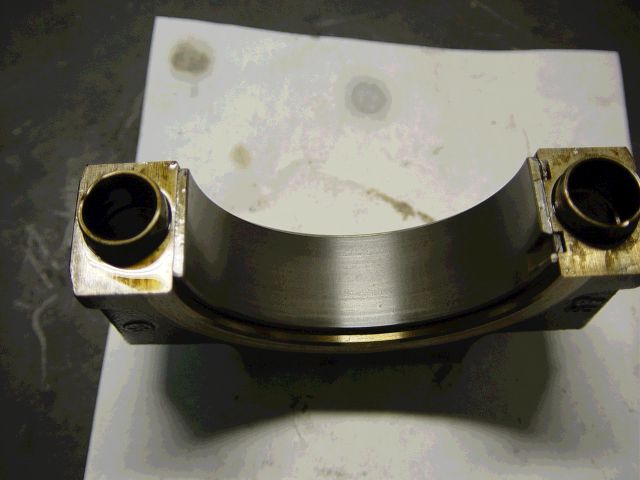
Cor removed just one lower rod
bearing cap, to examine the bearing surface and the crank journal
surface. They looked immaculate:
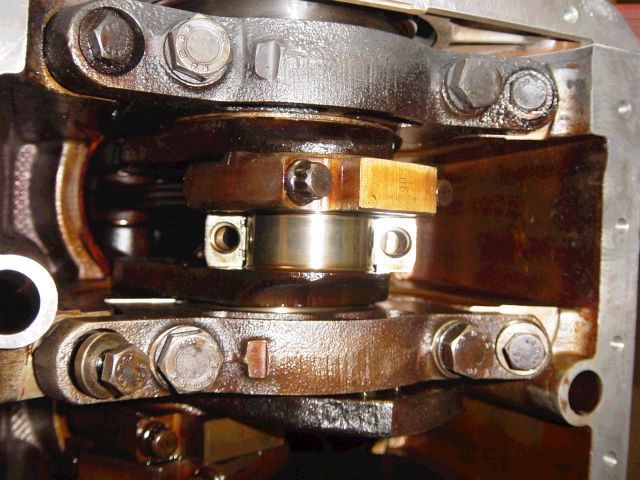
A close up of the bearing
surface. Folks, this is a bearing surface after 270.000 km (170k
miles) in a heavily neglected engine. One more proof the bottom
end of the v12 is an extremely tough design. Don't you just love
those BMW engineers?:
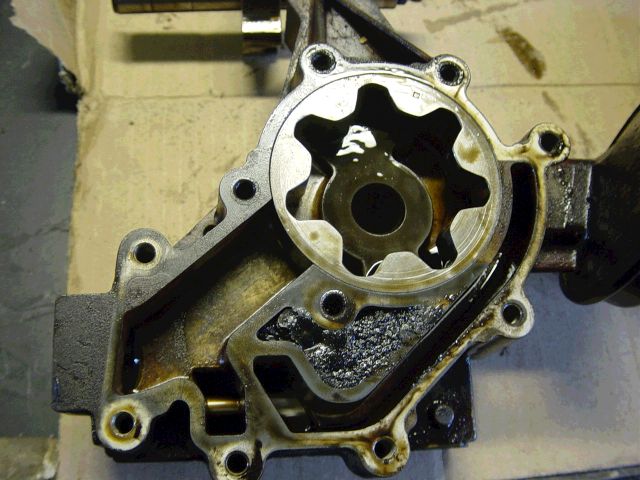
Disassembly of the oil pump. If
you look closely, you can see the pump is actually 2 pumps
integrated (Eaton tandem type). One scavenger pump for oil
pick-up, and one for the actual oil pressure supply:
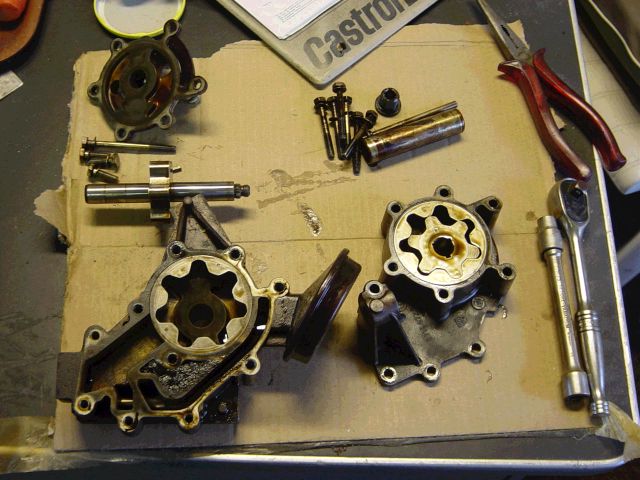
A close-up of the oil pump.
You'll see some crud build-up:
Back to the heads. Removal of
the valves. He used a special tool for this:
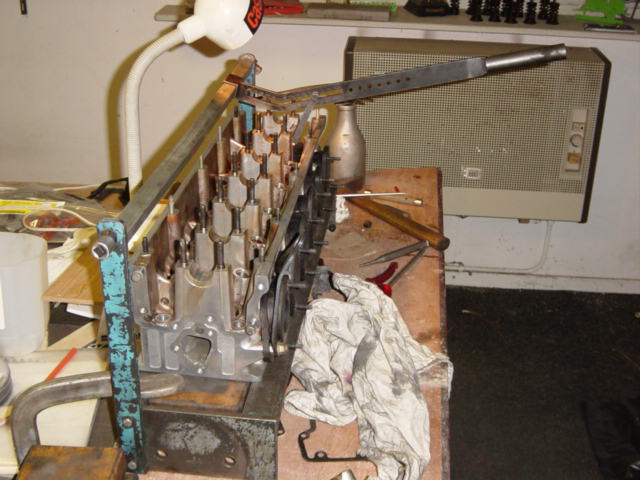
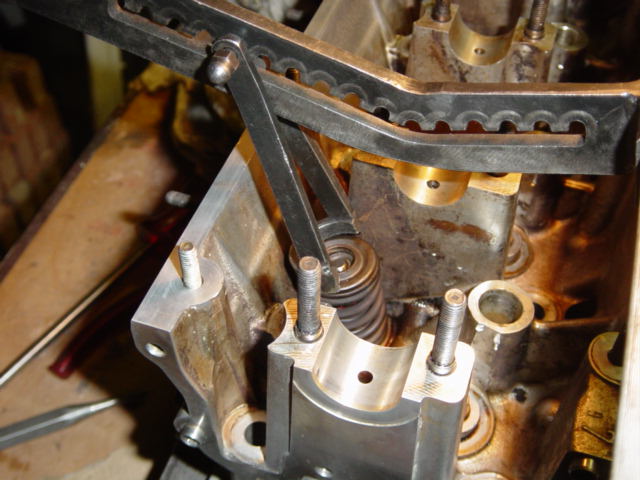
He removed the camshafts for a
rebuild (he didn't replace them, more on this later). You can see
that the camshafts don't have separate bearings, but running
directly in the heads:
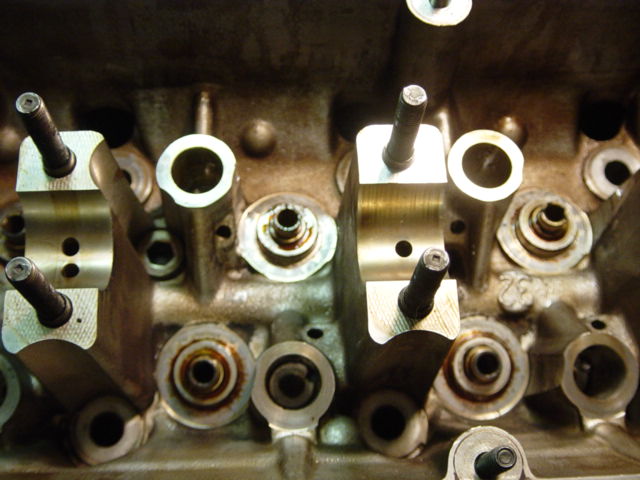
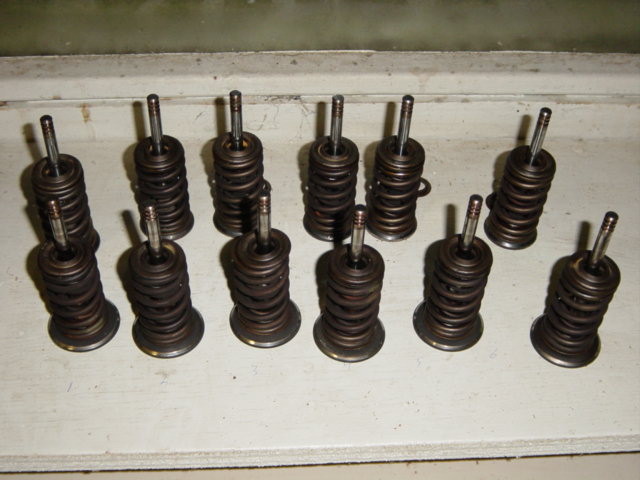
Valves removed (from 1 head).
Cor marked each valve so he was sure the valves where reinstalled
in the same position:
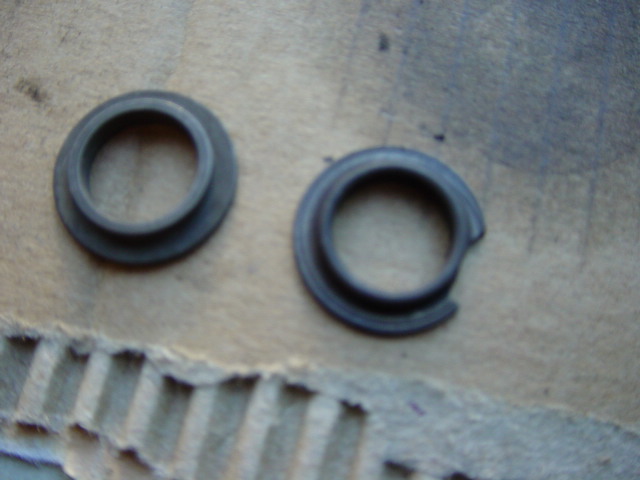
One lower outer spring retainer
got damaged while disassembling. It must be replaced or else the
forged steel could severly damage the soft alloy of the cylinder
head:
Close-up of an inlet valve. It
looked like new after 270.000 km, so he didn't replace them:

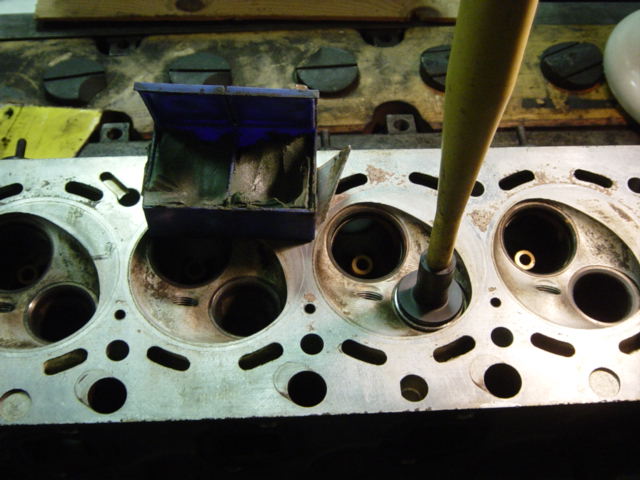
Cor just slightly regrinded the
valve stem surfaces when reinstalling the valves because some
carbon build-up. The blue box contains the grinding paste:
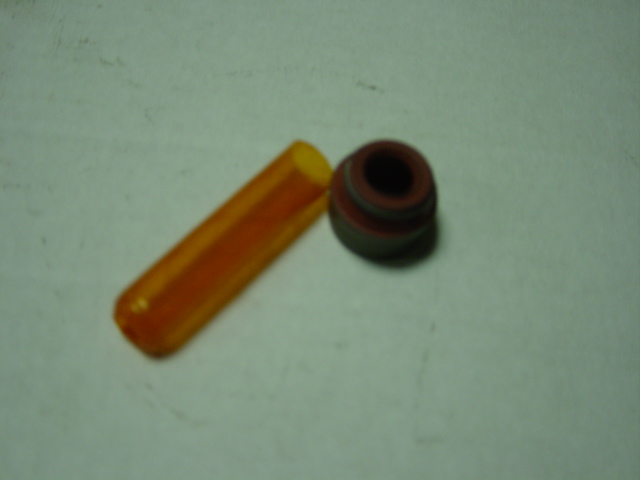
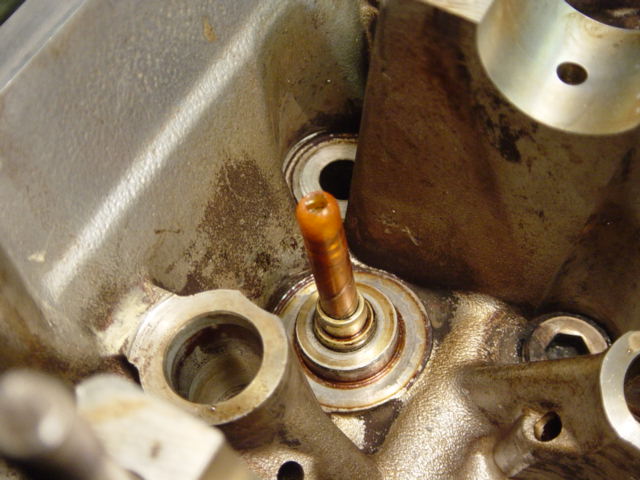
He did replace the valve stem
seals. This is one seal, the little orange 'tube' is to prevent
damaging the new valve stem seal when installing:
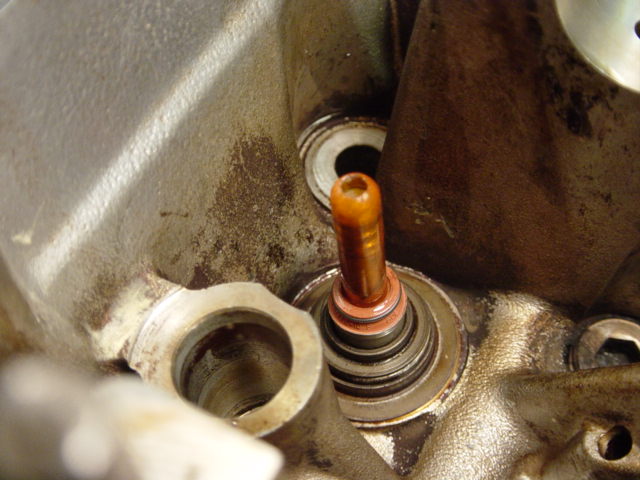
The valve is installed, so he
covered the valve guide with the orange 'thingy' and installed
the valve stem seal:

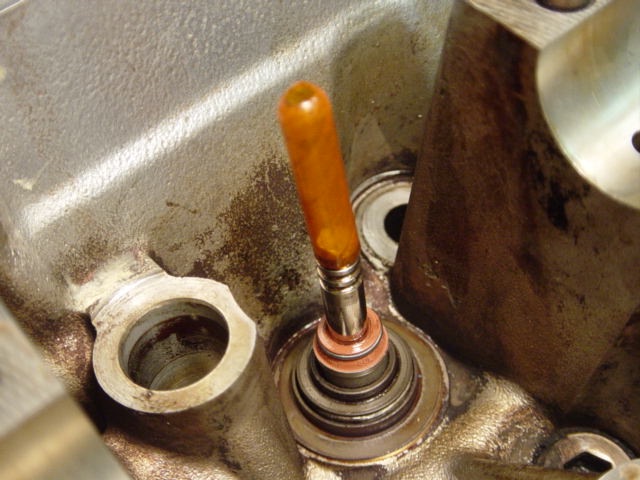
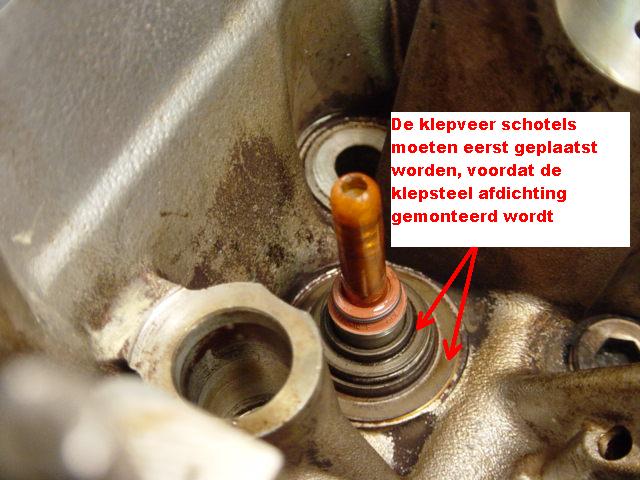
If you look closely, he made an
error in the first 2 pictures of the valve stem replacement.
Translation of text beneath: 'the inner and outer valve spring
retainer must be first installed prior to the valve stem seal
installation':
If you would like to add any comments, remarks and/or corrections to this procedure, feel free to email Mike Oswald and we'll put it on our site. Share your experiences with us so others may benefit from it.