After rebuilding the heads, Cor decided to clean the alloy and metal parts. For cleaning of the parts, Cor used the glass bead blasting procedure. An explanation from somebody else about this: 'The most common abrasive used is glass beads. They look like fine white sand. They are good for rust but do not take off paint easily and hard paint sometimes not at all. The beads do not erode the metal as sand does so does not get off the real deep rust. It does leave a lot smoother finish though and is good for brass, bronze and aluminum.'
Therefore glass bead blasting is
excellent for alloy parts. Cor: 'For the metal parts like the exhaust
manifolds, valve covers and the lower oil pan I used metal grit.
I tried it also on some alloy parts (not from the v12) but that
gave a devastating result. Therefore I used glass beads.' The metal parts finally got a paint
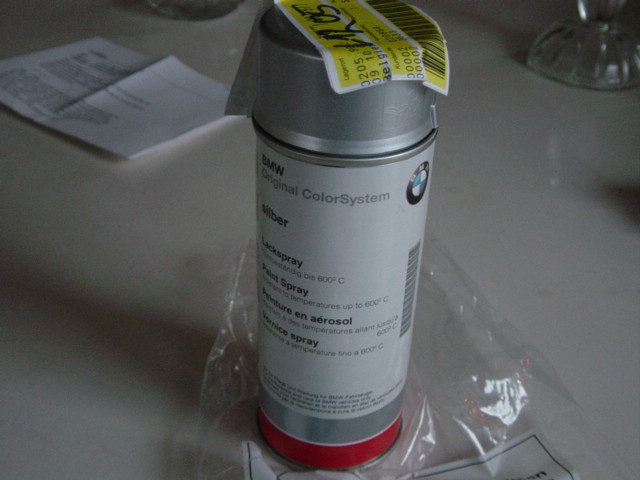
finishing to protect the parts against rust. The alloy parts
weren't treated after the blasting (or sometimes just a slight
polishing).
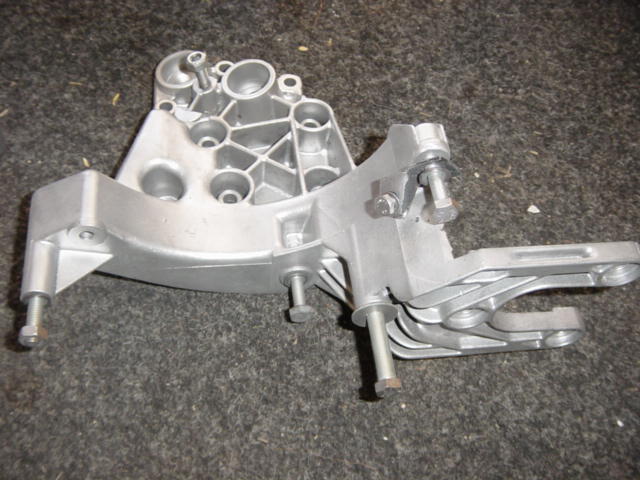
Here are the results of some
glass bead blasting parts. This is the bracket for the hydraulic
pump:
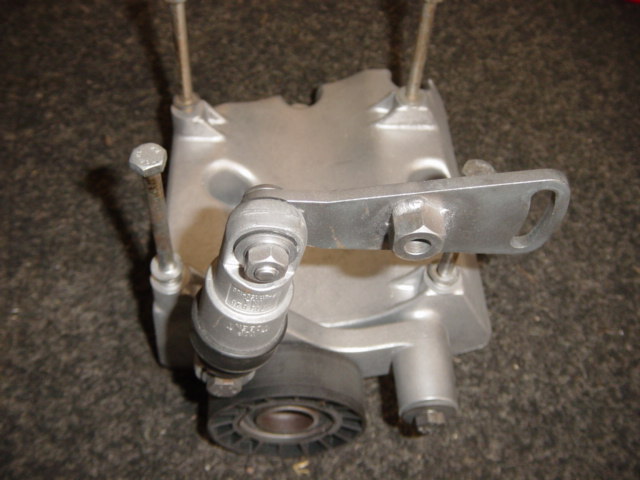
Airco/waterpump belt tensioner
assembly:
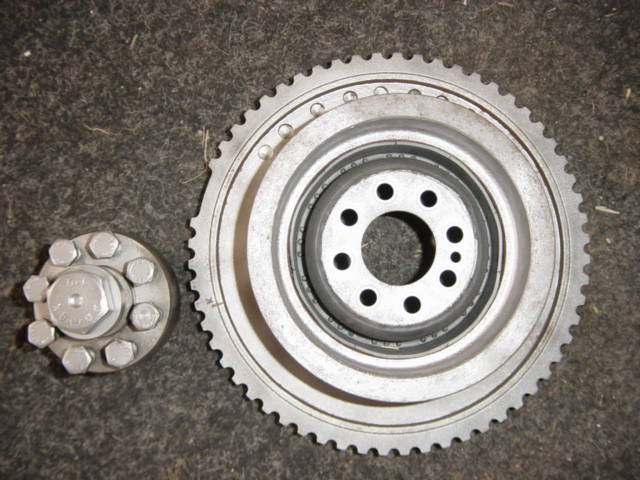
Crankshaft pulley, hub and
damper:
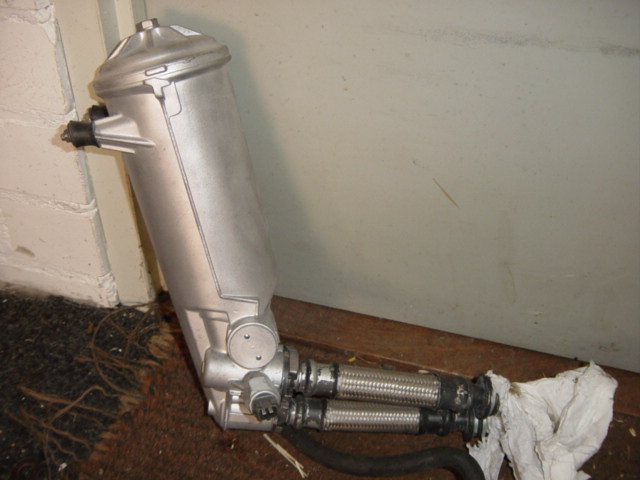
Oil filter canister:
Distributor housing:
Distributor housing after
polishing:
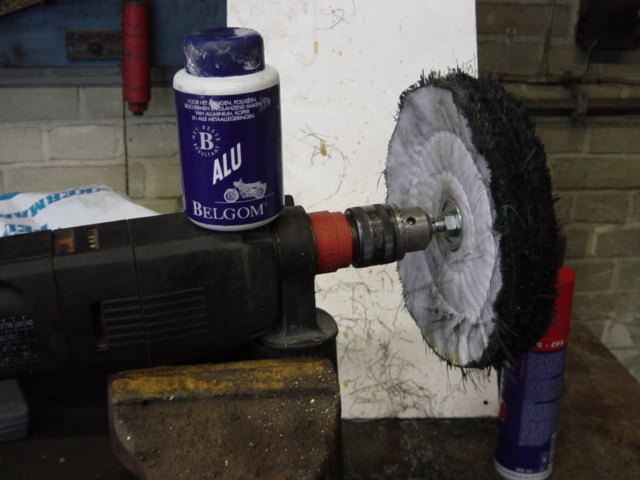
The home-made polishing tool:
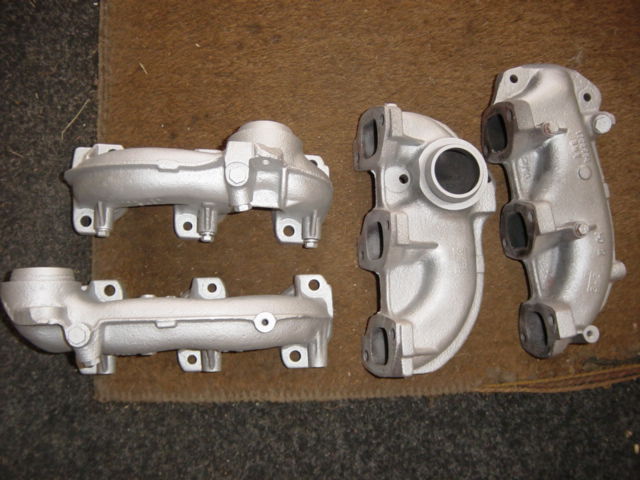
Exhaust manifolds after bead
blasting and spraying:
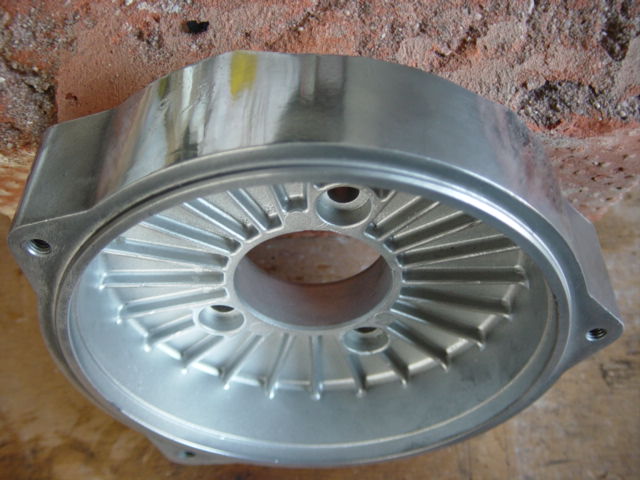
Coolant collector and
cylinderhead back and front covers:

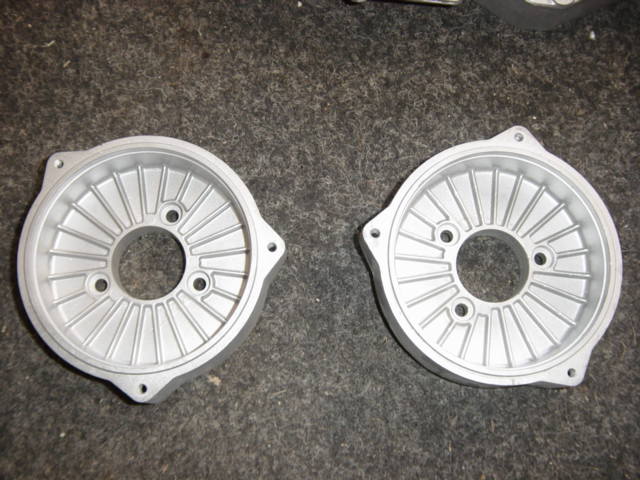
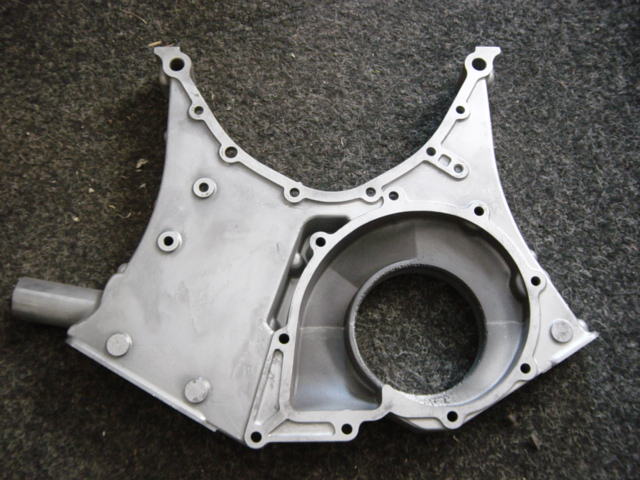
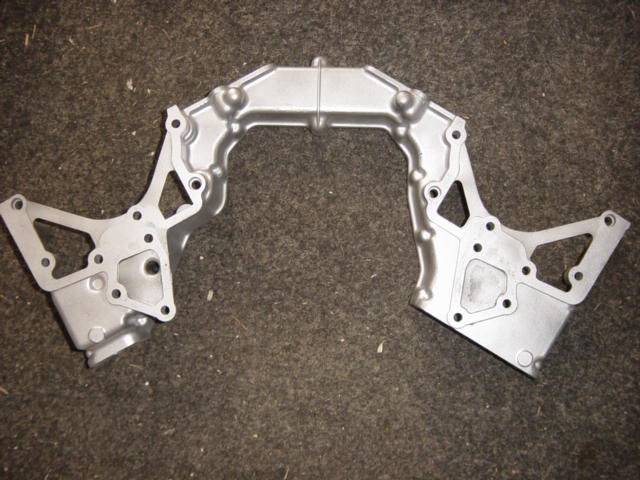
Backside of the
lower timing case cover, backside. Also interesting picture. At
the left (sticking out) the part where the timing chain tensioner
belongs. The waterpump is mounted at the other side of this
cover, the waterpump impeller is potruding through the large
hole. The 'snail house' (couldn't find the right word for it) is
responsible for pumping the coolant through the cylinder gallery.
Look at the lower picture of the front of the engine how this
cover is mounted to it:
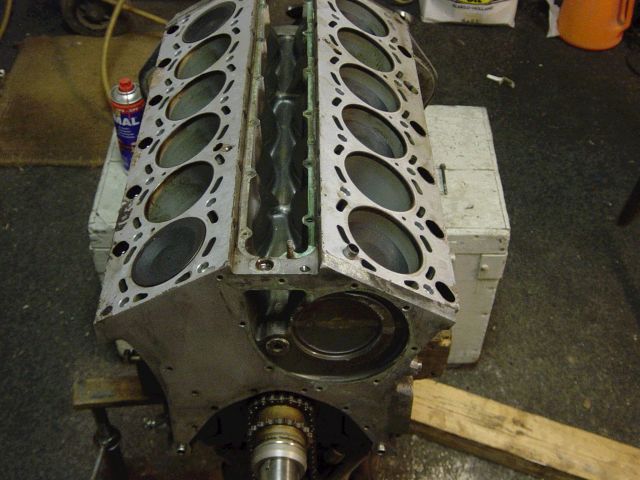
For better understanding: this
is where the cover above is mounted to. You see the pump pumps
coolant directly through the gallery to the back of the engine,
distributed through the short block and after that squeezed
through the coolant channels of the head gasket to the cylinder
heads. According to this construction, the front cylinders #1 and
#7 will run hotter that others but that is not a big issue
because this is the front of the engine (receiving lots of air
flow). Probably BMW engineered the coolant system this way so
cilinders #6 and #12 near the firewall (normally the hottest,
also at the straight sixes) won't experience as much heat as
cylinders near a firewall normally do. So we can call this
another excellent design:
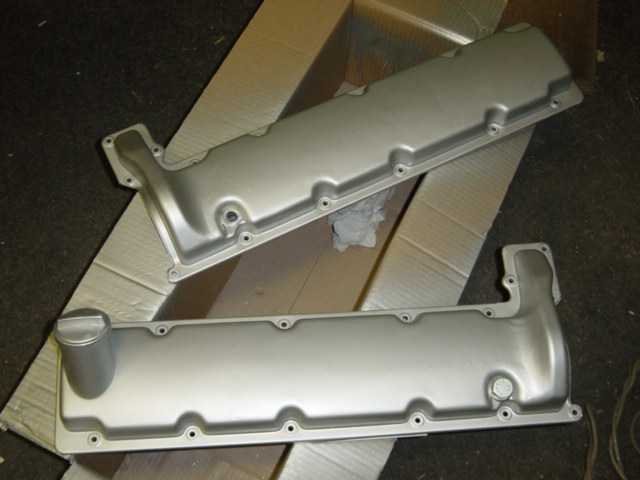
Valve covers cleaned and
sprayed. The oil filler cap will be replaced:
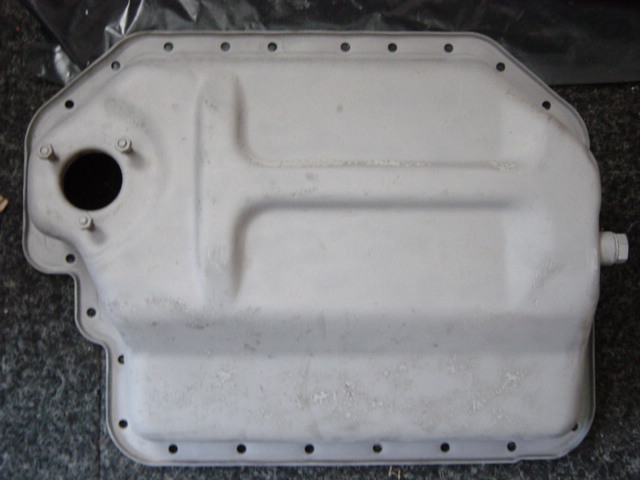
Lower oil pan. The big hole at
the left is for the oil level sensor. Also, I think BMW got some
discount on large quantities of 10mm bolts:
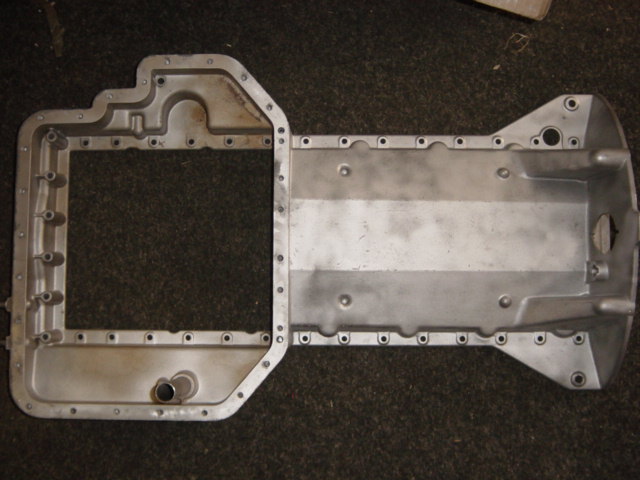
Upper oil pan:
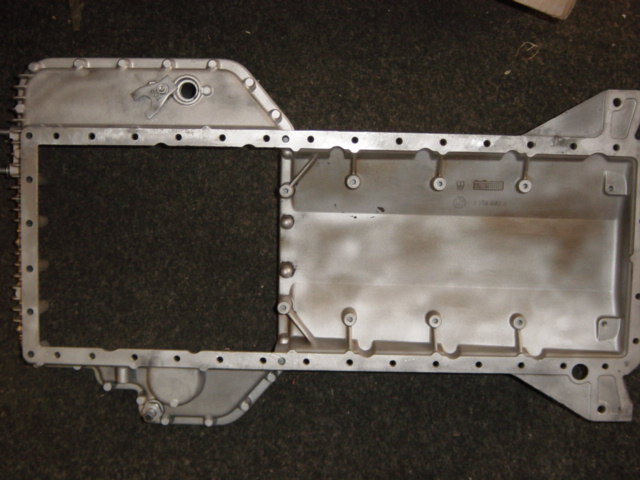
Notice the hole at the right.
This hole is for unbolting the torque convertor from the flywheel:
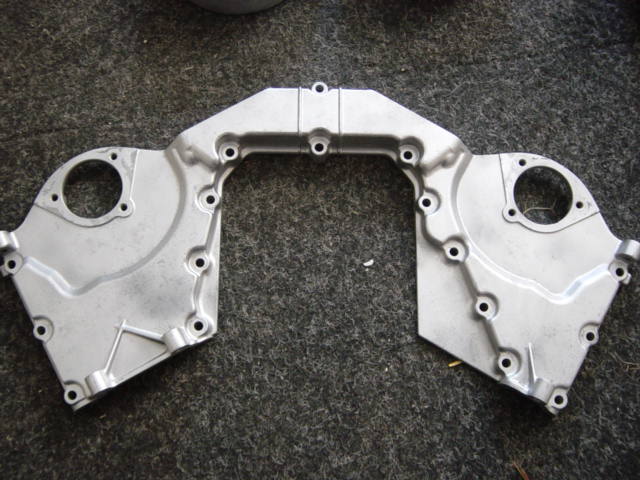
Back part of upper timing case
cover, a complex alloy casting:
Front part of upper timing case
cover:
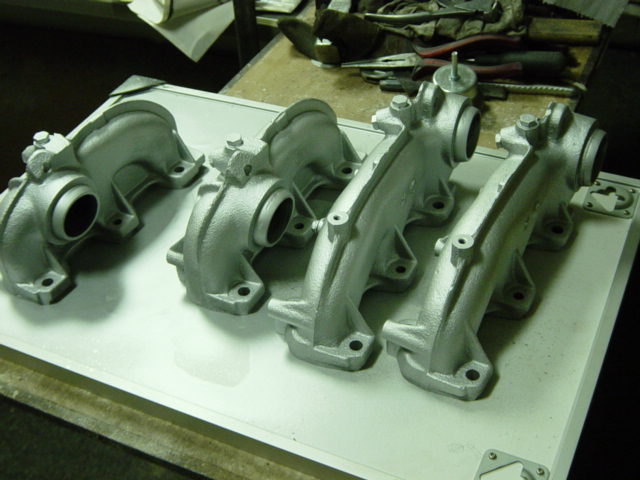
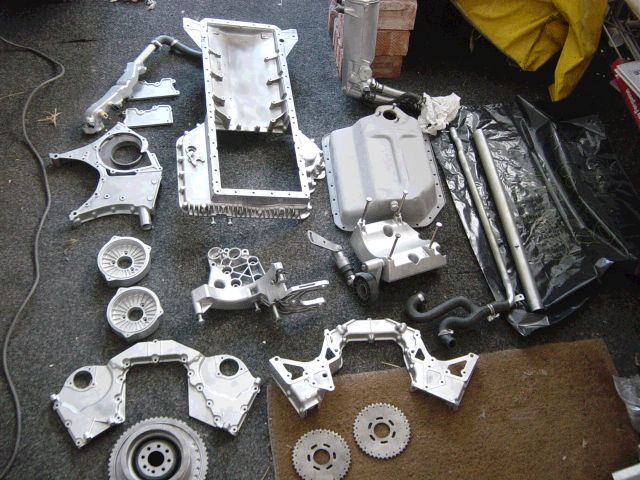
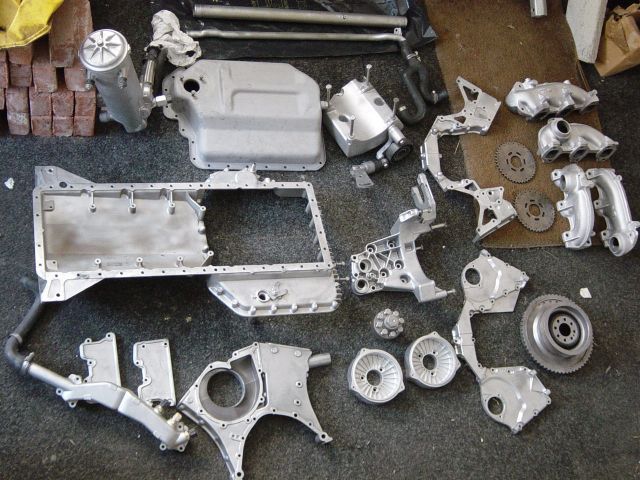
An overview of several cleaned
parts:
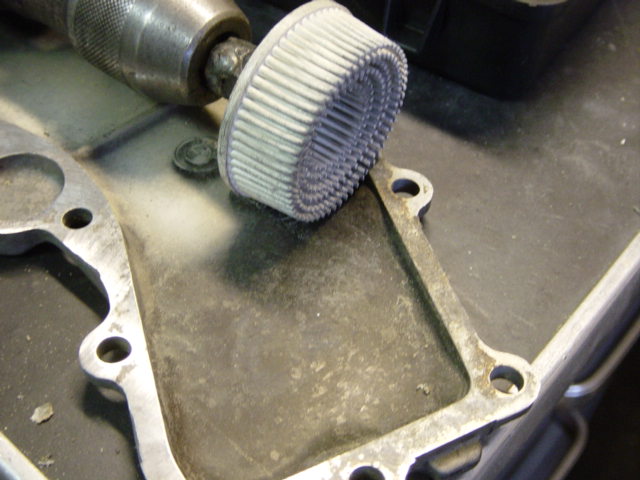
For some parts Cor used a
special tool to remove the old gaskets. This because you can't
use a normal gasket scraper, it would damage the soft alloy
surface:
If you would like to add any comments, remarks and/or corrections to this procedure, feel free to email Mike Oswald and we'll put it on our site. Share your experiences with us so others may benefit from it.